I don't do a lot of recipes on House Revivals, but every now and then, something turns out so amazingly well, I just have to share!
My husband and I love to fire up the smoker on the weekends we spend at the beach house. We often hit the grocery store when we pull into our little beach town and grab something that we think will taste great smoked, but won't require watching the smoker all day long. Salmon fillets are perfect for this, because they don't need to sit in a brine or dry pack for very long, and they usually cook pretty fast.
While my husband usually mans the smoker, I usually choose the preparation method. I've experimented with dry packed salt and brown sugar, for a sweeter product, but this time I wanted something a bit more savory and less sweet.
To start, you will want one large salmon fillet, cut into about four pieces. Next, pour about a half cup of hot water into a measuring cup. Now, add salt to the measuring cup until the level reaches three-quarters of a cup. Put this mixture into a glass dish (a baking dish works best), and add a couple quarts of cold water (enough to cover your fillets). Add a generous amount of garlic powder or minced garlic (I added about a tablespoon of powdered and a tablespoon of minced), and add two or three tablespoons of sugar (or less). Experiment with seasonings you may like, such as onion, cumin, cilantro, or paprika. Add a generous amount of pepper, if desired. Mix everything together and add the salmon to the dish. Cover with plastic wrap and refrigerate for an hour or two.
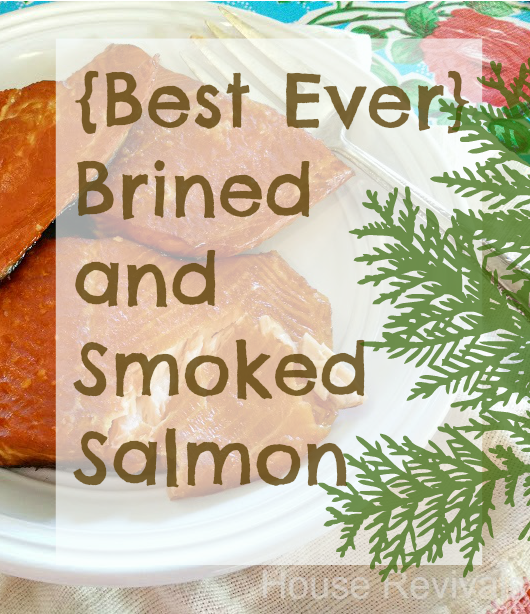
Heat your smoker to 225 degrees before adding the salmon. If you'd like a "candied" crust, sprinkle the tops of the fillets with brown sugar right before putting in the smoker.
When the salmon reaches 140 degrees, it is done. Smokers vary, but in our electric smoker, a one inch fillet usually reaches 140 degrees within an hour.
While you're waiting for your salmon to brine, you might want to try
this recipe for the Best Bloody Mary Ever!
If you enjoyed this post, please subscribe to House Revivals in the sidebar, so you won't miss the fun projects we have planned. Find us on Facebook, too, so you can catch all the "in between" stuff, and see what I'm working on throughout week on Instagram. Feel free to link today's project to your favorite social media sites.
Thanks so much for stopping by!