This peal and stick tile update DIY project turned out so stinkin' cute! My daughter was looking for an affordable way to tile her kitchen back splash. With two dogs, a cat, a bunny, and a toddler running around, she didn't have a lot of time or energy for messy grout projects, and she needed to be able to drop everything in an instant, if the baby cried.
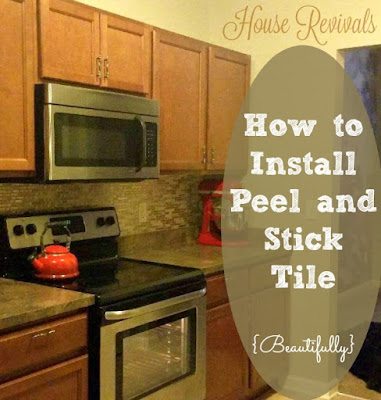


She went online to do some research, and found peel and stick tiles (check the bottom of this post for affiliate links to similar products). Her builder grade kitchen had basic drywall back splashes, and she wanted something more attractive and easy to clean.

She was able to do her entire back splash in one afternoon!

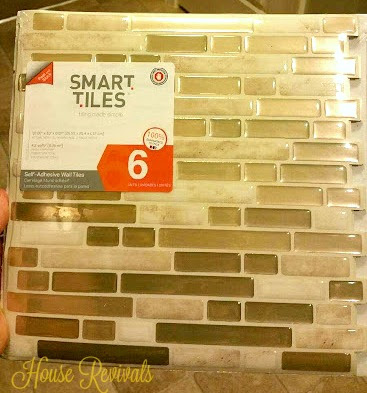
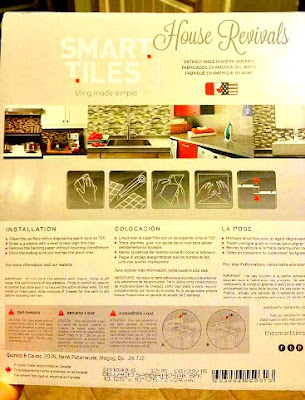
She ordered a brand called Smart Tiles, that came six 12" x 12" tiles to a pack. She needed two packs for her project.

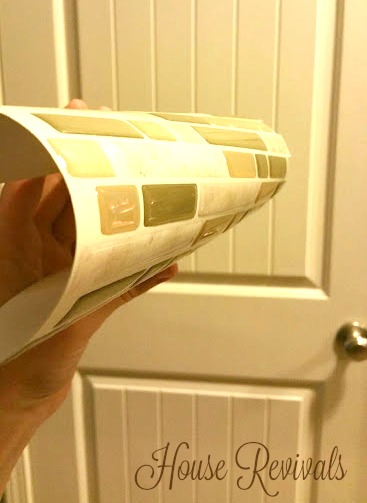
The dimensional tiles seem to be a vinyl type of material, and are very thin.

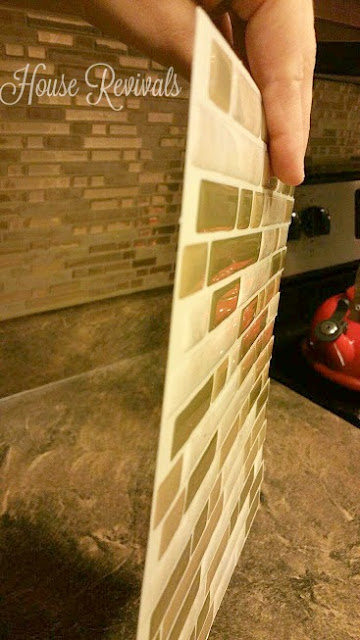
You can see how flexible the tile sheets are.

The tiles are designed so that the pattern interlocks from tile sheet to tile sheet.

My daughter found the instructions to be very easy to follow. It couldn't have been easier. Start by cleaning the wall with a good degreaser. Next, use a level or chalk line to create a guideline. Then, measure and cut. A utility knife and metal ruler make it easy to create perfect cuts. Cut out holes for outlets before installing the tile. Finally, fold back half of the paper backing and carefully align the tile. Once you are happy with the placement, press into place, while peeling back the rest of the adhesive backing. Rub your hand across the tile sheet, to make sure you have good adhesion.
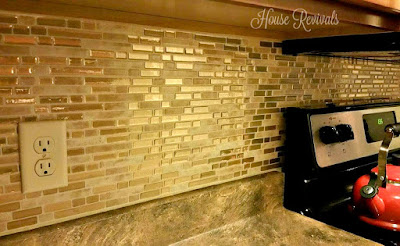
The finished result was beautiful.

There are so many different tile patterns and colors available -- I seriously plan to try this in my own kitchen!
If you enjoyed this post, you might also enjoy this post about decorating with a brown sofa.

If you enjoyed this post, you might also enjoy this post about decorating with a brown sofa.
If you enjoyed this tutorial, please subscribe to House Revivals in the sidebar, so you won't miss the fun projects we have scheduled. Find us on Facebook, too, so you can catch all the "in between" stuff, and see what I'm working on daily on Instagram. Feel free to link today's post to your favorite social media sites.
Thanks so much for stopping by!
Amanda
Thanks so much for stopping by!
Amanda