Well, my new BFF, Dexter, and I are still hard at work. Once we'd finished
painting the master bedroom, we moved on to the master bedroom closet. Why is it that the smaller the room, the longer it takes to paint? We've spent the better part of the week on this closet, and honestly, if you looked too closely, you'd say we needed another go at it....
Here's a peak into the closet the first time we looked at the house. It was dirty, and had a broken light fixture, but it had plenty of space, and salvageable rods and shelves ( I'd love to design and install a really beautiful closet system, but for now, we are working with what we have).
What you don't see is that a previous owner had left a stash of sunflower seeds on one of the shelves. Who does that? Some critters found the stash, and left lots of empty shells and critter poo in here. Seriously. Disgusting. Needless to say, lots of bleach was involved in the cleaning of this closet. And there may have been some dry heaves.
The first thing we did in here was have a washer and dryer hook-up installed.
Seems simple, especially since the closet shares a wall with the master bath's tub alcove, but it still involved bringing in a plumber, a framer, an electrician, and a drywall guy, and will ultimately involve bringing in a finish carpenter. It's literally taken weeks to get the w/d hook-ups to this point. I'll be honest and just say that the drywall guy never got to make his final pass -- I was just tired of waiting, so I bought some joint compound and tape and finished it up, so I could do the painting and be done with it. Please, don't judge my drywall contractor by the finish job you see here...

Of course, much of the time I was working around a wall oven. Why, you ask? I don't know. Our contractor had a member of his crew remove it from the kitchen, and I guess they didn't want to carry that heavy thing down the front stairs? I can tell you for a fact that it was heavy. I know this because I finally got tired of working around it, and moved it out into the hall by myself, so the contractors would have to trip over it.... The silly thing is, they just created more work for themselves (and me) by carrying this thing into the back of the house from the kitchen, than if they had just carried it outside in the first place....
Once the oven was out of the way, we removed the shelves and rods, to get them out of the way, and painted the walls. We also stained the rods in a dark walnut stain and painted the shelves and brackets white. Then everything got put back, exactly as it had been before.
With the exception of a few surfaces that needed to be primed with Kilz (in which case, we ventilated and isolated), Dexter and I have only been using Mythic paint.
We are also using the same colors that were
used in the bedroom. The wall color is called Sierra Grande. It looks gray, blue, or gray green, depending on the time of day.... Ultimately, the ceiling will be painted in Antique Pewter, but I just couldn't bring myself to climb on a ladder with Dexter "helping"...
We finally finished the cleaning and scrubbing and staining and painting, and the closet is almost ready for clothes!
We just need the electrician to finish up the switches and plugs and change out the light fixture; and we need the finish carpenter to re-install the base molding.
The flagstone floor got several good scrubbings, then received three coats of sealer.
You can really see the difference in the color of the stone in this threshold picture. Applying the sealer really brought out the natural coloration of the stone.
Finally. I finally feel like I have a decent "before" picture. It's taken months to get to this place. Now, we can start working on some "after" pics!
**If you are new to the House Revivals blog, be sure to check out our
other beach house projects, including
lifting the house nine feet to re-capture the ocean view.
This post is being linked to the following lovely places:
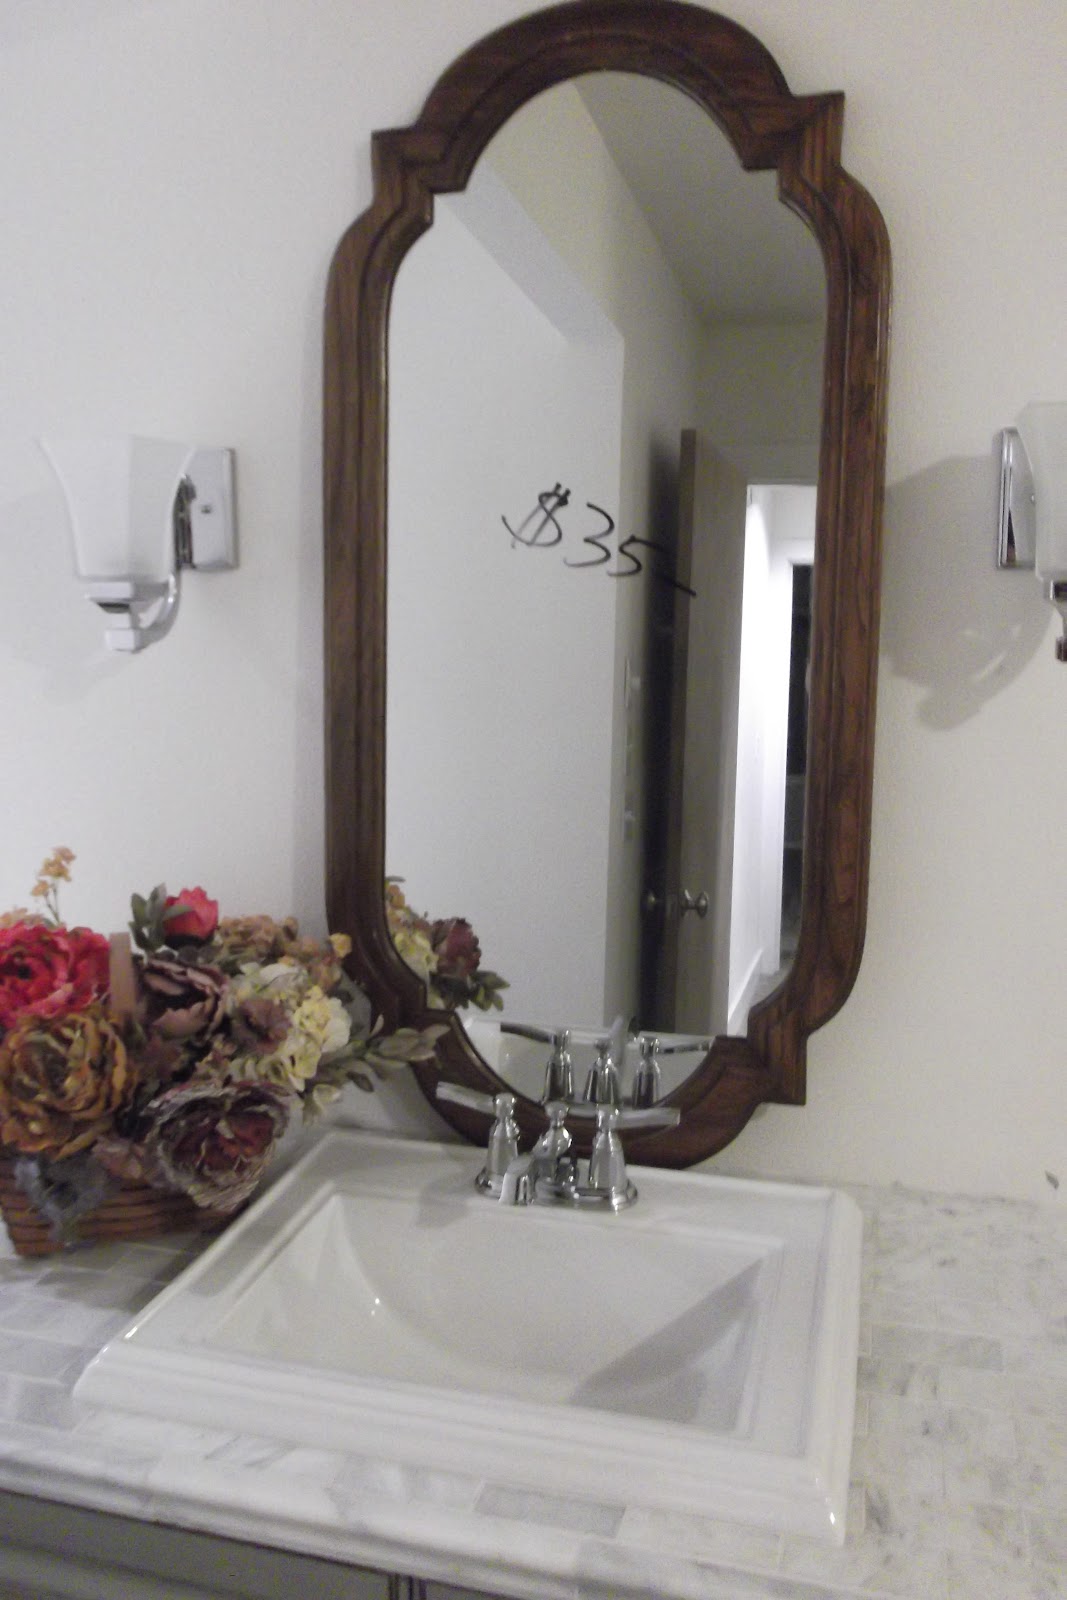
 The frame was plastic, and the glass was thin. We went ahead a bought two of the Lowes mirrors -- just in case we couldn't find anything better. Well, that same afternoon, at the Habitat Store, we found two seventies vintage dresser mirrors.
 The funny thing is that I had seen them before and thought they would be perfect, but they had been attached to a dresser. Apparently someone bought the bedroom set, and re-donated the mirrors. We decided to buy them, bring both styles of mirrors out to the beach house, then decide which we wanted to use.
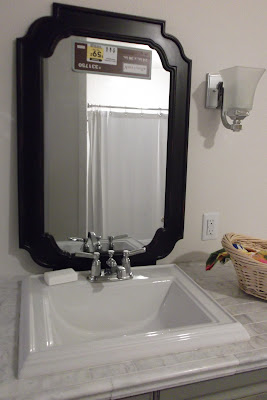
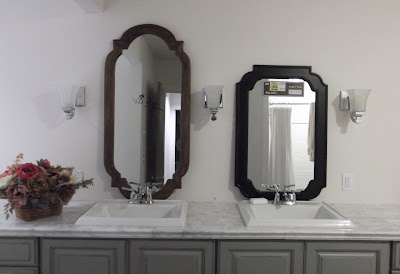 Well, when we looked at the pieces side by side, we decided quality vintage trumped the newer trendier plastic version. Of course, the vintage mirrors needed a little work to be wall worthy.....
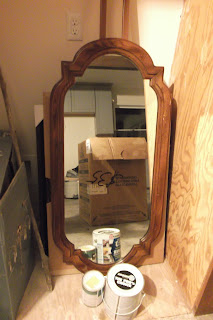 They had metal bars attached to the back that needed to be removed.
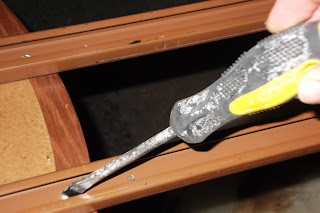 And they needed to be cleaned and sanded....
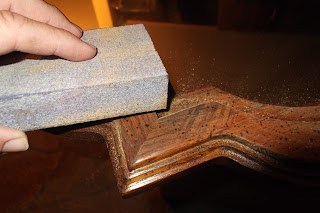 ... and primed.
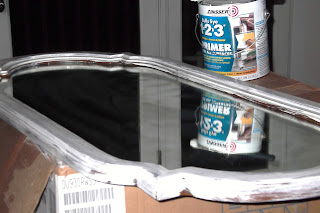 I decided to try a different kind of primer than I usually use. It's Zinsser, and so far I am really impressed. I'll let you know how the finished project turned out, in part two of this post, in a couple of days.