Here are the instructions I promised you all for making a dimensional five-pointed star.
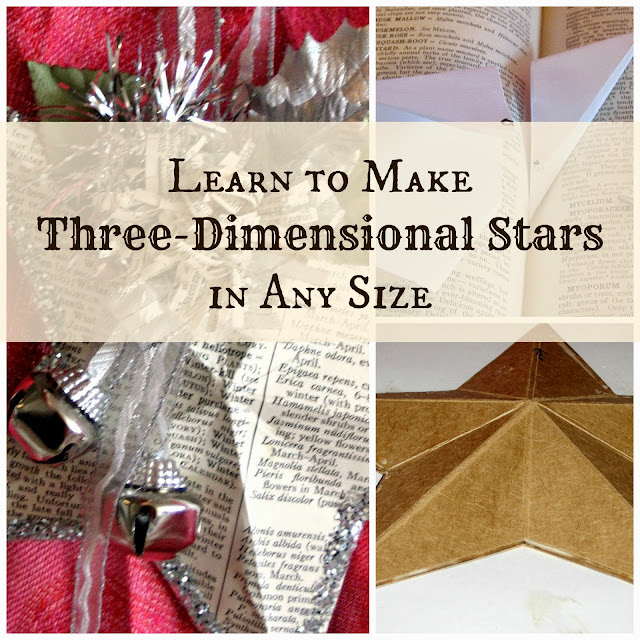
I made a cardboard base that was then covered with vintage book pages, but you can make this from pretty card stock and not cover it.

Just perfect your pattern first, and use a clear drying glue, if you're doing it that way.

To make the dimensional star, you first need to create your pattern. For this one, I made the pattern using the 'Betsy Ross' one cut method of paper folding and snipping. You could also do this using a purchased star template, or by using geometry.

Start with a sheet of paper, and fold it in half.
Then it is folded in half again....
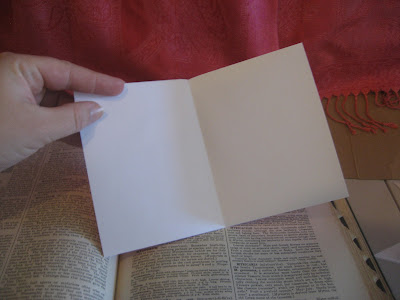


Open the last two folds, so that your large sheet is only folded in half one time.

Hold the paper in front of you with the fold at the top. Begin bringing the top left corner (corner A) across, diagonally toward the horizontal crease in the middle of your folded in half sheet. Fold from the upper point of the vertical crease in the center of your folded in half sheet.

Corner A should end up about a half inch from the right side of the sheet. Line up the corner right on that crease line.

Now, fold corner A back on itself, as shown here.
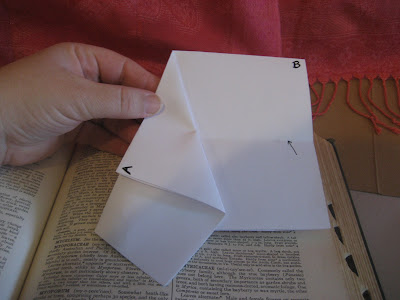
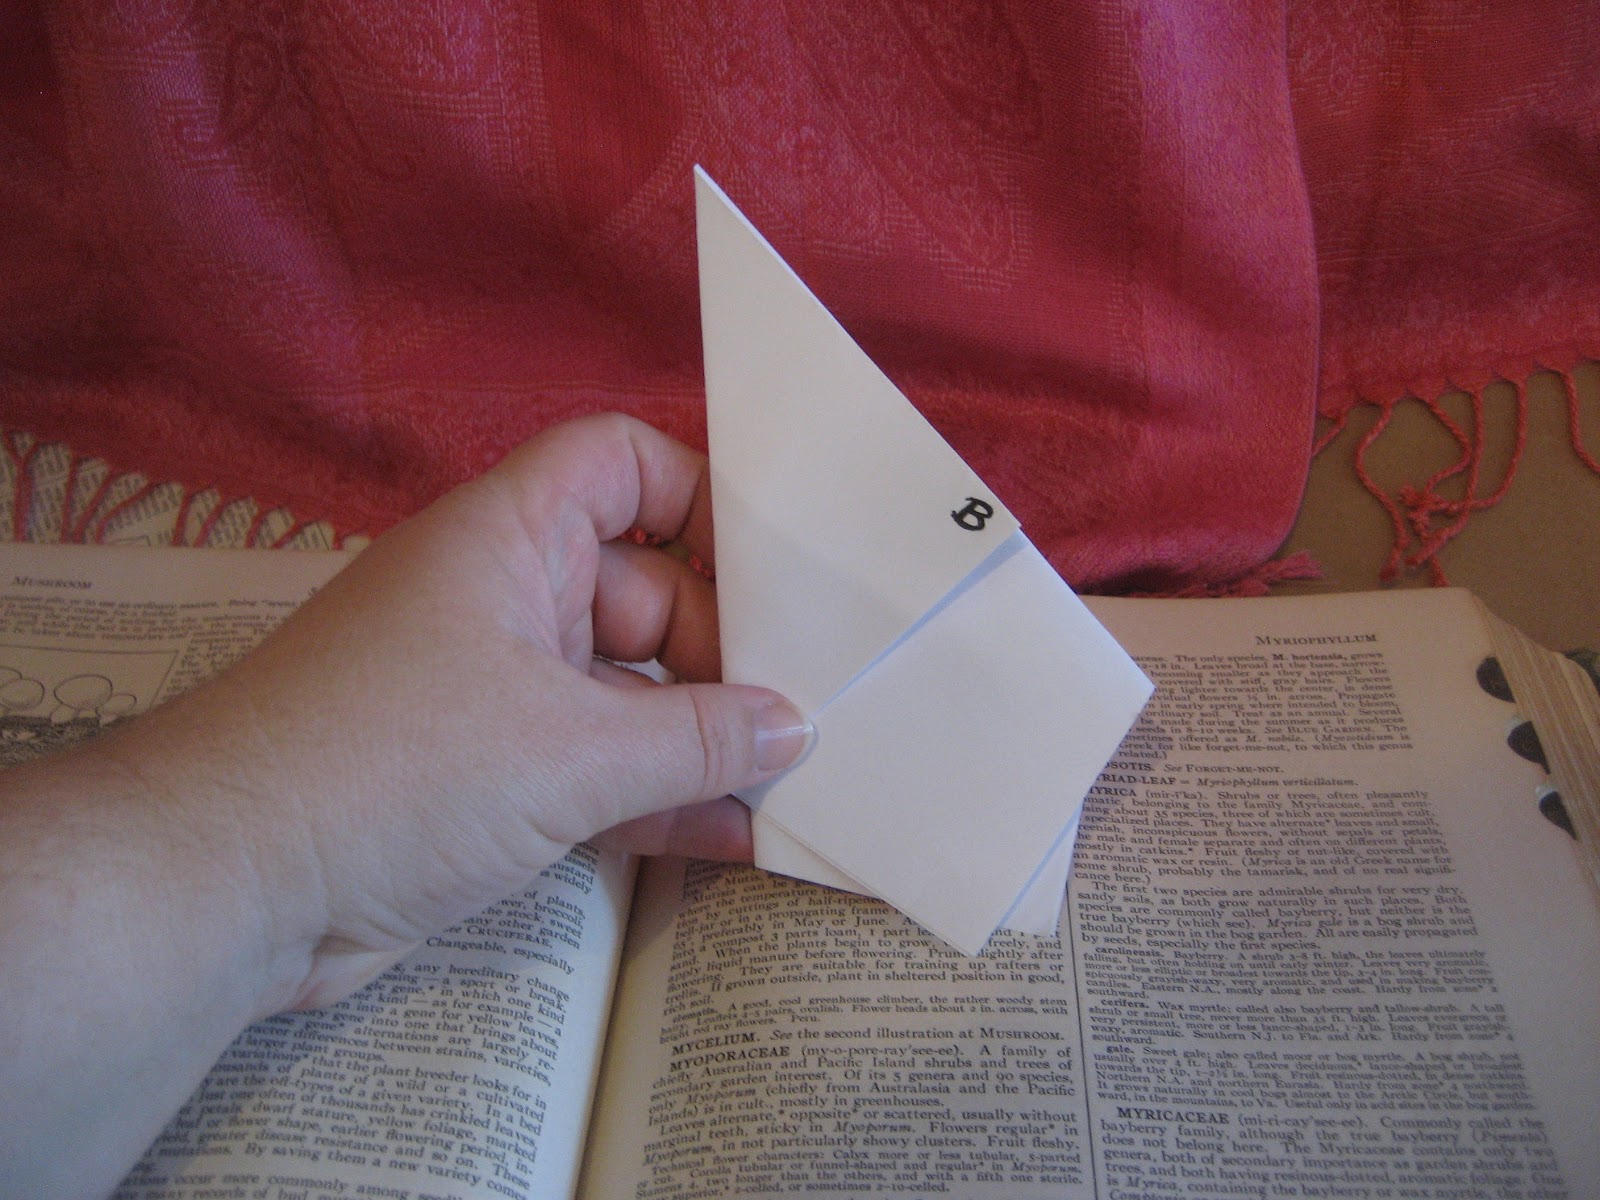
Take the right side (B) of the sheet, and fold it over, creasing right at the fold you just made in the step above.

Your sheet should look like this.

Now, fold corner B back over itself, lining up the top edge with the fold on the right, as shown.

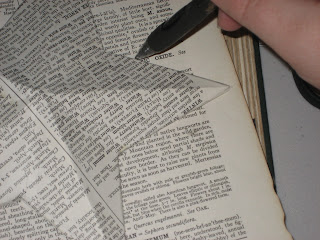
Now for the scary part. Beginning at corner B, cut diagonally across, through all layers.

You should have something that looks like this.

The triangle shaped piece on the right is your star!

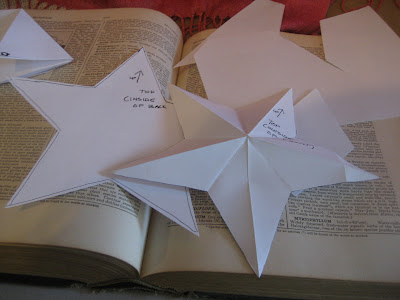
Open it up. It should be practically perfect!

Re-crease every other fold, so that it stands proud, like this. The base should sit pretty flush on the surface. Are you happy with the size and basic proportions? I decided to trim this one down a tad, to give it less chunky dimensions.

Just refold the star and take off a sliver at a time, until you like the result.

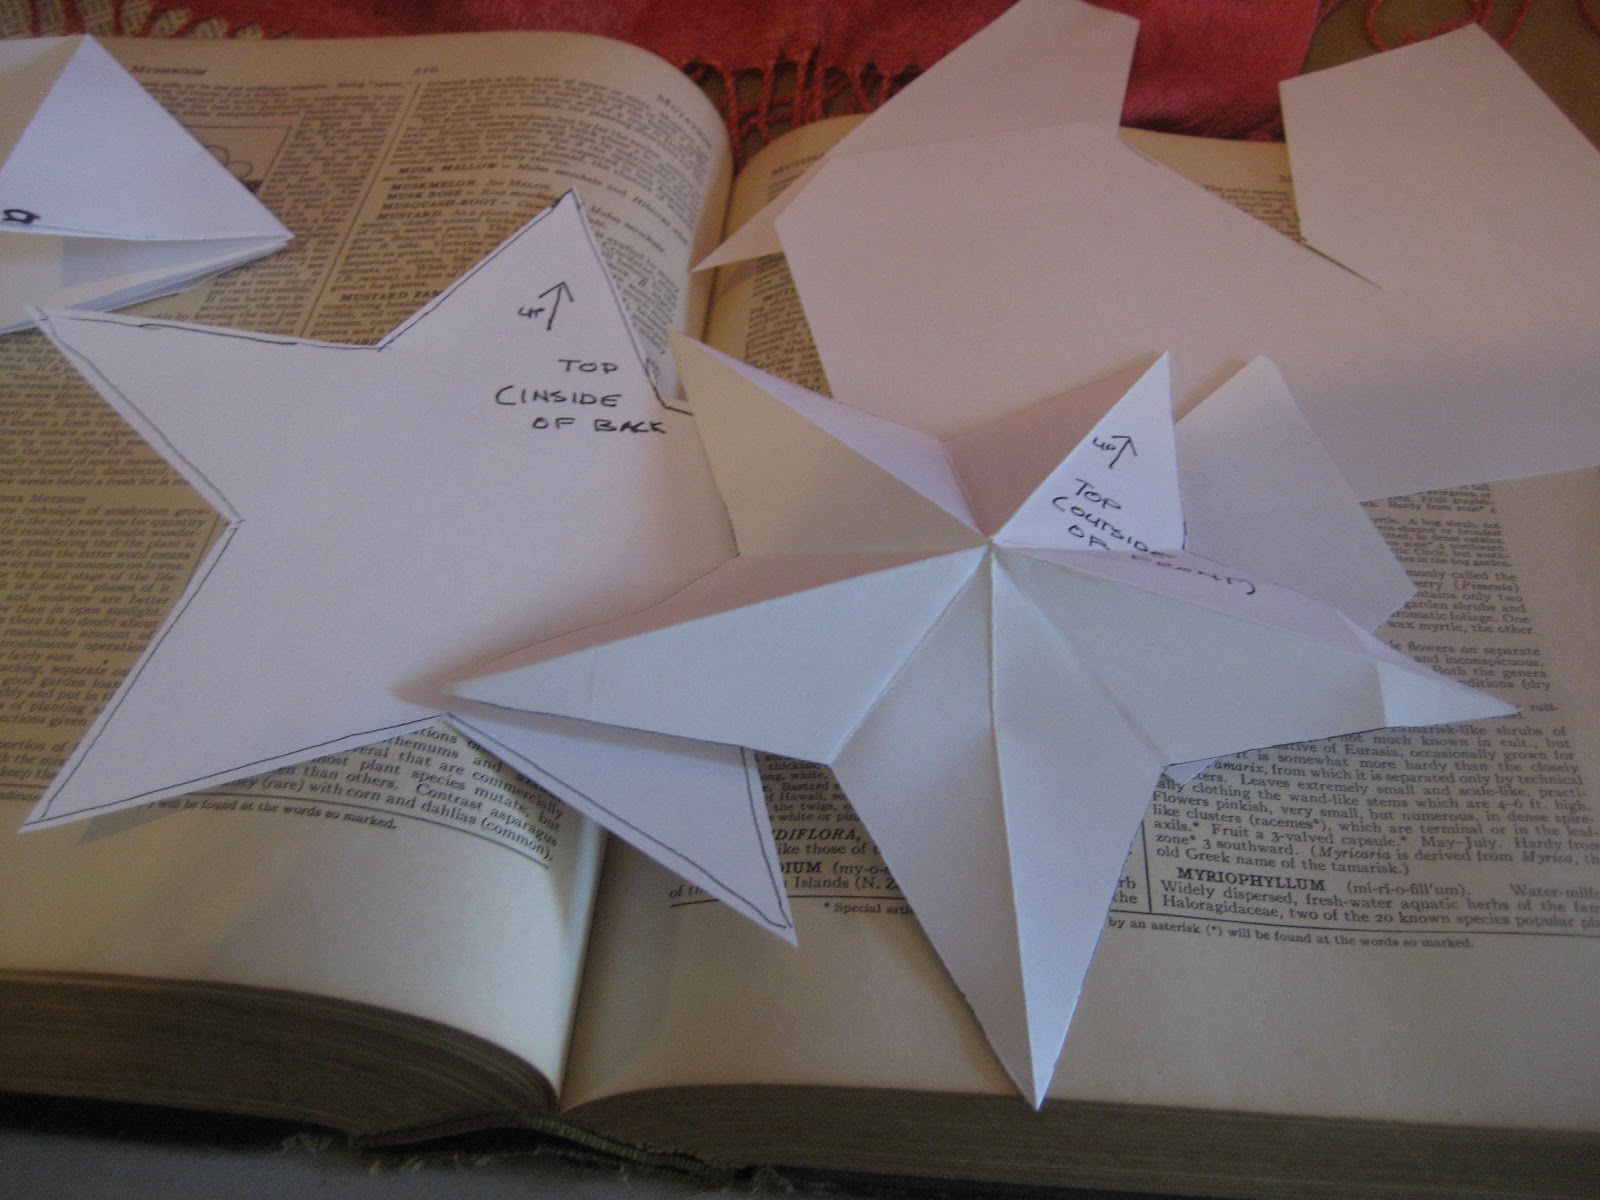
Here is the trimmed down version. This will be the pattern for the top of the dimensional star.

To create the pattern for the base set the top pattern piece down on a sheet of paper (don't flatten it out) and trace around it, very generously (this piece will be bigger than the finished base).

Before removing the top pattern piece, mark some reference points. This star cutting method is only practically perfect -- it's not precisely perfect.

Cut out the base (back) pattern piece. Be generous and cut slightly outside the lines.

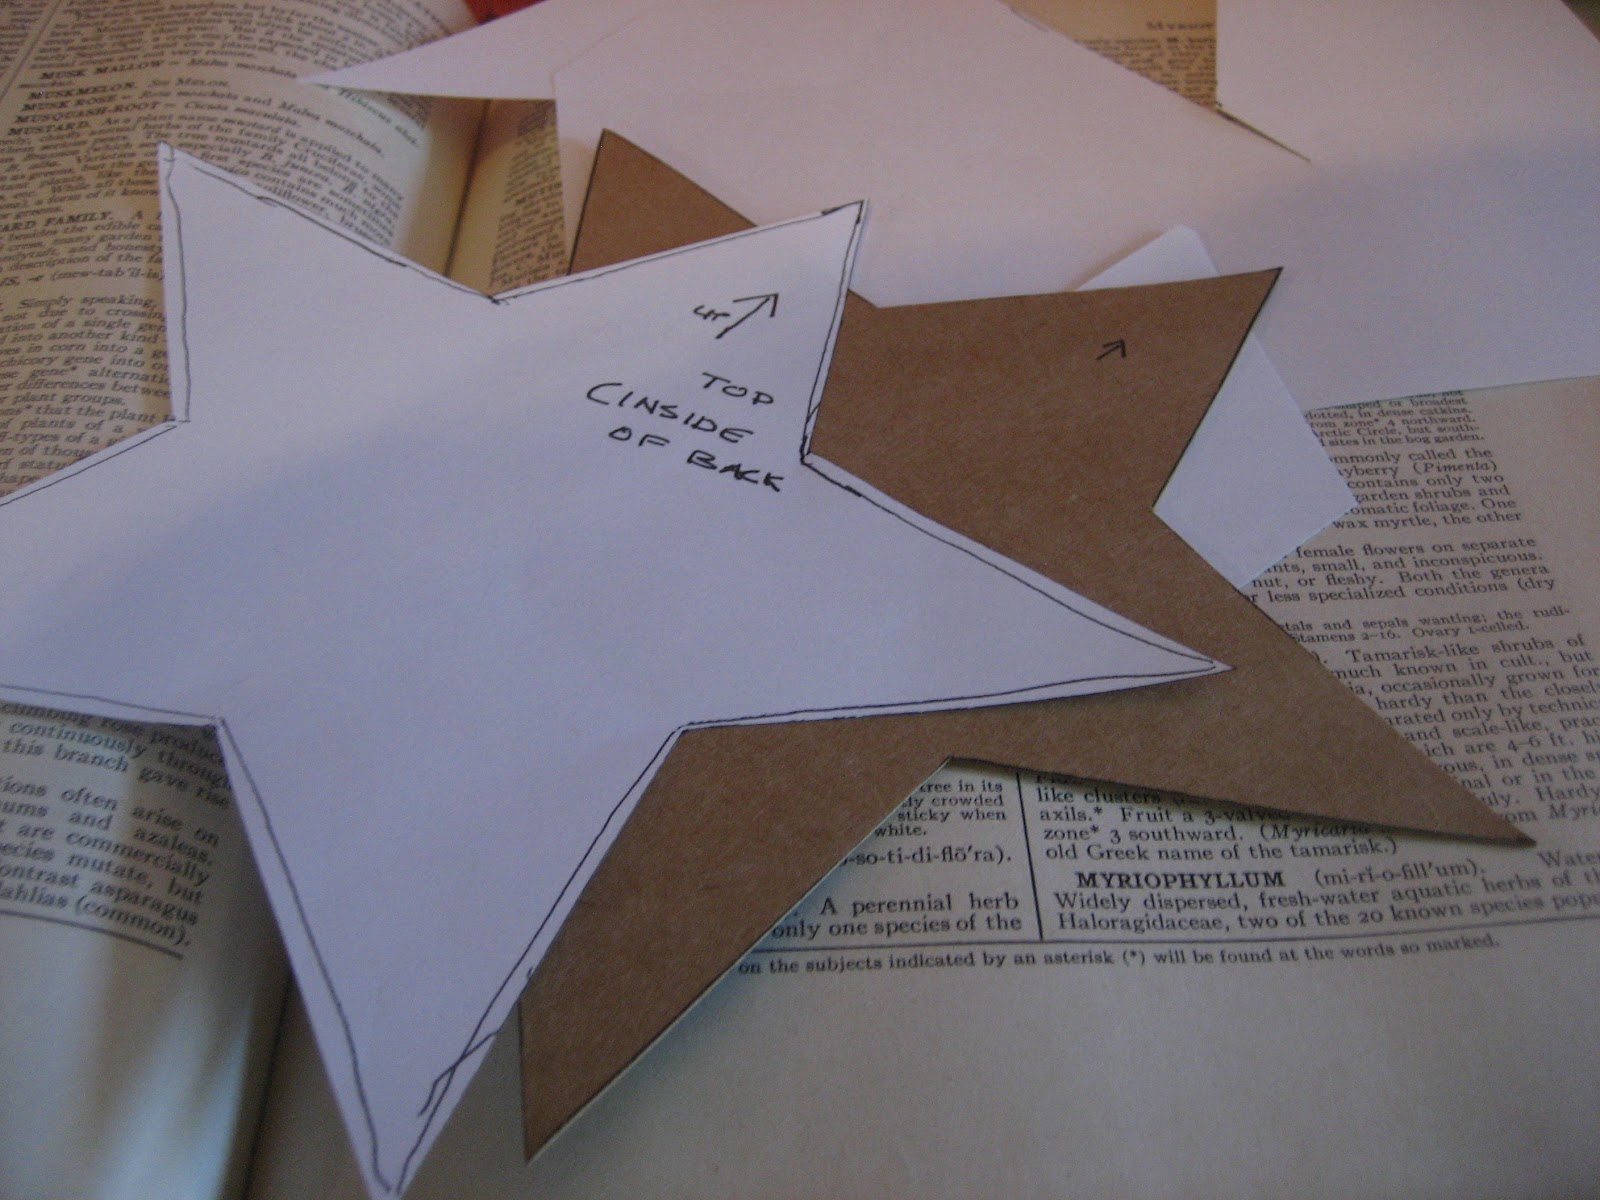
Now you have two pattern pieces. One for the base/back, and one for the dimensional front. The pieces should be labeled and have reference marks. If you plan to make a lot of stars, adhere these pieces to some cardboard and cut around them. Cardboard templates will hold up to repeat use a lot better than flimsy paper.
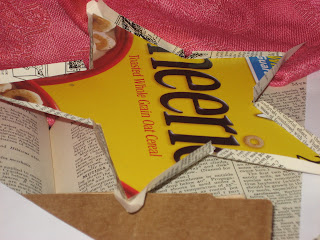
Trace around the pattern pieces onto some cardboard. This is a great way to reuse an old cereal box!

Don't forget to transfer your reference points (lightly, using pencil, if you will not be covering your cardboard star base with paper).

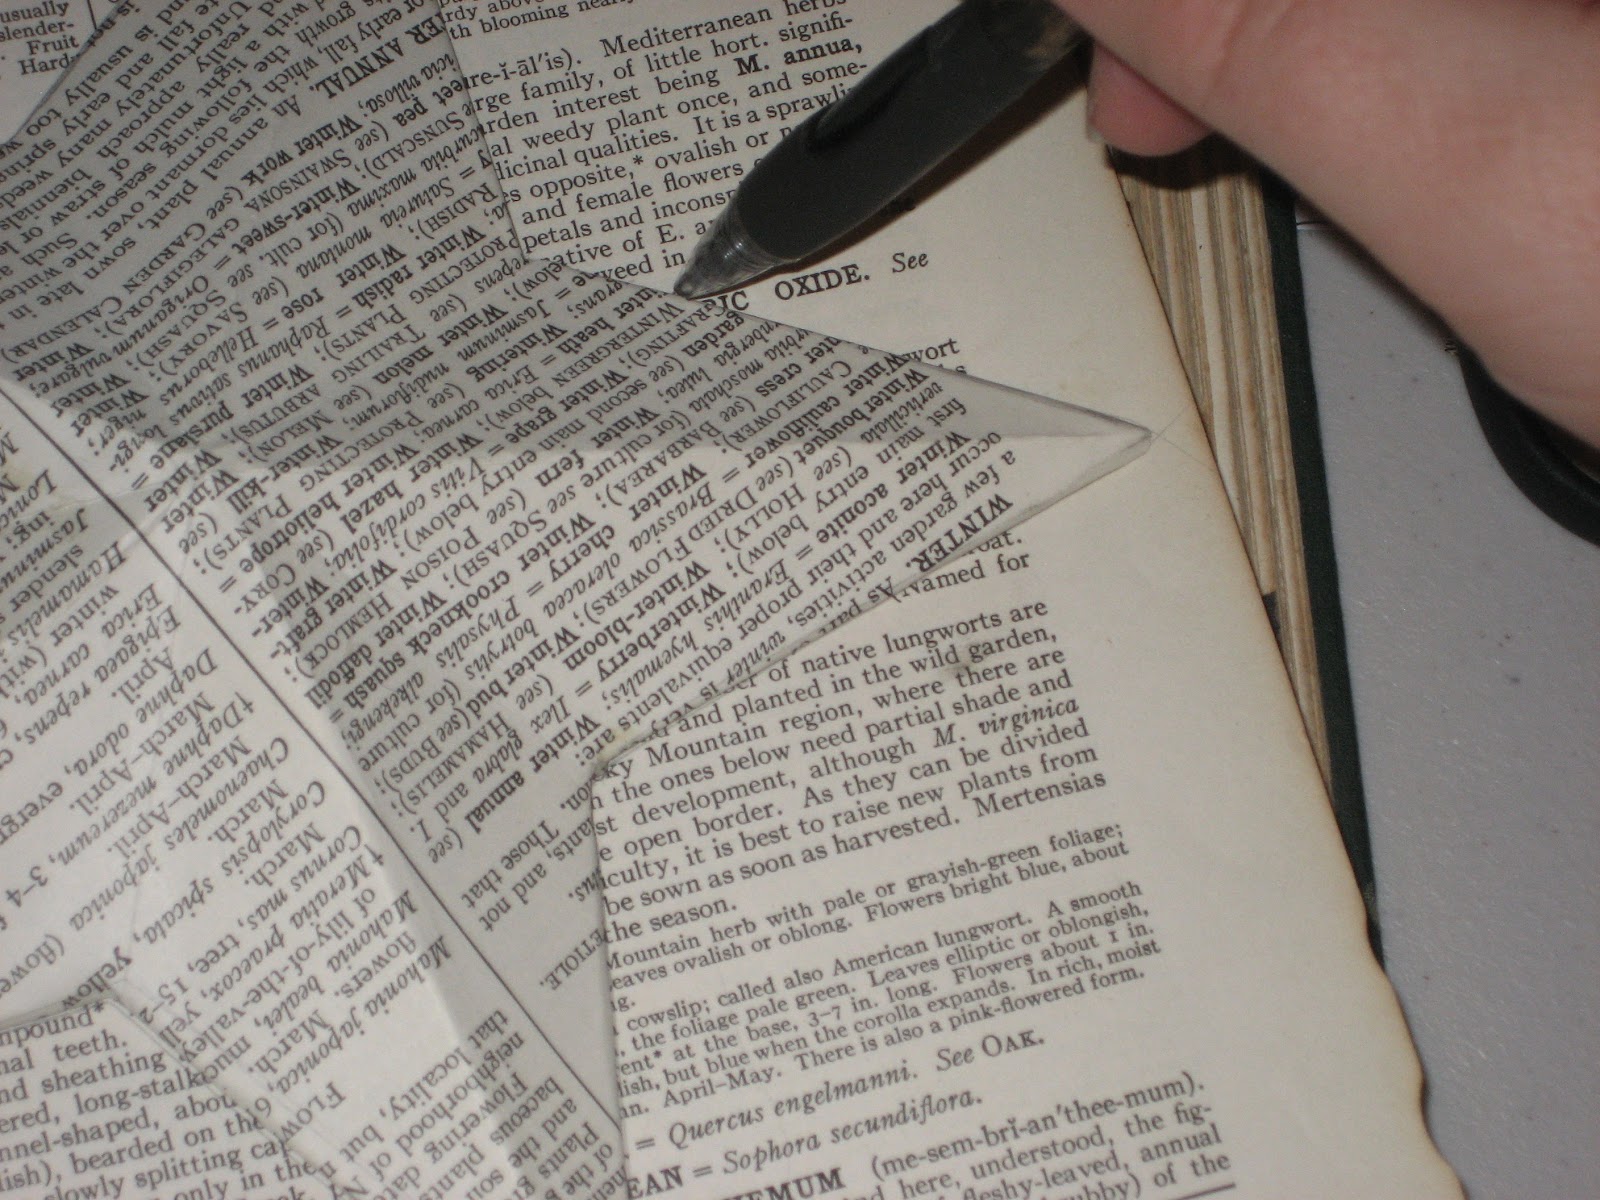
Using a bone folder (or a dead pen, or something) and a straight edge, score crease lines for the front of the star. You should make five scores, each running crotch to tip.

Carefully bend at the score lines, alternating direction at the center of the star, so that you end up with this.

Glue the dimensional front to the flat back piece. Here I used wood glue, because it works incredibly well on cardboard, and will *never* come apart. It dries ugly, though, so if you are not planning to cover the cardboard star with paper or paint use a clear drying glue (good old school glue works fine-- we use it for architectural models a lot)!

Remember how we cut out the base piece generously? Now you can trim it flush with the front piece.

To cover the star, trace around the pattern piece using your desired paper. Use pencil (or be more clever than I was, and flip the pattern over, and trace on the back of the paper). Here I used a page from a vintage book. Cut out your paper, leaving a generous quarter inch border.

"Precrease" your paper, and adhere it to the cardboard. I used a wet adhesive (very thinly and evenly spread), for it's increased workability, but you could use a spray if you are confident enough.

Turn the star over and clip the paper at the crotches.
Trim the excess paper from the points.

Wrap the paper around and glue it down. Let dry.

Lay your star on top of another sheet of your decorative paper, or vintage book page. Lightly trace around it using pencil. Mark some light reference points.
Cut out and adhere to back of star.

Now, decorate it or leave it plain. Trim it out in jute twine, or sprinkle it with glitter. Add ribbons and bells, or "antique" the piece. Just be sure to have fun!

You could make a giant star using newspaper to create your pattern pieces. Or make tiny patterns using paper from a little notepad. I hope you will feel inspired to try your hand at this.

Watch for the tutorial for making this woven star. If you are not a follower already, click "follow" in my side bar, so you're sure not to miss it!

 Love mixed media? You might like this post on how to make mixed media flowers. Or click here for several easy art tutorials.


I made a cardboard base that was then covered with vintage book pages, but you can make this from pretty card stock and not cover it.

Just perfect your pattern first, and use a clear drying glue, if you're doing it that way.

To make the dimensional star, you first need to create your pattern. For this one, I made the pattern using the 'Betsy Ross' one cut method of paper folding and snipping. You could also do this using a purchased star template, or by using geometry.

Start with a sheet of paper, and fold it in half.
Then it is folded in half again....


not sure how to flip this picture around...
...and again.
Open the last two folds, so that your large sheet is only folded in half one time.

Hold the paper in front of you with the fold at the top. Begin bringing the top left corner (corner A) across, diagonally toward the horizontal crease in the middle of your folded in half sheet. Fold from the upper point of the vertical crease in the center of your folded in half sheet.

Corner A should end up about a half inch from the right side of the sheet. Line up the corner right on that crease line.

Now, fold corner A back on itself, as shown here.

Take the right side (B) of the sheet, and fold it over, creasing right at the fold you just made in the step above.

Your sheet should look like this.

Now, fold corner B back over itself, lining up the top edge with the fold on the right, as shown.
Now for the scary part. Beginning at corner B, cut diagonally across, through all layers.

You should have something that looks like this.

The triangle shaped piece on the right is your star!

Open it up. It should be practically perfect!

Re-crease every other fold, so that it stands proud, like this. The base should sit pretty flush on the surface. Are you happy with the size and basic proportions? I decided to trim this one down a tad, to give it less chunky dimensions.

Just refold the star and take off a sliver at a time, until you like the result.

Here is the trimmed down version. This will be the pattern for the top of the dimensional star.

To create the pattern for the base set the top pattern piece down on a sheet of paper (don't flatten it out) and trace around it, very generously (this piece will be bigger than the finished base).

Before removing the top pattern piece, mark some reference points. This star cutting method is only practically perfect -- it's not precisely perfect.

Cut out the base (back) pattern piece. Be generous and cut slightly outside the lines.

Now you have two pattern pieces. One for the base/back, and one for the dimensional front. The pieces should be labeled and have reference marks. If you plan to make a lot of stars, adhere these pieces to some cardboard and cut around them. Cardboard templates will hold up to repeat use a lot better than flimsy paper.
Trace around the pattern pieces onto some cardboard. This is a great way to reuse an old cereal box!

Don't forget to transfer your reference points (lightly, using pencil, if you will not be covering your cardboard star base with paper).
Using a bone folder (or a dead pen, or something) and a straight edge, score crease lines for the front of the star. You should make five scores, each running crotch to tip.

Carefully bend at the score lines, alternating direction at the center of the star, so that you end up with this.

Glue the dimensional front to the flat back piece. Here I used wood glue, because it works incredibly well on cardboard, and will *never* come apart. It dries ugly, though, so if you are not planning to cover the cardboard star with paper or paint use a clear drying glue (good old school glue works fine-- we use it for architectural models a lot)!

Remember how we cut out the base piece generously? Now you can trim it flush with the front piece.

To cover the star, trace around the pattern piece using your desired paper. Use pencil (or be more clever than I was, and flip the pattern over, and trace on the back of the paper). Here I used a page from a vintage book. Cut out your paper, leaving a generous quarter inch border.

"Precrease" your paper, and adhere it to the cardboard. I used a wet adhesive (very thinly and evenly spread), for it's increased workability, but you could use a spray if you are confident enough.

Turn the star over and clip the paper at the crotches.

Trim the excess paper from the points.

Wrap the paper around and glue it down. Let dry.

Lay your star on top of another sheet of your decorative paper, or vintage book page. Lightly trace around it using pencil. Mark some light reference points.
Cut out and adhere to back of star.

Now, decorate it or leave it plain. Trim it out in jute twine, or sprinkle it with glitter. Add ribbons and bells, or "antique" the piece. Just be sure to have fun!

You could make a giant star using newspaper to create your pattern pieces. Or make tiny patterns using paper from a little notepad. I hope you will feel inspired to try your hand at this.

Watch for the tutorial for making this woven star. If you are not a follower already, click "follow" in my side bar, so you're sure not to miss it!

Happy Star Gazing!
You might also like this post about making sweet shadowbox ornaments.
If you enjoyed this post, please subscribe to House Revivals in the sidebar, so you won't miss the fun projects we have planned. Find us on Facebook, too, so you can catch all the "in between" stuff, and see what I'm working on throughout week on Instagram. Feel free to link today's project to your favorite social media sites.
Thanks so much for stopping by!
Thanks so much for stopping by!
~Amanda