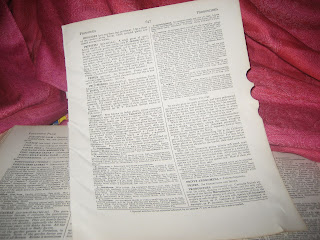
I wanted something on a square base, with a vintage feel, that had a subtle mix of texture and color.
Start by tearing sheets out of a vintage book.
Cut out your leaves. These can be free handed.
I wanted to reference the classic magnolia leaf wreath that is so popular around the holidays, but you could use any leaf shape you liked.
To be honest, I only cut out the first sheet like this -- after experimenting with leaf sizes, I stacked several sheets together and cut multiples.
To add rhythm to the piece and to reference the local aesthetic, I used this Japanese wrapping paper for some of the leaves. Just stack up several sheets together, and cut them out in multiples, just like with the book pages.
Next, fold your leaves in half lengthwise, and crease with a bone folder...
... (actually, my bone folders are in storage along with the rest of the contents of my studio, but I found this pattern transfer marker in a local Japanese store that substitutes nicely).
Again, I actually only folded a couple of leaves individually. After the first ones, I got real and stacked and folded and creased and curled! I think you might go crazy doing them all individually.
I used a chopstick and curled the edges a bit. Really, you could use anything -- a dowel, a pencil, a skewer -- whatever is handy. The Japanese paper was already a bit curled from being on a roll, so it didn't need much manipulating.
Make a big pile of these leaves.
Next, for a pop of apple green and a little added texture, I cut out some leaves from this beautiful flax burlap.
To add body to the burlap leaves, and to prevent fraying, I intended to run a bead of clear drying glue to the underside edges of the leaves. But that seemed like a waste of opportunity to use glitter....
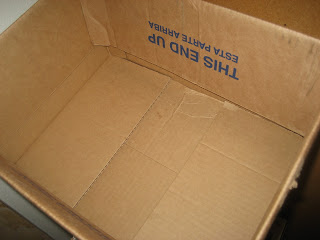
The base was simply cut from two thicknesses of cardboard that was headed for the recycling. I cut mine into a square, with rounded corners, but a circle, or oval, or rectangle, would work just as nicely.
The cardboard base pieces were then glued together and decoupaged with additional book pages. Here is a picture of the back of the wreath, so you can see how the cardboard was covered. Cover both the front and the back for a nice finish.
I had a pretty tight time window to do this wreath from start to finish -- less than two hours! So, I just used white school glue to decoupage -- it's cheap, dries clear, and dries fast.
To create your wreath, just begin layering the leaves, randomly mixing the textures, and working your way around the base.
The secret to adding fullness to a paper wreath is to periodically pinch the end of the leaves before gluing them down. This prevents them from flattening out.
And that is pretty much all she wrote. Add a hanger, and you're done! (and does anyone else like the back of the wreath almost as much as the front? Hmmmm, maybe the next project....)
This post is being linked to:


