Google+ House Revivals: organizing
Showing posts with label organizing. Show all posts

Thursday, August 2, 2018

Create Marker Storage From Recycling!

I was looking for an inexpensive way to store pens and markers the other day, but wasn't ready to invest in an expensive storage system.


I wanted something that could sit in a shelf on its side, since that's better for the markers, but that could sit upright at my work table.

Friday, January 8, 2016

How to Get Organized in the New Year!

It's that time of year again! Isn't it amazing how quickly the years fly by? If you are like me, at the start of a new year, you look for ways to organize your life. Here are a few ideas to get you started.

With a little bit of paint and some Craigslist or thrift store filing cabinets, you can organize your life with style!

Thursday, June 11, 2015

The Beach House Studio Reveal

Are you ready for the 2015 House Revivals craft room reveal? Okay, maybe not "the big reveal", but the "this is where we are now, and where we'll probably stay until my schedule frees up in, ohhhhhh, I don't know, January 2016 maybe?"


At the beginning of the year, this attic was a big overwhelming mess.

Tuesday, April 21, 2015

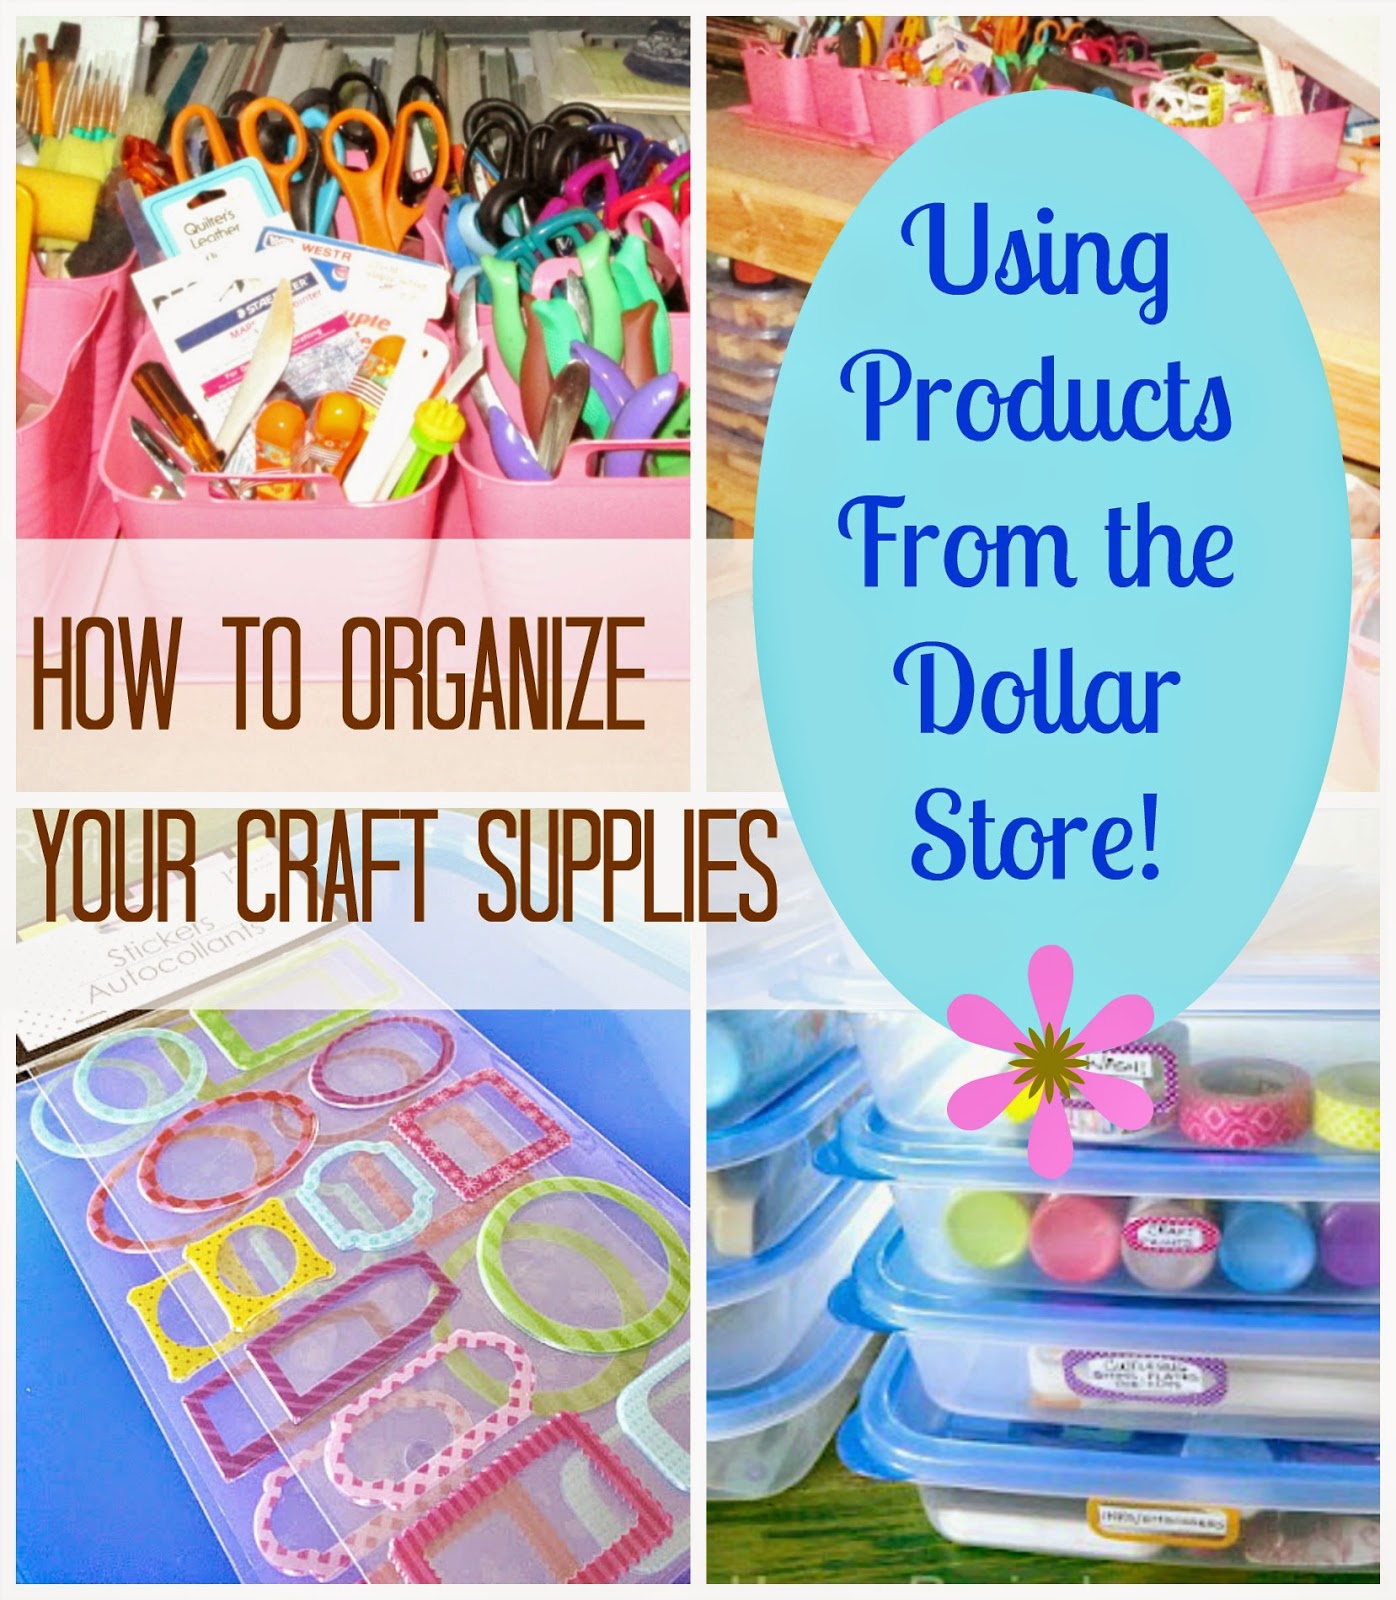
How to Organize Crafts With Dollar Store Supplies

I shared an update recently on our organizing efforts in our beach house attic. Here is the promised post on how we are using products from the dollar store (Dollar Tree) to organize craft supplies and tools.


While we are using larger tubs for fabrics and larger items, smaller items just get lost in a big tub. I wanted a solution that was cheap affordable, stackable, and see-through. I don't know about you, but I need to be able to see exactly what is in a container. It inspires me to use my materials and makes locating items easier. I've tried all the cute baskets and containers and "out of sight" storage ideas and they just do not work for me.


I also know that I need to keep tools close at hand, and easy to grab and put away. If it's hard, I just won't do it. I'll just pile stuff in a room and close the door -- with the best intentions of coming back and putting things away properly when I have more time.


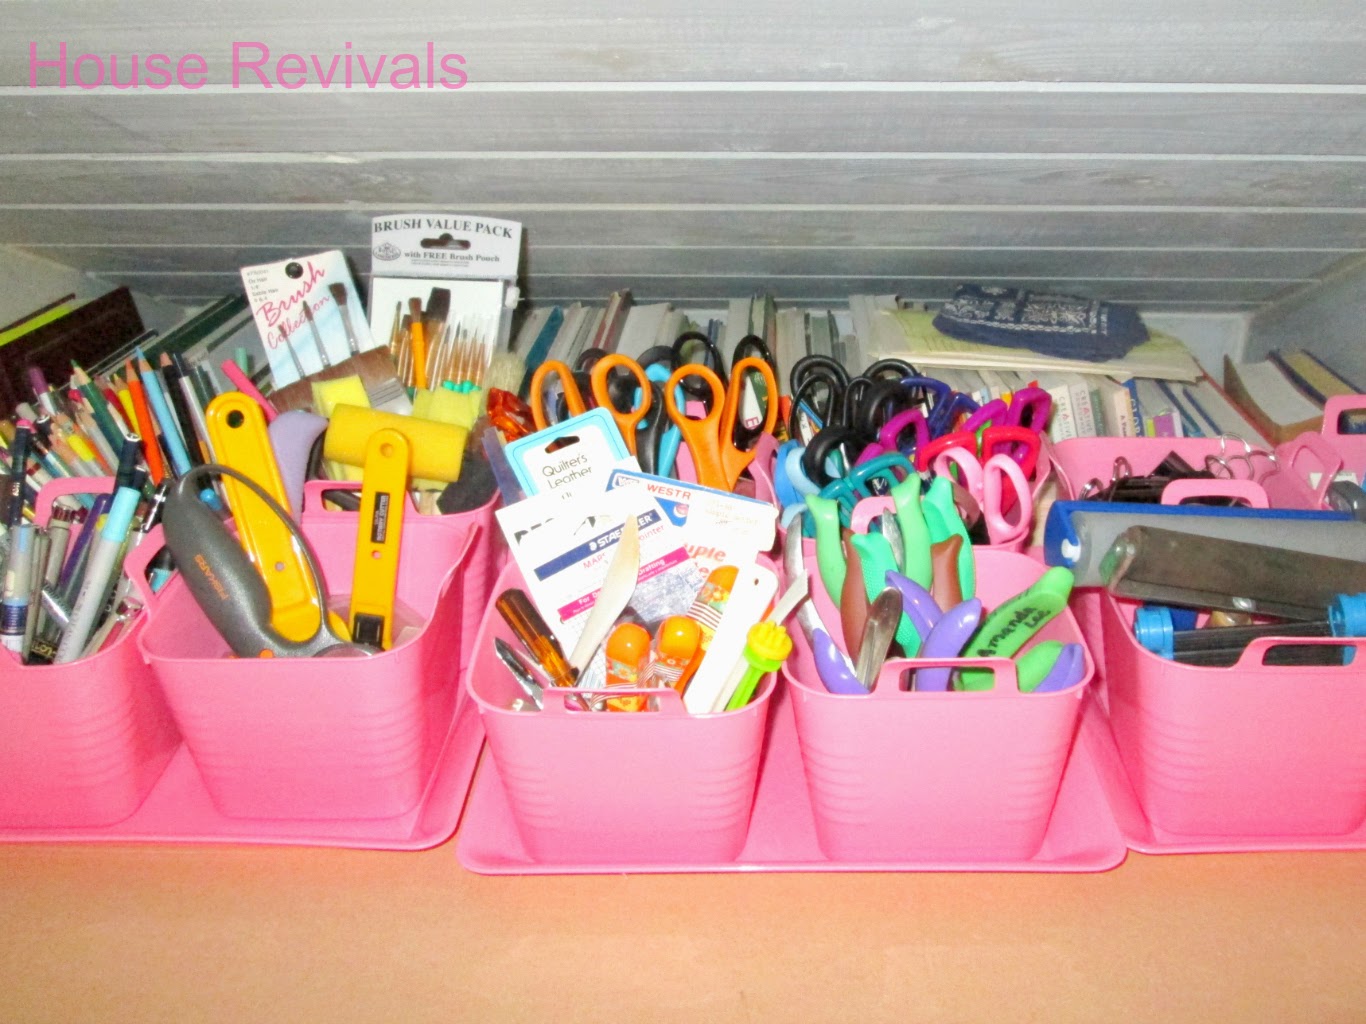
Our beach house attic has nary a window, so I wanted something bright and colorful for tool storage. Our local Dollar Tree had the perfect solution -- these pretty pink tubs! I bought the matching square trays to help corral the tubs. Since the tubs are pretty lightweight, you can secure them to the tray with  hot glue or double-sided tape to keep them from tipping when they're loaded up with scissors.

I used larger pink tubs to store chunkier tools and supplies, such as hot glue sticks and guns.


For stamps and other small items, I used these flat tubs from Dollar Tree. These have been working so well for me at the beach house that I bought more of the tubs to organize my much smaller craft supply area in our crash pad in the city.


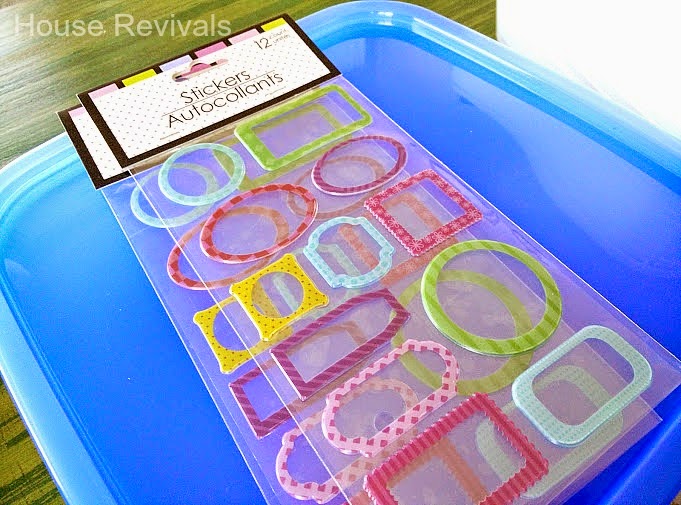
Our Dollar Tree had these cute sticker frames that are perfect for labeling the contents of a tub. The tubs also come in a taller size, with a slightly smaller lid. I purchased several of those for organizing crafts at the city crash pad.


This system is so much easier to use than the assorted baskets and drawers that I was using previously! You can have the best tools and supplies in the world, but if you can't find them or forget you have them, they are pretty much useless.


I love that our Dollar Tree offers storage and organizing solutions that anyone can afford. While it's great to be able to buy expensive craft storage systems, that's just not an option for a lot of people.

Do you have a favorite storage product from your dollar store? Let me know in the comments!

If you enjoyed this post, please subscribe to House Revivals so you won't miss any of the fun projects we have planned. Please feel free to link this post to your favorite social media sites.  Thanks for stopping by!


Tuesday, March 10, 2015

Attic Organizing, Time Traveling, and Cropdusting Adventures

Remember that attic project I've been posting about? The one with piles and piles of boxes? Yeah, that one.


I've been up there since Saturday morning, only coming down to eat or sleep. My husband had a business trip to Atlanta, so I took advantage of the time to come out to the beach house alone and work. Of course, my camera has broken during this process, so I can't share new pictures until I figure out how to download from my little backup camera.

Tuesday, February 3, 2015

How to Make Jewelry From the Junk Drawer

What do you have in your junk drawer? I have a super organized friend (I LOVE her) who has only a pair of scissors, an old steak knife for opening boxes, a hammer and a screwdriver, extra batteries, some string, and a roll of tape.


On the other hand, there are people like me who have multiple junk drawers that we keep stuffing more and more random objects into and that have to be crammed closed. We fill them so full that stuff falls out the back and we find those items years later behind our pots and pans in the lower cupboard.


If you are like my dear friend, you may need to raid your neighbor's junk drawer to do this project (don't worry, she will never notice stuff is missing). Look for any small random objects, suck as bottle tops and washers, ribbons, chains, and broken or orphaned jewelry.


In my case, I had an orphan earring, an orphan napkin ring, a broken chain, and some random wire.


First, I cannibalized the napkin ring for it's pretty blue beaded flower. Then I grabbed some of the wire and scrunched it into a tangled ball with a bail.


My inspiration was this tangled wire ball that I bought with a 50% off coupon from Hobby Lobby.


All the bits and pieces were wired and chained together to form a tassel style assemblage necklace. I used a mysterious brass ring, also from the junk drawer as the "base" that the flower was wired to, and the chain, earring, and charms were suspended from.


I added a couple of charms from this stash-busting project, and strung the new pendant onto a cord. So fast, so easy, and it cost nothing!


Now, I have a lovely new necklace, a (slightly) emptier junk drawer, and a happy pocketbook.

Do you enjoy creating new things from cast off items?

If you enjoyed this post, be sure to check out my side bar to subscribe and for links to lots more tutorials. Please feel free to use the icons below this post to share about House Revivals on all your favorite social media sites. I'm so glad you stopped by. Be sure to stop back often so you don't miss any of the great projects we have planned for 2015!


Thursday, January 29, 2015

Make a Pocket Planner From a Vintage Romance Novel!

When I was in seventh grade, our neighbor gave me a huge box of 1950's era Harlequin romances, in exchange for babysitting. The books were sweet, unrealistic, and innocent.


(this post contains affiliate links)

Although I was a voracious reader, I think I loved the "retro" cover graphics more than I enjoyed reading the stories.

Tuesday, January 27, 2015

Easy Ways to Embellish Paperclips!

It's that time of year when we are filling in and organizing new planners and calenders! I've always loved getting a brand new calender or planner and filling in birthdays and anniversaries and all those other "hard" dates right away. I like to keep several paperclips in my planner to hold my place, or to hold lists or receipts.


I am not into complicated planners -- my system must be simple or I just won't do it.  If a planner adds another layer of complication to my life, I don't want it. For instance, paperclips are awesome, but they need to be easy to see and differentiate from each other and grab.

Wednesday, May 21, 2014

21 Fabulous Ideas for Re-Using Shutters!

On a recent consult, I recommended we visit local salvage yards to find some chippy and rustic old shutters to live over the client's mantel. The clients were somewhat surprised, but open to the idea, so I did a (not so) quick internet search that evening to find similar installations to show them.


Before I knew it, I had stayed up way too late, looking at Google images and Pinterest. Loooooooong after I'd found examples to show my clients, I was still collecting ideas for repurposed shutters! Does this happen to you? Here are a few of my favorites:

This vignette makes me swoon. The raised panel shutters are perfectly faded and worn.


We all love Jane Coslick's renovated beach houses, and this creative re-use of vintage shutters for pantry doors is classic Coslick styling!


Fitted out with sliding barn door hardware, these chunky old shutters are right at home in a traditional interior.


On a smaller scale, here is a small shutter upcycled as jewelry storage.


How about adding brackets and coat hooks and using old shutters to organize the mud room?


At Olive and Love, they used a collection of vintage shutters to add texture and interest to their wall!


At Life as a Thrifter, an upcycled shutter keeps the family organized.


At Organize and Decorate Everything, they created these sweet vignette using chippy white shutters and a pretty wreath.


This trio of shiny black shutters functions as the family's message center. So cute!


The Nester uses a set of old shutters as a backdrop to her art de jour.


At Christina's Adventures, pretty yellow shutters dress up a planter!


How about using a tall shutter to organize your craft supplies? I love this idea!


What a charming idea to use an old shutter as a table runner!


I love the idea of using a chippy old shutter to hang beach towels and swim suits!


How about dressing up some old shutters to create an elegant headboard, like this one?


If space is tight, but you want to create a cute little entry area, a set of old shutters just might be the solution.


Elevate a succulent garden to art with an installation like this one:


Or create a {love}ly piece of word art! (I LOVE this entire vignette.... sigh....)


How about building a "just the right size" kitchen island?

Beyond the Picket Fence via

Here is another shutter wall installation -- this time all in tones of white for a serene feeling space.


Flank a fireplace with tall rustic shutters, and layer with mirrors or art.


Have you used re-purposed shutters in your home? Do you love this trend toward adaptive re-use of architectural salvage?

Saturday, April 5, 2014

DIY Charging Stations For Your Electronic Devices

Electronic devises are driving me crazy! How about you? You're trying to make dinner, and the counter is strewn with cords, there's a device sitting on the floor next to an outlet, and maybe there's even one plugged into a bathroom outlet, that gets in the way every time you want to blow dry your hair. What to do?


There are plenty of retailers that sell charging stations, but I have not yet found one that I like, so off to the interwebs and blogosphere I went for inspiration to make my own.

Tuesday, November 19, 2013

How We Care for our Natural Flagstone Floors

I've talked about our natural flagstone floors at the beach house a few times. Recently I shared a little about how our nephew patched them, and why we chose not to rip them out and replace them.


When we originally bought our beach house, the flagstone floors were pretty dirty.  Actually, they were filthy.