I was looking for an inexpensive way to store pens and markers the other day, but wasn't ready to invest in an expensive storage system.

I wanted something that could sit in a shelf on its side, since that's better for the markers, but that could sit upright at my work table.
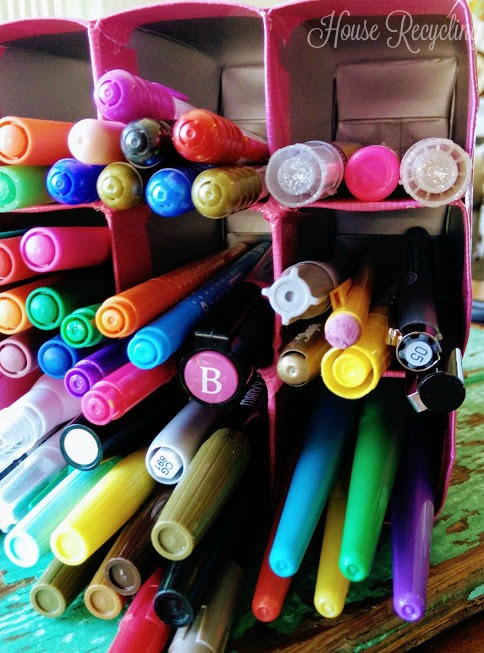
It also needed to be big enough to store lots of pens and keep them sorted.


I was pretty happy with how this project turned out. For less than a dollar's worth of tape, I was able to create much needed marker storage. At some point, I may invest in a fancy marker storage system (maybe when I get my "forever" studio), but for now, this works great.


I wanted something that could sit in a shelf on its side, since that's better for the markers, but that could sit upright at my work table.
It also needed to be big enough to store lots of pens and keep them sorted.
If only there were some sort of product I could pull out of the recycling that had flat sides, was long enough to hold pens, and could be found in enough quantity to create the storage that I needed....

Around this time, we took a trip to Costco, and my husband (who is a great big kid, when it comes to chocolate milk) plopped a box of single serving chocolate milk into the cart. Single serving containers kind of hurt my heart. We don't buy them often, and when we do, I look for ways to get more use out of them. In this case, a light bulb went on in my brain, and I thought "those will work"!

I carefully saved and rinsed each box, opening the end, and trimming them so that I lost as little length as possible. Then I taped the boxes together, using duct tape from Dollar Tree. I did not also use hot glue to hold them together, but I think I would if I did this again -- just to make the whole container more rigid.

After the boxes were all taped together, at the top, I taped around the perimeter of the boxes.

I taped around the top, then the bottom.

Then I decided the sides of the box needed to be more rigid, so I added panels to the sides, using cracker box cardboard from the recycling. If I were to do this again, I would carefully measure and cut the cardboard to fit the sides exactly, for more rigidity.

The side panels were secured with more tape.

I also cleaned up the openings of the boxes, by completely covering the raw edges with the tape.

I was pretty happy with how this project turned out. For less than a dollar's worth of tape, I was able to create much needed marker storage. At some point, I may invest in a fancy marker storage system (maybe when I get my "forever" studio), but for now, this works great.
You might also like this post about creating storage pockets for clear stamps.
You might also enjoy an easy way to create an art journal from an existing book, shared in this article on how to create an altered book.
If you enjoyed this post, please subscribe to House Revivals in our sidebar, so you won't miss any of the fun posts we have planned. Like and follow House Revivals on Facebook, as well, so you won't miss any of the "in between" stuff. For lots more projects that don't always make it into a blog post, check out our Instagram feed.
Thanks so much for stopping by!