Have you tried making artist trading cards? It's a fun concept, where you create tiny little works of art in a 2 1/2 inch by 3 1/2 inch format. As the name suggests, the cards are meant to be traded.
If you go to any art or craft store, you will find chipboard or grunge board artist trading card (ATC) blanks. You can even find blanks made from watercolor paper and other art papers!
You don't need to buy lots of fancy products to create art. You don't even need to use (gasp!) archival quality products! You can, of course, if that is your preference, but sometimes we get so bogged down by products and buzzwords we lose our sense of creative freedom and become less willing to experiment. Other times we want to try a new idea (like artist trading cards!), but simply can't justify the cost of materials for products we're not sure we will enjoy using. Here is how I create mixed media artist trading cards using items from the recycling basket.
To create the foundation for my cards, I use my all time favorite craft product: cereal boxes! One small cereal box should net you about sixteen artist trading card bases. The best thing about using this method (besides the fact that you are recycling and using FREE stuff), is that you partially develop your backgrounds in advance, which saves drying and working time later on.
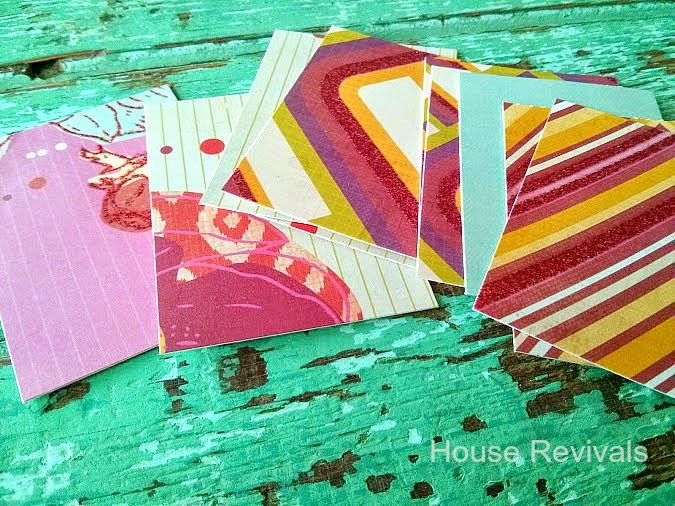
Next, you can hit up your stash of pretty paper scraps. Here I used leftover scrapbook paper, but you can just as easily use magazine pages or wrapping paper or whatever pretty paper you have available.
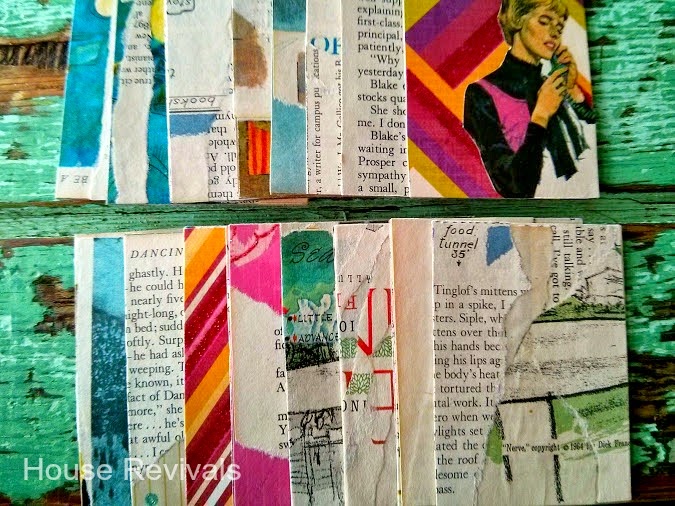
I like to develop both sides of my ATCs, so I also cut up old book pages for the second side. Here I used the insides from an old Reader's Digest Condensed Book.
The book pages are then glued on to the cardboard blanks. I used Mod Podge from the Dollar Tree, but you can use whatever you have on hand. I have used white school glue and various tacky glues in the past. The idea is to create and explore and not get bogged down by specific products.
Do you see how the cardboard curls just a little bit when you do this? The next step should correct that.
Glue your pretty paper to the other side. Having the same amount of moisture on each side of the card can help prevent curling.
If you still have curling, or if you have any air bubbles, use a brayer or your fingers or a dowel or the back of a spoon to smooth them out. At this point, you will have a lovely set of ATC blanks, that are ready to go! You can leave them like this, or you can develop the backgrounds a bit more. I like to do things assembly line style to save time and to avoid dragging out the same supplies over and over, so I keep going.
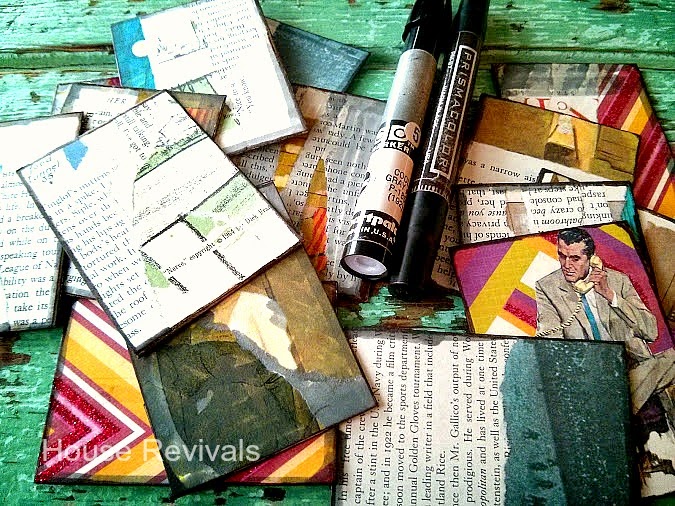
To further develop the backgrounds, grab the leftover bits of book pages and tear them into halves and thirds. Those pieces are then adhered to the ATCs. As I work, I keep my eyes open for cool graphics and illustrations to incorporate into the cards. The man talking on the telephone was an illustration from the Reader's Digest book, and I cut him out and glued him to the "pretty paper" side of a card. I did the same thing with a lady talking on a phone.
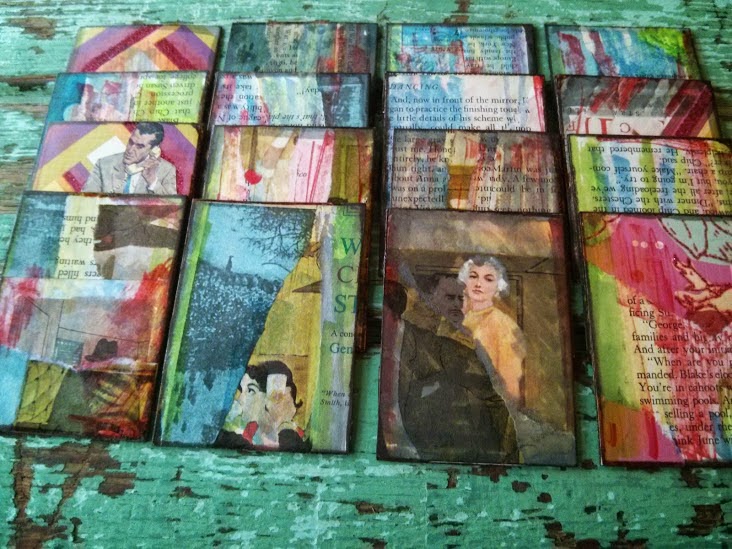
Now you have a really great start on backgrounds for a stack of mixed media artist trading cards! Once again, you can stop right here. Or you can keep going. I kept going just a bit more.
Using markers I had on hand, I distressed the edges of the cards. You don't have to do this -- they look great either way. I just happen to be into distressing the edges of things right now.
While I had my markers out, I went ahead and added a bit of color to the backgrounds. You can use paint for this, but I was working fast, and didn't want to wait for paint to dry. Now, I have these lovely mixed media artist trading card backgrounds that are ready to go whenever I feel inspired to create.
The thing I really like about working in such a small format, is that it's not overwhelming. If I've had a stressful day, and just need a fifteen minute project to help me unwind, I can grab one of these little cards and create something beautiful.
How about you? Do you like quick little projects? Do you like to use recycled products when you create? Do you use art to relax?


