Thursday, April 30, 2015
Thursday, April 23, 2015
Make a Special Bookmark from a Damaged Vintage Book
Earlier this year, I rescued a damaged vintage home decor book. The front and back covers were transformed into a portfolio for my planner. The spine was just too fragile to use for the planner, and had ripped away from the book.
For those of you who enjoy rescuing vintage books, here is a pretty project to make from all those damaged or fragile old book spines. It couldn't be simpler to do, and you can easily whip up several to sell or give as gifts in an afternoon.
Start by gathering up your supplies. You will need:
If the spine is still attached to the book cover, carefully remove it. Remove any bits of glue or threads from the spine and trim the sides evenly. Cut a piece of scrap fabric to fit the inside of the spine, and adhere with Mod Podge. Let dry. Now add stickers or paper scraps or book text to the book mark using your Mod Podge. You can add a protective layer of Mod Podge to the front side of the bookmark if you would like.
Using a hole punch and eyelet setter, add an eyelet to the top of the bookmark.
Tie on a piece of ribbon and you are done!
If you enjoyed this tutorial, please subscribe to House Revivals, so you won't miss any of the fun projects we have planned. Please feel free to share links to this project on your favorite social media sites -- you can use the handy icons at the bottom of this post.
Thanks for stopping by!
For those of you who enjoy rescuing vintage books, here is a pretty project to make from all those damaged or fragile old book spines. It couldn't be simpler to do, and you can easily whip up several to sell or give as gifts in an afternoon.
Start by gathering up your supplies. You will need:
- An old book spine
- Eyelets
- Eyelet Setter
- Fabric Scrap
- Stickers or text cut from old books -- whatever is handy (I used stickers and a piece of text cut from the same book the spine was taken from)
- Decoupage Medium (I used Mod Podge, that I shared about in this post about favorite craft resources)
If the spine is still attached to the book cover, carefully remove it. Remove any bits of glue or threads from the spine and trim the sides evenly. Cut a piece of scrap fabric to fit the inside of the spine, and adhere with Mod Podge. Let dry. Now add stickers or paper scraps or book text to the book mark using your Mod Podge. You can add a protective layer of Mod Podge to the front side of the bookmark if you would like.
Using a hole punch and eyelet setter, add an eyelet to the top of the bookmark.
Tie on a piece of ribbon and you are done!
If you enjoyed this tutorial, please subscribe to House Revivals, so you won't miss any of the fun projects we have planned. Please feel free to share links to this project on your favorite social media sites -- you can use the handy icons at the bottom of this post.
Thanks for stopping by!
Tuesday, April 21, 2015
How to Organize Crafts With Dollar Store Supplies
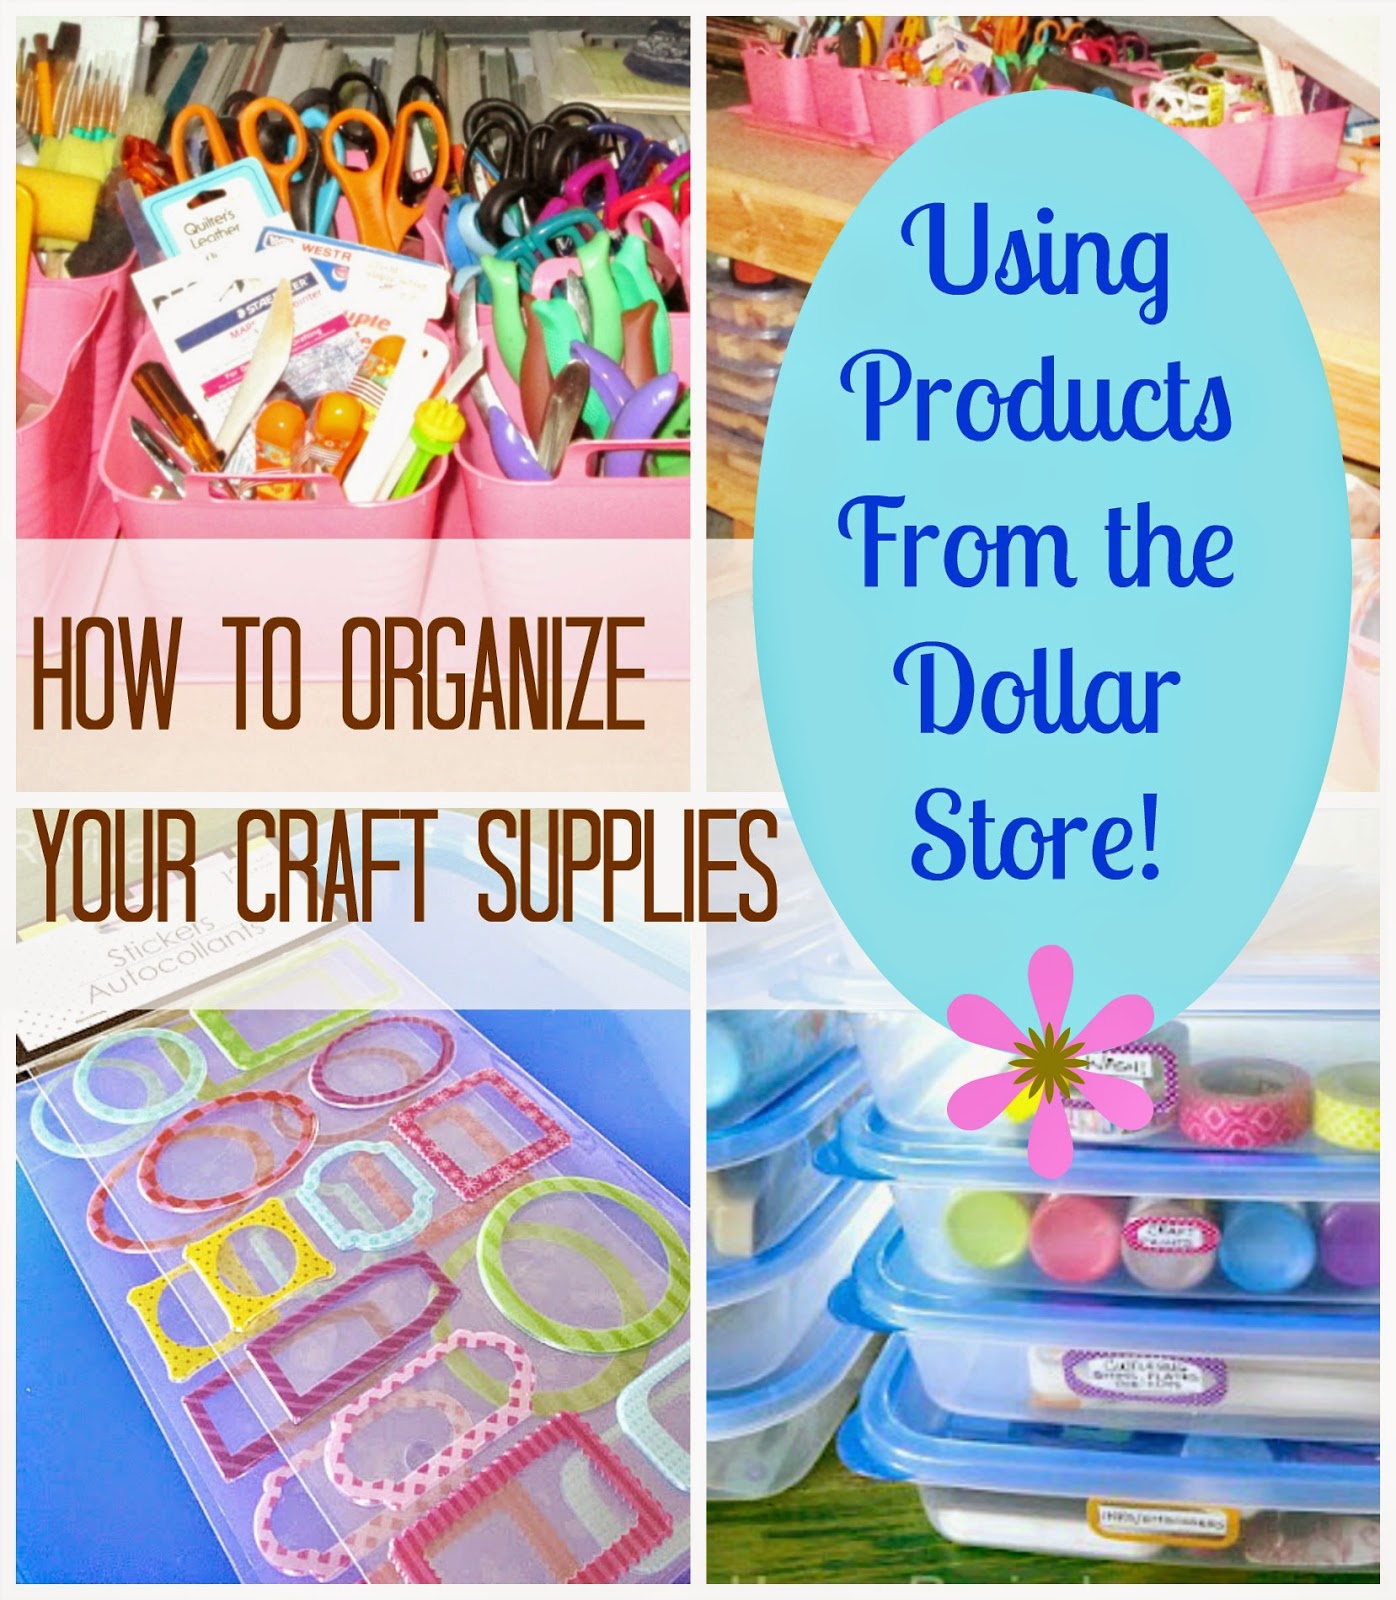
I shared an update recently on our organizing efforts in our beach house attic. Here is the promised post on how we are using products from the dollar store (Dollar Tree) to organize craft supplies and tools.
While we are using larger tubs for fabrics and larger items, smaller items just get lost in a big tub. I wanted a solution that wascheap affordable, stackable, and see-through. I don't know about you, but I need to be able to see exactly what is in a container. It inspires me to use my materials and makes locating items easier. I've tried all the cute baskets and containers and "out of sight" storage ideas and they just do not work for me.
I also know that I need to keep tools close at hand, and easy to grab and put away. If it's hard, I just won't do it. I'll just pile stuff in a room and close the door -- with the best intentions of coming back and putting things away properly when I have more time.
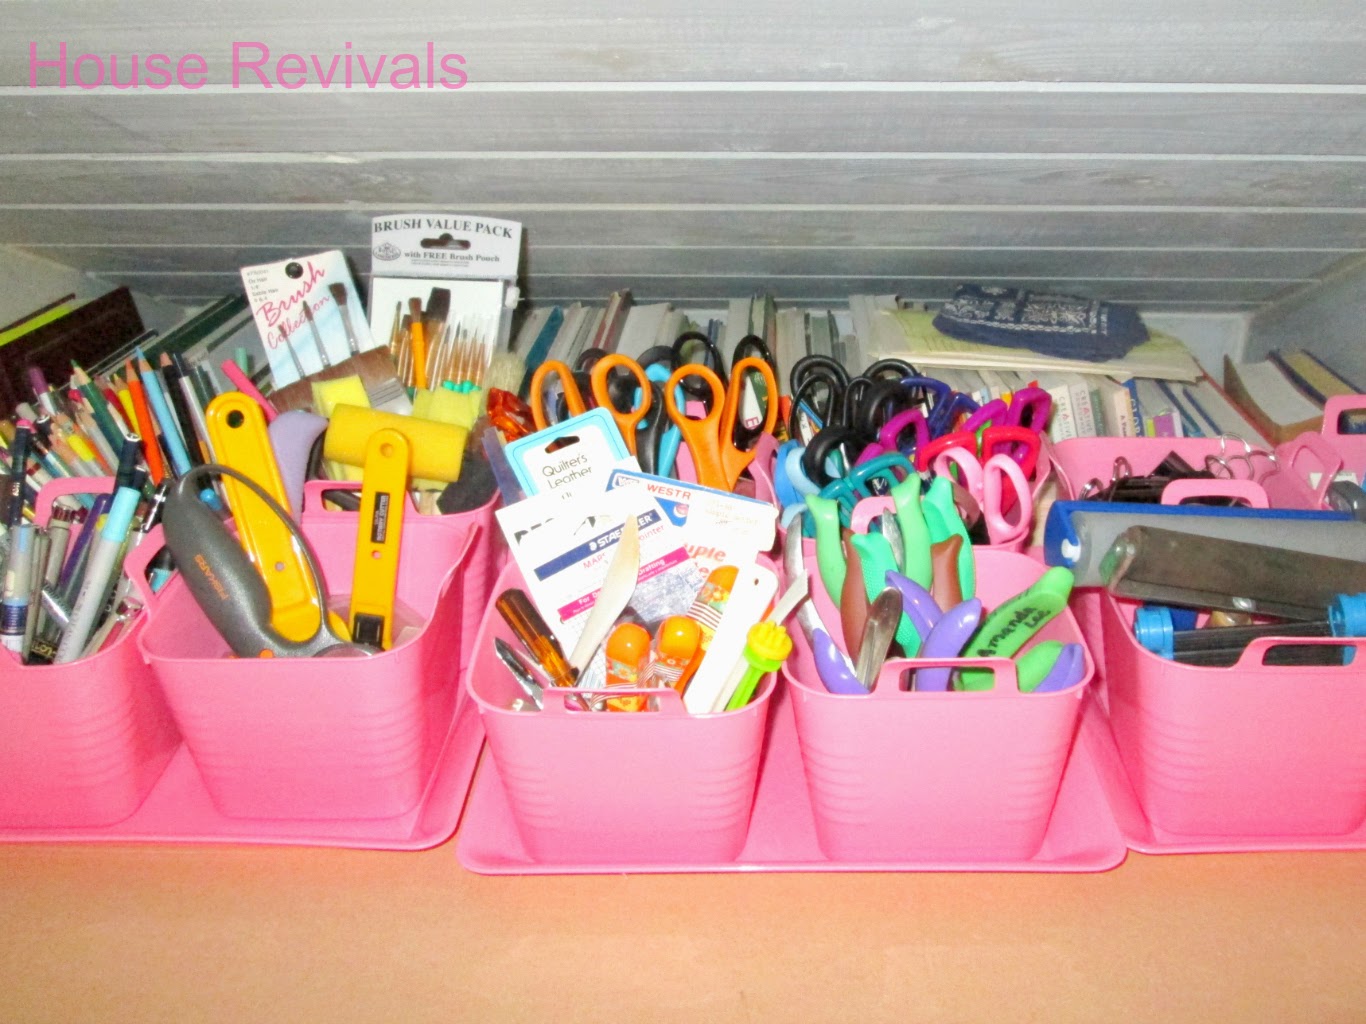
Our beach house attic has nary a window, so I wanted something bright and colorful for tool storage. Our local Dollar Tree had the perfect solution -- these pretty pink tubs! I bought the matching square trays to help corral the tubs. Since the tubs are pretty lightweight, you can secure them to the tray with hot glue or double-sided tape to keep them from tipping when they're loaded up with scissors.
I used larger pink tubs to store chunkier tools and supplies, such as hot glue sticks and guns.
For stamps and other small items, I used these flat tubs from Dollar Tree. These have been working so well for me at the beach house that I bought more of the tubs to organize my much smaller craft supply area in our crash pad in the city.
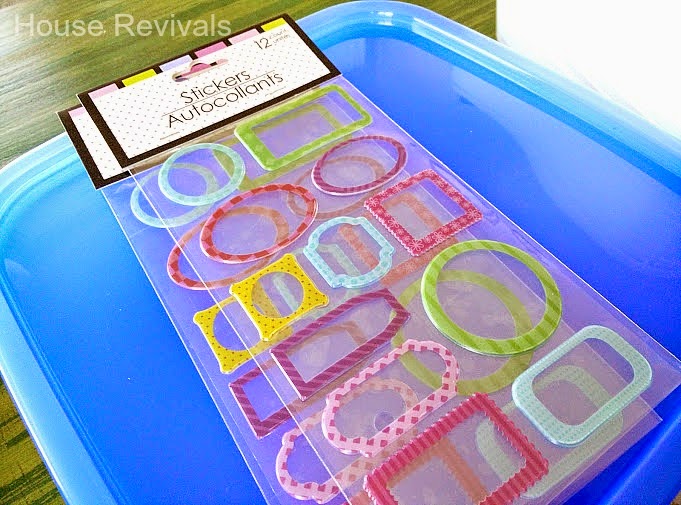
Our Dollar Tree had these cute sticker frames that are perfect for labeling the contents of a tub. The tubs also come in a taller size, with a slightly smaller lid. I purchased several of those for organizing crafts at the city crash pad.
This system is so much easier to use than the assorted baskets and drawers that I was using previously! You can have the best tools and supplies in the world, but if you can't find them or forget you have them, they are pretty much useless.
I love that our Dollar Tree offers storage and organizing solutions that anyone can afford. While it's great to be able to buy expensive craft storage systems, that's just not an option for a lot of people.
Do you have a favorite storage product from your dollar store? Let me know in the comments!
If you enjoyed this post, please subscribe to House Revivals so you won't miss any of the fun projects we have planned. Please feel free to link this post to your favorite social media sites. Thanks for stopping by!
While we are using larger tubs for fabrics and larger items, smaller items just get lost in a big tub. I wanted a solution that was
I also know that I need to keep tools close at hand, and easy to grab and put away. If it's hard, I just won't do it. I'll just pile stuff in a room and close the door -- with the best intentions of coming back and putting things away properly when I have more time.
Our beach house attic has nary a window, so I wanted something bright and colorful for tool storage. Our local Dollar Tree had the perfect solution -- these pretty pink tubs! I bought the matching square trays to help corral the tubs. Since the tubs are pretty lightweight, you can secure them to the tray with hot glue or double-sided tape to keep them from tipping when they're loaded up with scissors.
I used larger pink tubs to store chunkier tools and supplies, such as hot glue sticks and guns.
For stamps and other small items, I used these flat tubs from Dollar Tree. These have been working so well for me at the beach house that I bought more of the tubs to organize my much smaller craft supply area in our crash pad in the city.
Our Dollar Tree had these cute sticker frames that are perfect for labeling the contents of a tub. The tubs also come in a taller size, with a slightly smaller lid. I purchased several of those for organizing crafts at the city crash pad.
This system is so much easier to use than the assorted baskets and drawers that I was using previously! You can have the best tools and supplies in the world, but if you can't find them or forget you have them, they are pretty much useless.
I love that our Dollar Tree offers storage and organizing solutions that anyone can afford. While it's great to be able to buy expensive craft storage systems, that's just not an option for a lot of people.
Do you have a favorite storage product from your dollar store? Let me know in the comments!
If you enjoyed this post, please subscribe to House Revivals so you won't miss any of the fun projects we have planned. Please feel free to link this post to your favorite social media sites. Thanks for stopping by!
Wednesday, April 15, 2015
How We're Turning Our Attic into a Creative Studio
Progress on turning our beach house attic into a studio continues, albeit slowly. It seems like work and social obligations (and back to back colds and flues) have conspired to keep us in the city and away from our beach house for the last month.
On top of that, I misplaced the cord to transfer photos from my camera to my laptop (I finally gave up and ordered a new cord), and my cell phone broke, so I wasn't able to access attic progress pictures from the last visit, so I am waaaaaaay behind in updating you lovely readers!
As you can see, contents of boxes are still being disgorged, and transferred into plastic containers. Where did all that stuff come from? My husband just shakes his head, and mutters something that sounds like "hoarders".
Going through it all has seemed a bit overwhelming at times, but at least we can see the floor finally! I had to stop progress at this point, to order more containers. (Actually, that was just an excuse to leave the attic and go for a walk on the beach.)
I couldn't resist taking a picture of this little dress, packed away with some sewing supplies. This was supposed to be part of my daughter's first grade wardrobe. I loved making her these simple jumpers -- so easy to whip up! All this dress needed was to have two buttons sewn on. Sigh....
I remember that we moved shortly after the school year started, for my husband's job, then were transferred again almost immediately, and the little dress was lost in the shuffle. By the time I was able to unpack it, my daughter had outgrown it. Now, she's nearly thirty and has her own little girl, Summer Rose. I guess I should just get busy and sew those buttons on so Summer can wear it, right?
Here is a reminder of how the attic looked in February. Click here to read more of that story!
I've enjoyed going through stuff, and organizing. Lots of organizing supplies have come from the Dollar Tree, which I will share more about in a future post. To see a list of craft supplies I always buy from the Dollar Tree, click here.
If you enjoyed this post, please subscribe to House Revivals, so you won't miss any of the great projects we have planned! Also, please feel free to use the icons at bottom of this post to share on your favorite social media sites.
Thanks for stopping by!
On top of that, I misplaced the cord to transfer photos from my camera to my laptop (I finally gave up and ordered a new cord), and my cell phone broke, so I wasn't able to access attic progress pictures from the last visit, so I am waaaaaaay behind in updating you lovely readers!
As you can see, contents of boxes are still being disgorged, and transferred into plastic containers. Where did all that stuff come from? My husband just shakes his head, and mutters something that sounds like "hoarders".
Going through it all has seemed a bit overwhelming at times, but at least we can see the floor finally! I had to stop progress at this point, to order more containers. (Actually, that was just an excuse to leave the attic and go for a walk on the beach.)
I couldn't resist taking a picture of this little dress, packed away with some sewing supplies. This was supposed to be part of my daughter's first grade wardrobe. I loved making her these simple jumpers -- so easy to whip up! All this dress needed was to have two buttons sewn on. Sigh....
I remember that we moved shortly after the school year started, for my husband's job, then were transferred again almost immediately, and the little dress was lost in the shuffle. By the time I was able to unpack it, my daughter had outgrown it. Now, she's nearly thirty and has her own little girl, Summer Rose. I guess I should just get busy and sew those buttons on so Summer can wear it, right?
Here is a reminder of how the attic looked in February. Click here to read more of that story!
I've enjoyed going through stuff, and organizing. Lots of organizing supplies have come from the Dollar Tree, which I will share more about in a future post. To see a list of craft supplies I always buy from the Dollar Tree, click here.
If you enjoyed this post, please subscribe to House Revivals, so you won't miss any of the great projects we have planned! Also, please feel free to use the icons at bottom of this post to share on your favorite social media sites.
Thanks for stopping by!
Labels:
crafting,
remodeling,
renovating,
sewing,
studio
Tuesday, April 7, 2015
Tuesday, March 31, 2015
DIY Rope Lampshades
New lampshades can cost a fortune, so whenever we can update the ones we already own, I'm all for it. Here is a DIY rope lampshade project I actually did last year, but in the craziness of life, it never quite made it onto the blog.
Our old house was a Queen Anne bungalow, and not all of the furnishings and accessories work in our contemporary rustic beach house.
Wednesday, March 18, 2015
Why I Destroy Books to Create Art
This is a question that has come up time and again over the years. The House Revivals blog is known for altering books, and tearing pages out of books all in the name of creativity.
I often get comments, on the blog, or other social media, and even in person, suggesting that it is nothing short of sacrilege to destroy a book. I get it. As a bibliophile, and staunch First Amendment supporter, I truly understand the power of the written word. How fortunate we are to live in a time and place where we are free to speak or write or read anything we want. It hasn't always been that way, and in parts of the world, it still isn't.
Wednesday, March 11, 2015
How to Create Altered Art Jewelry
Here is an easy and fun jewelry DIY that uses altered dog tags. These little necklaces take absolutely zero jewelry making skill and go together very quickly.
Altering dog tags is a great way to get your feet wet, if you've been thinking of trying your hand at altered art. Altered journals and canvases can feel a bit intimidating, but dog tags are only about one by two inches in size, so you can finish a project in under half an hour.
Tuesday, March 10, 2015
Attic Organizing, Time Traveling, and Cropdusting Adventures
Remember that attic project I've been posting about? The one with piles and piles of boxes? Yeah, that one.
I've been up there since Saturday morning, only coming down to eat or sleep. My husband had a business trip to Atlanta, so I took advantage of the time to come out to the beach house alone and work. Of course, my camera has broken during this process, so I can't share new pictures until I figure out how to download from my little backup camera.
Labels:
crafting,
organizing,
remodeling,
renovating,
vintage
Thursday, March 5, 2015
How to Decorate with Reds and Yellows
This time of year I really do miss living in a house with a garden. Curling up with a seed catalog on a snowy March day was a favorite pastime in our Colorado days. It was fun to sketch out the flower beds and think about what I wanted to add, come springtime, to create the best combination of colors.
I have always been captivated by the play of colors against each other. When people ask me what is my favorite color I always want to tell them what my favorite color combinations are. One of my all time favorite combinations is yellow with pinks or reds. I still remember the first time I was struck by the combination -- I was a young mom, digging through my mother's fabric trunk for fabric to make a dress for my daughter. I found the prettiest vintage calico with tiny pink rosebuds on a bright yellow background. I was smitten. That fabric found its way into a sweet toddler dress, but I saved every tiny scrap!
Of course, pink and yellow combinations are certainly not new! As I type, the sunset is reflecting off the snow topped Cascade Mountain Range, creating the loveliest pink light against the warmer yellow light reflected from the clouds.
When looking for a particular color combination, look to nature -- she gets it right every time! I love the varying shades of pink against the yellow filaments of the mutabilis rose from Heirloom Roses. So lovely!
Professional designers often pull their color inspiration from nature, or from a nature inspired textile or piece of art.
I found this Etsy listing for depression era fabric. It looks like it would be right at home in one of my grandmother's quilts -- or in the same quilt with the lovely vintage calico from my daughter's dress.
I love the exuberance of this 1960s era fabric! When decorating a pink and yellow color scheme, you can draw inspiration from anywhere -- nature, a piece of fabric, a rug, a piece of art, a statement piece of furniture, and so on. Either of the vintage fabrics shown here would be a great jumping off point for a cheery, youthful looking space.
Sometimes your inspiration may come from a couple of different places, and that is perfectly fine!
For instance, this table from 1st Dibs (which I shared in my post about decorating with zinc) already has some rosy staining to the patina of the drawer. The lovely rose I shared above, and the vintage work table look like they were meant to live together!
In this photo, from Country Living, the pinks, reds, and yellows live together beautifully, and the floral arrangements in the space reinforce the color scheme.
In this guest room, from Kelly Wearstlers's home, featured in her book, Hue, the color scheme "grows up". The combination of modern forms and blocks of color make for a beautifully sophisticated space!
Kendall Wilkinson designed this formal living area, using a strong goldenrod color on the walls, with raspberry seating. The bold color choices are echoed in the sofa pillows. The use of neutral colors on some of the larger elements helps keep the color scheme from getting out of control.
Are pinks and yellows colors you would use? It is such a versatile combination -- perfectly at home on a rose, a toddler dress, or in a sophisticated modern space.
I was looking through some old photos and found the still life, above, where I placed an arrangement in a vintage metal file box. I also found this photo, where I shared how to make plant markers from vintage silverware. The crocheted vintage trivet was a thrift store find!
If you enjoyed this post, please let me know in the comments! Be sure to subscribe to House Revivals, so you own't miss any of the great articles and tutorials we have planned.
Thanks so much for stopping by!

I have always been captivated by the play of colors against each other. When people ask me what is my favorite color I always want to tell them what my favorite color combinations are. One of my all time favorite combinations is yellow with pinks or reds. I still remember the first time I was struck by the combination -- I was a young mom, digging through my mother's fabric trunk for fabric to make a dress for my daughter. I found the prettiest vintage calico with tiny pink rosebuds on a bright yellow background. I was smitten. That fabric found its way into a sweet toddler dress, but I saved every tiny scrap!
Of course, pink and yellow combinations are certainly not new! As I type, the sunset is reflecting off the snow topped Cascade Mountain Range, creating the loveliest pink light against the warmer yellow light reflected from the clouds.
Professional designers often pull their color inspiration from nature, or from a nature inspired textile or piece of art.
I found this Etsy listing for depression era fabric. It looks like it would be right at home in one of my grandmother's quilts -- or in the same quilt with the lovely vintage calico from my daughter's dress.
I love the exuberance of this 1960s era fabric! When decorating a pink and yellow color scheme, you can draw inspiration from anywhere -- nature, a piece of fabric, a rug, a piece of art, a statement piece of furniture, and so on. Either of the vintage fabrics shown here would be a great jumping off point for a cheery, youthful looking space.
Sometimes your inspiration may come from a couple of different places, and that is perfectly fine!
For instance, this table from 1st Dibs (which I shared in my post about decorating with zinc) already has some rosy staining to the patina of the drawer. The lovely rose I shared above, and the vintage work table look like they were meant to live together!
In this photo, from Country Living, the pinks, reds, and yellows live together beautifully, and the floral arrangements in the space reinforce the color scheme.
In this guest room, from Kelly Wearstlers's home, featured in her book, Hue, the color scheme "grows up". The combination of modern forms and blocks of color make for a beautifully sophisticated space!
Kendall Wilkinson designed this formal living area, using a strong goldenrod color on the walls, with raspberry seating. The bold color choices are echoed in the sofa pillows. The use of neutral colors on some of the larger elements helps keep the color scheme from getting out of control.
Are pinks and yellows colors you would use? It is such a versatile combination -- perfectly at home on a rose, a toddler dress, or in a sophisticated modern space.
I was looking through some old photos and found the still life, above, where I placed an arrangement in a vintage metal file box. I also found this photo, where I shared how to make plant markers from vintage silverware. The crocheted vintage trivet was a thrift store find!
If you enjoyed this post, please let me know in the comments! Be sure to subscribe to House Revivals, so you own't miss any of the great articles and tutorials we have planned.
Thanks so much for stopping by!
Subscribe to:
Posts (Atom)