It hurts my heart to throw away a large mailing envelope. Why buy new envelopes, when you can just reuse an old one and save a tree, right?
I wanted to create some mail art to send to my granddaughter. Her seventh birthday was coming up, and I wanted to send her some goodies.
She loves Claire's and Dollar Tree, so I was planning to send a handmade card, and a couple of gift certificates (this, on top of the stuff we'd shipped from Amazon, of course).
I had this large envelope that I'd been using under a gluing project, to protect my table, so I decided to give it a third life and use it to create mail art.
I started by cutting the envelope down to a smaller size.
Next, the envelope was covered, front and back, with vintage book pages.
I sketched out where I wanted the addresses to go. (Those sketches got kind of buried by other media before I was finished.)
Then I went to town, using acrylic paints, markers, pens, and washi tape.
I decorated both the front and the back of the envelope.
When I'd reached a point where I was happy with the envelope... I kept going.
I found a card with the number seven from a vintage kid's game, and decided to add it to the front.
Then, I decided to add some vintage rickrack and some fabric tape. I will unapologetically cover the envelope with packing tape before I mail it, so the rickrack and fabric tape won't cause problems with the postal machines.
I love how it turned out, and when my granddaughter receives it, she will know something special is inside. Right now, her Daddy is in Afghanistan, and we're trying extra hard to keep her cheered.
She's also got a new little brother, to keep her mind occupied, but he probably won't care too much about mail art.
He was born two days after his Daddy deployed. Poor Daddy -- he was in Afghanistan when both his kids were born. He missed his daughter's first year, and now he will miss his son's first year. Maybe he needs some mail art, too!
If you like this post, you might also enjoy this post about how to make your own card stock.
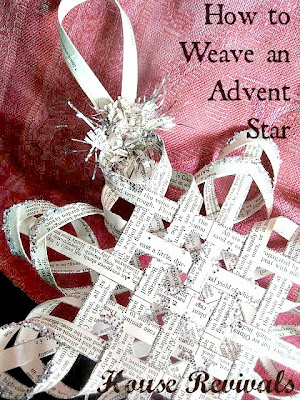
You might enjoy this post about weaving stars from vintage book pages.
You might also like this post on how to use up and upcycle old notecards.
If you enjoyed this post, please subscribe to House Revivals in the sidebar, so you won't miss the fun projects we have planned. Find us on Facebook, too, so you can catch all the "in between" stuff, and see what I'm working on throughout week on Instagram. Feel free to link today's project to your favorite social media sites.
Thanks so much for stopping by!
Thanks so much for stopping by!
~Amanda


