Here is a fun project for creating a journal using junk mail, items that would normally be thrown away, and leftovers from other projects.


For more ideas on what to use in your smash journal, you can read this article on choosing materials for mixed-media art.

For an easy way to create a journal from an existing book, read this article on how to create an altered book.
If you enjoyed this post, please subscribe to House Revivals in our sidebar, so you won't miss any of the fun posts we have planned. Like and follow House Revivals on Facebook, as well, so you won't miss any of the "in between" stuff. For lots more project that don't always make it into a blog post, check out our Instagram feed.
Thanks so much for stopping by!

I had this pile of junk mail and return envelopes and paper scraps that I thought I could make into a nice little junk journal, so I put it in a drawer and forgot about it for several months.
Then, the other day I was cleaning, and found the pile, and decided I either needed to put the stuff in the recycling bin, or make something. So, I stopped cleaning, and sat down to craft. Sometimes we need to make sacrifices for our art, right?
Then, the other day I was cleaning, and found the pile, and decided I either needed to put the stuff in the recycling bin, or make something. So, I stopped cleaning, and sat down to craft. Sometimes we need to make sacrifices for our art, right?

For the cover of the journal, I had two sheets of computer paper that had been used as blotter paper under other projects. I glued them together, and folded them in half, brayering them well.

Next, I grabbed the various scraps from the pile and glued them onto the cover. I just used white glue, and brayered as I went, to get good contact and to keep it really flat.

I kept adding bits and pieces to both the front and back of the cover, inside and out. I ended up with a very sturdy collage cover. I was mindful not to bulk up the area where the cover is creased.

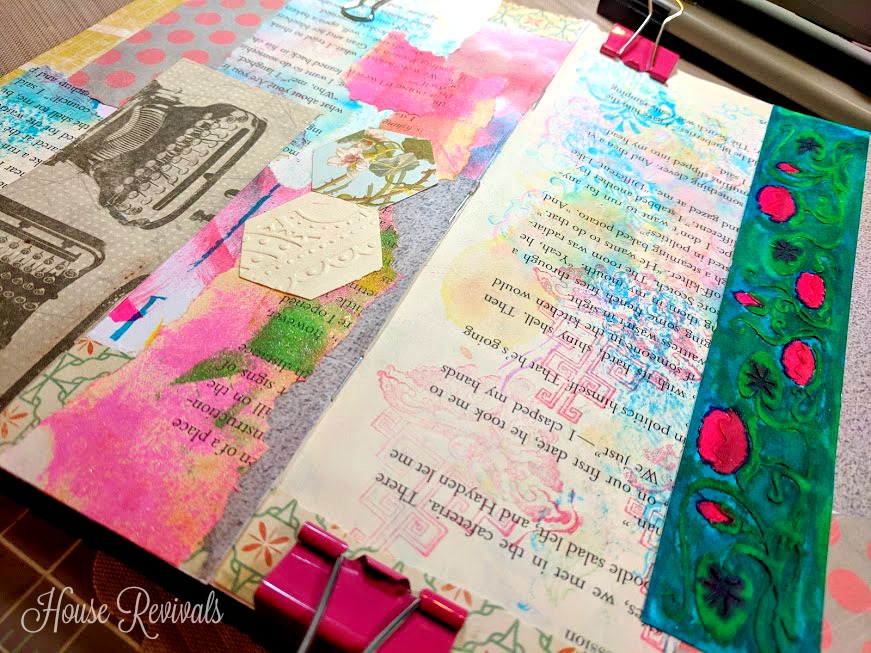
Next, I gathered the items I wanted to bind into my journal, and folded them in half, and arranged them the way I wanted them. (For the center of the book, I used an opened envelope, which I re-glued afterward to cover the staples.)

I know lots of folks like to stitch their junk journals, and I get it, but I seriously wasn't in the mood for that, so I clipped the pages together, and grabbed my long arm stapler.
It's okay to use a stapler -- after all, it's just junk mail, right?

Saving time on binding, left me with a little more time to decorate the cover.

I started by gluing a piece of long string to the back cover to wrap around the journal to keep it closed.

I also used a piece of wide washi tape to reinforce the spine. Next, I reached into the drawer where I throw bits and pieces left overs from other projects and grabbed a tag, a rosette, a banner, the word "hello", and a die cut medallion.

This entire project took about an hour, from the time I decided to quit doing housework, until I wrapped the bakers twine around it and went to make dinner.

For more ideas on what to use in your smash journal, you can read this article on choosing materials for mixed-media art.

For an easy way to create a journal from an existing book, read this article on how to create an altered book.
If you enjoyed this post, please subscribe to House Revivals in our sidebar, so you won't miss any of the fun posts we have planned. Like and follow House Revivals on Facebook, as well, so you won't miss any of the "in between" stuff. For lots more project that don't always make it into a blog post, check out our Instagram feed.
Thanks so much for stopping by!