Google+ House Revivals

Wednesday, December 19, 2012

New Woven Star Tutorial for 2012

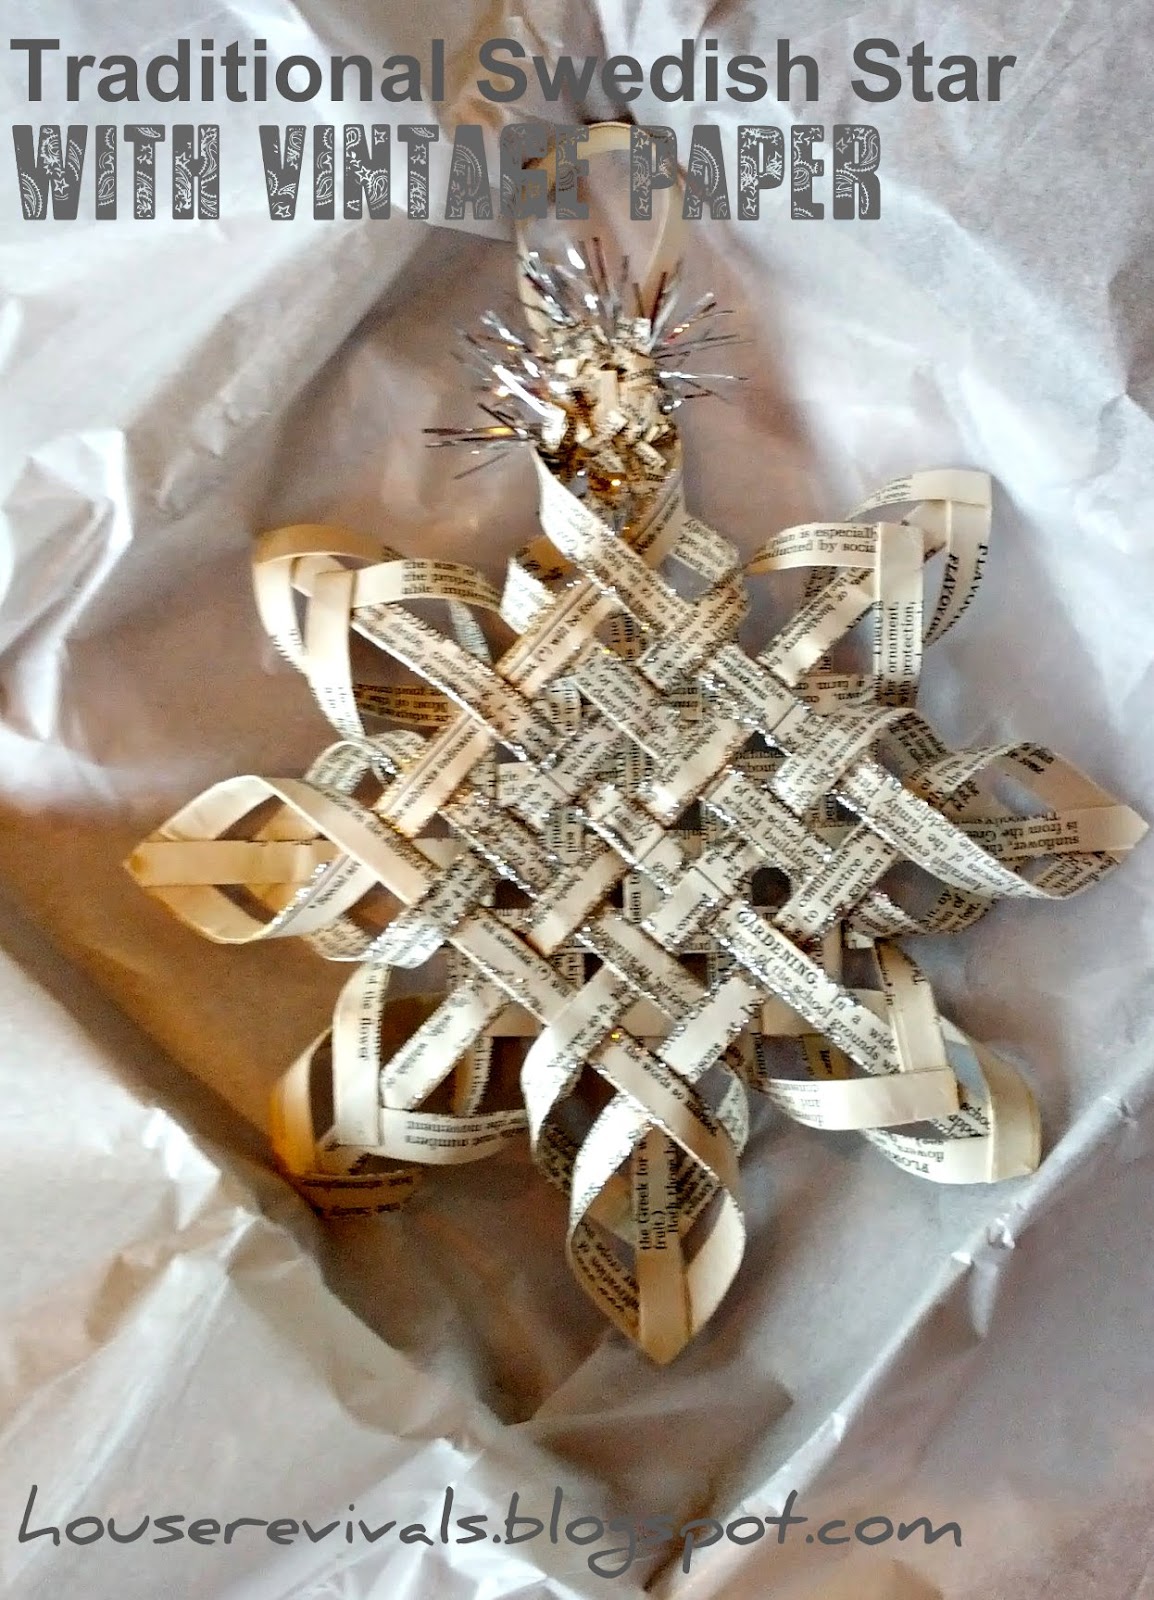
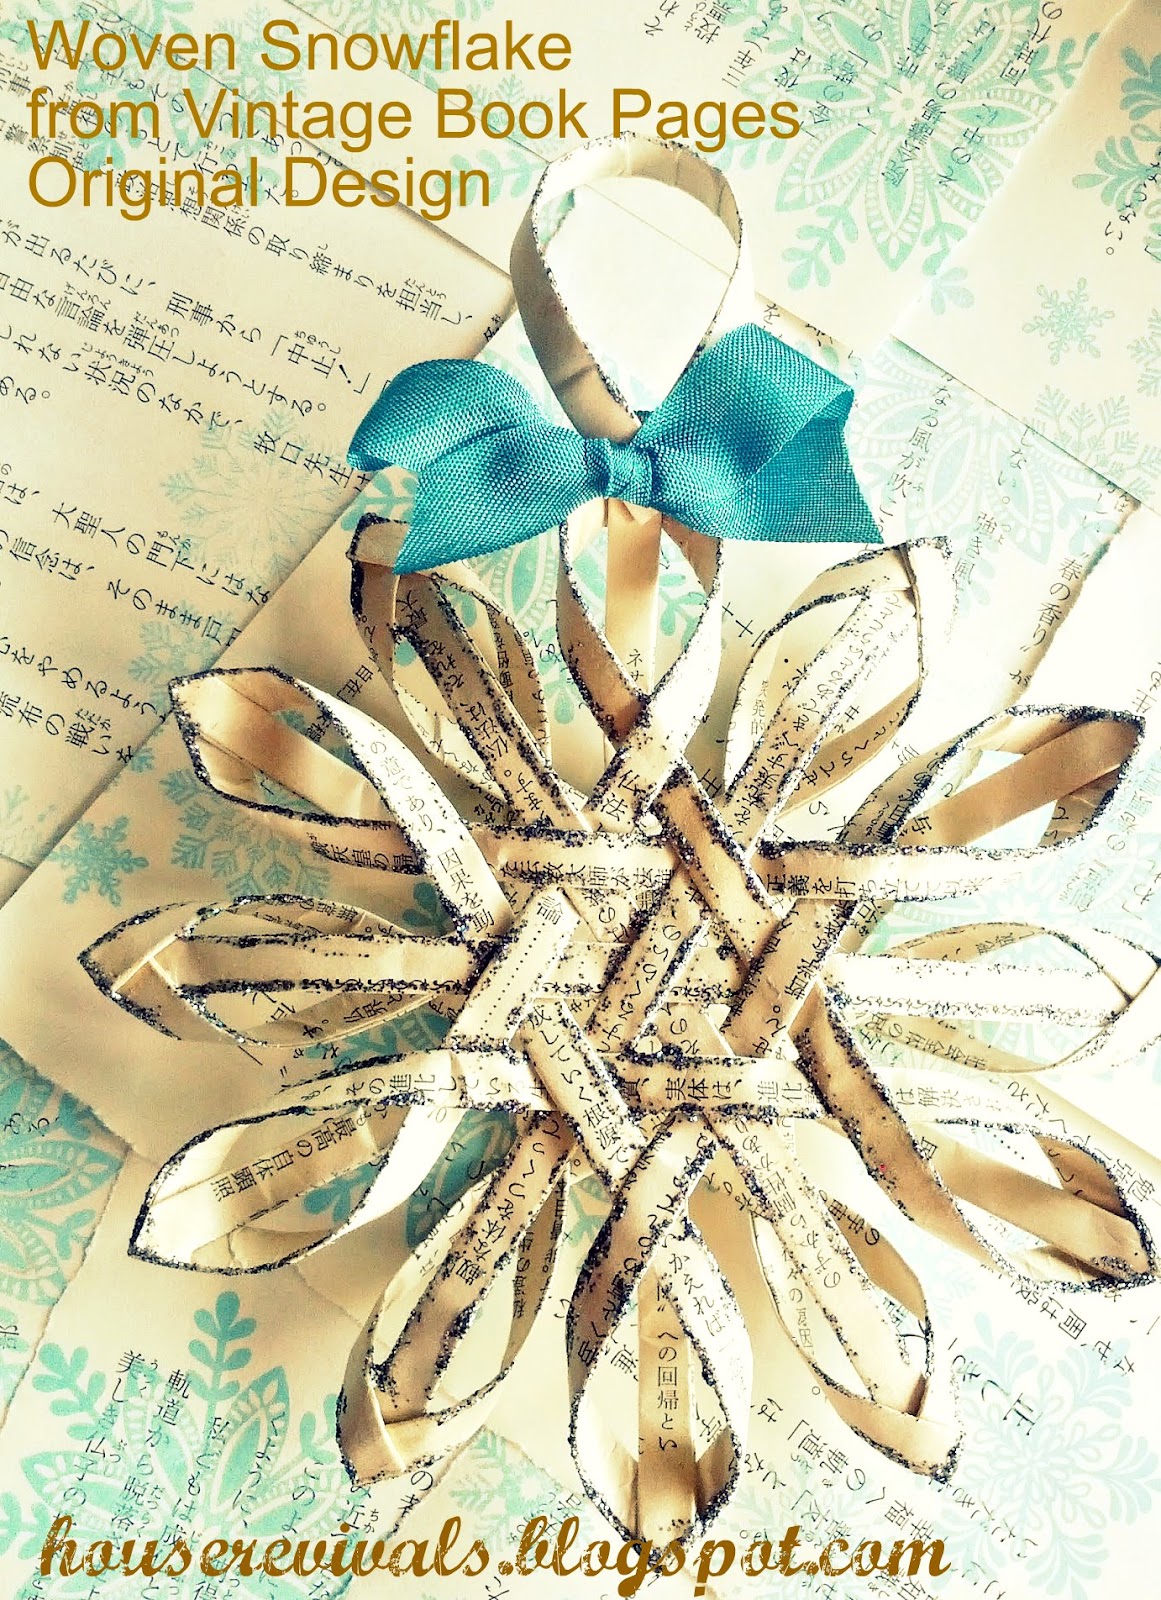
Folks, this is not the woven star tutorial I was planning on posting this week, but I just could not resist the urge to create a star woven from vintage paper based on the lovely antique Swedish star my good friend Tina has had in her family for nearly one hundred years!  According to my friend, variations of these stars are very commonly seen hanging in windows at Christmastime.  Here is my star inspired by this family's treasured heirloom.

Here is the beautiful inspiration star -- isn't it fabulous? This particular star belonged to Tina's beloved Farmor, and is a treasure to her family.  Be sure to check out my friend's blog, Life is Good (Livet är härligt?)-- she often shares sweet little stories and vignettes of her childhood in Sweden.
If you have photos of an heirloom woven star that you would like to share, feel free to leave a link in the comments section or to send me an email.  I would love to hear your stories!

Here is how to make my version of Tina's heirloom woven star:

I like to work with folded strips of vintage book paper. (you can find instructions for how I create my folded paper strips here)  I love the softness of the folded edges, the lovely yellowing of the paper, and the vintage typography and graphics.  Making the strips this way is definitely time consuming (as in turn on a movie, and start folding -- when the movie is over you will probably have enough strips to make a half-dozen stars).  You can save LOTS of time by using a different material, such as heavy scrapbook paper (cut into strips with your handy dandy paper cutter).   Seriously, you can use metal, plastic, reed -- whatever inspires YOU!

To create this eight-pointed woven star, gather strips of whatever you will be using -- in this case, I used folded vintage book pages.  You will need twenty strips to create your star.  Since the inspiration star has slightly wider strips forming the center cross, I folded four strips approximately one-half inch wide,  and sixteen strips one-quarter inch wide.  Each strip is approximately six inches long.  I used the size of the book page to determine the length and width of my strips, to reduce waste and to save time.

So, to repeat, you need twenty strips, in my case, four were one-half inch wide and sixteen were one-quarter inch wide.  Of course, you don't have to make your center strips that wide -- that's just what I did, based on the inspiration.  If you leave all the strips the same width, you will end up with a star that looks like this star:

You can see that it is virtually identical in concept to the star we are doing today!

Begin by finding the center of your two pairs of fat center strips, and gluing them together at right angles.  Use a clear drying glue.  Tacky glues are great for this project.

Next, weave the remaining strips as shown, securing intersections with a tiny dab of glue.

Glue the adjacent corner pieces together to create star points. This is just a bit tricky, as each piece needs to be twisted over toward the other piece before securing.

Now glue the second set of perpendicular corner pieces together.
Make two identical sides.

Now, flip one side on top of the other side, as shown. Basically, one side needs to be offset from the other by forty-five degrees.

Now secure the center strips to the star points.  You can tuck them inside the star points, as I have done, or you can glue them to the outside of the star points, as in the antique inspiration star.  Trim the ends.

Embellish and add a hanger made from a looped strip of folded paper, if you like -- or simply tie on a length of ribbon or twine to hang it by.

Mine is embellished with glitter and vintage tinsel, but it would have been very sweet left plain.  Make your own star in whatever way inspires you.


If you would like to know more about Swedish culture, and possibly even learn to say a few words in Swedish, be sure to check out this series that Tina wrote for her last A to Z Challenge!

Grab your graduation prize!


Give Tina a visit, then come back, make some hot cocoa, and weave your own traditional star!

Edit: To see yet another variation of Tina's antique star, see this post:

 Enjoy!

This post is being linked to the following lovely places:
Funky Junk Interiors
Feathered Nest Friday
504 Main
My Romantic Home
Shabby Creek Cottage
 Whatever Goes Wednesday
Hookin' Up with HoH 
Yesterday on Tuesday

Monday, December 17, 2012

Make a Snowman Ornament from a Recycled Lightbulb

This is a fun craft idea I ran across several years ago.  I'm not sure where I first saw it, but it was just too cute not to give it a try ( and you know I love to recycle stuff)! edit:  Here is where I found the inspiration.


This snowman ornament is made from recycled light bulbs!

  • Start with a burned standard light bulb.  Clean the bulb well with a cotton ball and some rubbing alcohol.Next, prime the light bulb with gesso.  Do several coats of gesso, letting it dry between coats.  Use an old paint brush and really get messy, adding texture to look like packed snow.
  • Now add a topcoat of paint.  I used an off white to give my snowman some patina, but you can use a brighter white if you like.
  • The snowman hats are made from orphan socks.  Simply cut off the cuff of a sock, fringe the top, and tie the top just under the fringe using a narrow strip of the sock fabric. Use hot glue to secure the hat to the snowman's head -- hiding the screw threads.  The mufflers are simply made from a rectangle of the sock fabric that has the edges folded under and is rolled and hot glued into place.
  • Glue on some stick arms, and cut a scarf from a scrap of fabric.
  • Embellish with buttons if you'd like.
  • Give your little guys a face using a sharpie pen, and, if you'd like, brush on some powdered blush to give their cheeks a rosy glow.

Easy peasy, I promise!  This would be a fun project to do with the kids, instead of baking (is your family completely "over" sweet treats this holiday season?)  -- and it's calorie free!


Friday, December 14, 2012

Make a Pretty Hostess Gift from Upcycled Coasters

Do you always see sets of old coasters at the thrift store?  My local Goodwill has them all the time -- dated, and a bit worse for wear.  I decided to to grab some the other day to up-cycle into pretty hostess gifts.


This is such a simple project, you probably don't need instructions, but here is how I transformed a set of sad old eighties era coasters into a unique and personal gift.


Begin by cleaning and sanding your coasters. You need to rough up the glossy coating on the coaster surface.


Next, prime the coasters so the pattern won't show through your decorative paper.


Use a coaster as a template and cut out some decorative paper -- I used vintage book pages.


Decoupage your paper to the top of the coasters.


Gild the edges with some gold craft paint.   Here's a tip to achieve really rich looking gilding:  Always paint a layer of red paint under your gold paint or gilding -- your gold will have a richness and depth like you see on the edges of a fine old book, or an antique frame.


And there you have it!  A simple project to give your holiday hostess!


Wednesday, December 12, 2012

Traditional Scandinavian Woven Star

Hello, dear readers!  Are you all absolutely crazy busy?  If you are anything like me, you decide to take on a few big home improvement projects right before Christmas.  I feel like I've been neglecting the blog, not because I am not doing anything, but rather because I am so busy doing, I don't have time to write about it!  Does this happen to you?

I still have these woven stars I need to show you how to make!  I actually have the tutorial photographed -- just haven't had two minutes to type out the instructions.  Yikes!

Also, I've been doing a bit of research on the inspiration stars, and their history.  If you haven't seen the tutorials I did for these stars a couple of years ago, you can find the first one here. 


They are an old traditional design.  Of course, we all knew that, right?  Several people told me they looked like an old Scandinavian design.  Indeed, they were right!  This type of woven star ornament is definitely an old traditional design and is a part of our cultural heritage.


Here is a version that some of my Swedish friends hang in their window. This woven star is thought to be about one hundred years old!  Isn't it stunning?  This gorgeous ornament is a priceless family heirloom!   A sweet reminder of a beloved Farmor.

I've seen them called Finnish Stars, Scandinavian Stars, and Swedish Stars, among other names.  Some just call them window stars. Whatever the name, variations of these stars are part of a lovely Christmas tradition for many families.

Which is why it is so sad that right now, at Christmastime, some people are being threatened with legal action for sharing these stars, and for sharing how to make them.  Just ordinary people like you and me, who have figured out how to make versions of these lovely window stars, and have photographed and written their own expression of how they make them.  If you are one of those people, remember please that your own expression, as you publish in your own blog, is copyrighted by you.  It belongs to YOU.  No one has the right to bully you, or misuse their own copyright to force you to remove your own expression of an idea.  You have worked hard on your projects, and you deserve to be able to share them.  One of my favorite things about blogging is sharing ideas.  And did you know that ideas are not copyrightable? It's true.  Here is a link to the US Government copyright website  where I learned that. I also learned that processes are not copyrightable. 

I am not a lawyer, and nothing I have written should be construed as legal advice.  This is simply information that I have gathered, and a link to my source.  If you are one of the many people being intimidated into removing your own material, regardless of  whether it is a project like this one or something completely different, I would encourage you to know your rights and to seek the advice of an attorney.


this article is being linked to the following lovely places:

Tuesday, November 27, 2012

Vanity Bench Makeover Trash to Treasure

Have you ever had one of those embarrassing moments where you have house guests at the house you've been remodeling for nearly two years, and you realize you are using the same cardboard boxes for tables and TV stands that you were using when they visited a year earlier?  Yikes!  This happened to me a few weeks ago, and I realized it was time to start furnishing the beach house properly.


One of my problems is that the furniture that worked beautifully in my old Queen Anne Bungalow doesn't really work in my contemporary rustic beach house.  The other problem is that my budget will not allow a big new furniture shopping spree :)


So, I've had to get creative.  This vanity bench is one I've had for years -- it goes with a vintage bedroom set I have, but it has been relegated to basements and closets, because it was in such terrible condition.  Although the piece is very sturdy, the maple veneer was in bad shape, and the carved medallion was missing some pieces, so refinishing in a natural finish just wasn't going to be practical.  My husband wanted to throw the bench away, but I made him keep it, and we dragged it across the country when we moved, then stored it for two years! Do you have any idea how much husbands LOVE to pay money to store broken furniture?  Ha!


Well, I am glad we saved it.  We gave it a couple of quick coats of green paint (leftover from another project), then we distressed the edges with sandpaper.  The carving got hit with a little sandpaper, then the exposed wood and low points got hit with a little bit of walnut stain.  I'm loving the beachy distressed look!  The "antiquing" keeps it from looking too precious.


I was literally tearing open boxes in the attic, trying to find fabric to reupholster the seat, and grabbed the first piece I found that was heavy enough and big enough -- I got pretty lucky, I think! 


This is one of EIGHT furniture rehabs I've done in the last three weeks.  Plus, I have two pieces in progress, and several pieces waiting in the wings (we've got to get this place furnished, so my guest see some progress has been made between their visits)!   I'm guessing you will be seeing a few more of these furniture posts over the next several weeks :)

What projects are you working on to get your house "guest ready"?


 This post is being linked to the following lovely places:
Miss Mustard Seed 
504 Main Tickled Pink 
Funky Junk Interiors


Monday, November 19, 2012

Recycling Old Sweaters and Old Memories

A couple of years ago, I was planning our annual Parade of Lights Christmas party.  We lived in a historic neighborhood, within walking distance of a charming little downtown area.  Every year, our town held a Parade of Lights, complete with Girl Scout troops and Cub Scouts, local firetrucks, school marching bands, and of course, Santa!


Our party would meet at our home for hot drinks, then bundle up and walk down to Main Street.  We have so many great memories of those days. When we started, our kids were, well...., KIDS.  Then, through the years, we watched them grow up.  In their high school years, they sometimes wanted to go to the parade with their own friends, but by college, they were back, with boyfriends and girlfriends.  They enjoyed sharing the story of our little tradition with their current loves, as we shivered and huddled close together and waved at the parade participants.


Now, in our household, parties are planned months in advance -- even years.  After our last Parade of Lights Party, I decided to package a pair of mittens with everyone's party invitation the following year.  I hit the thrift stores and bought lots of old wool sweaters, brought them home, felted them in the washing machine, made a mitten template, and made a million pairs of mittens!  Okay, maybe a million is a *slight* exaggeration :)


I stitched them together on my sewing machine, and made coordinating felted wool flowers for the ladies' cuffs, using scraps leftover from the project.  Then they were packed away to be sent out with invitations the following year.


Little did I know, at the time, that we had hosted our last Parade of Lights Party.  The new year brought big changes to our family -- job changes, a renovation (the first of three in a row-- including this beach house), a long distance marriage, a home sale, an engagement, graduations, a major move and the packing into storage lockers of all our worldly goods.  The mittens were forgotten.  Three Christmases came and went, and the mittens, along with everything else we owned, stayed in storage.

It was a bittersweet moment to find them recently.   I still love them, and they brought back some really great memories of times shared with family and good friends.  What shall I do with them?  Last year we started a new tradition -- an annual Christmas tree bonfire on the beach.  Although our summers are sunny and warm, our winters at the beach house are c-c-c-coooooold, so maybe we can box mittens up with an invitation to a post-Christmas bonfire? 


Instructions:
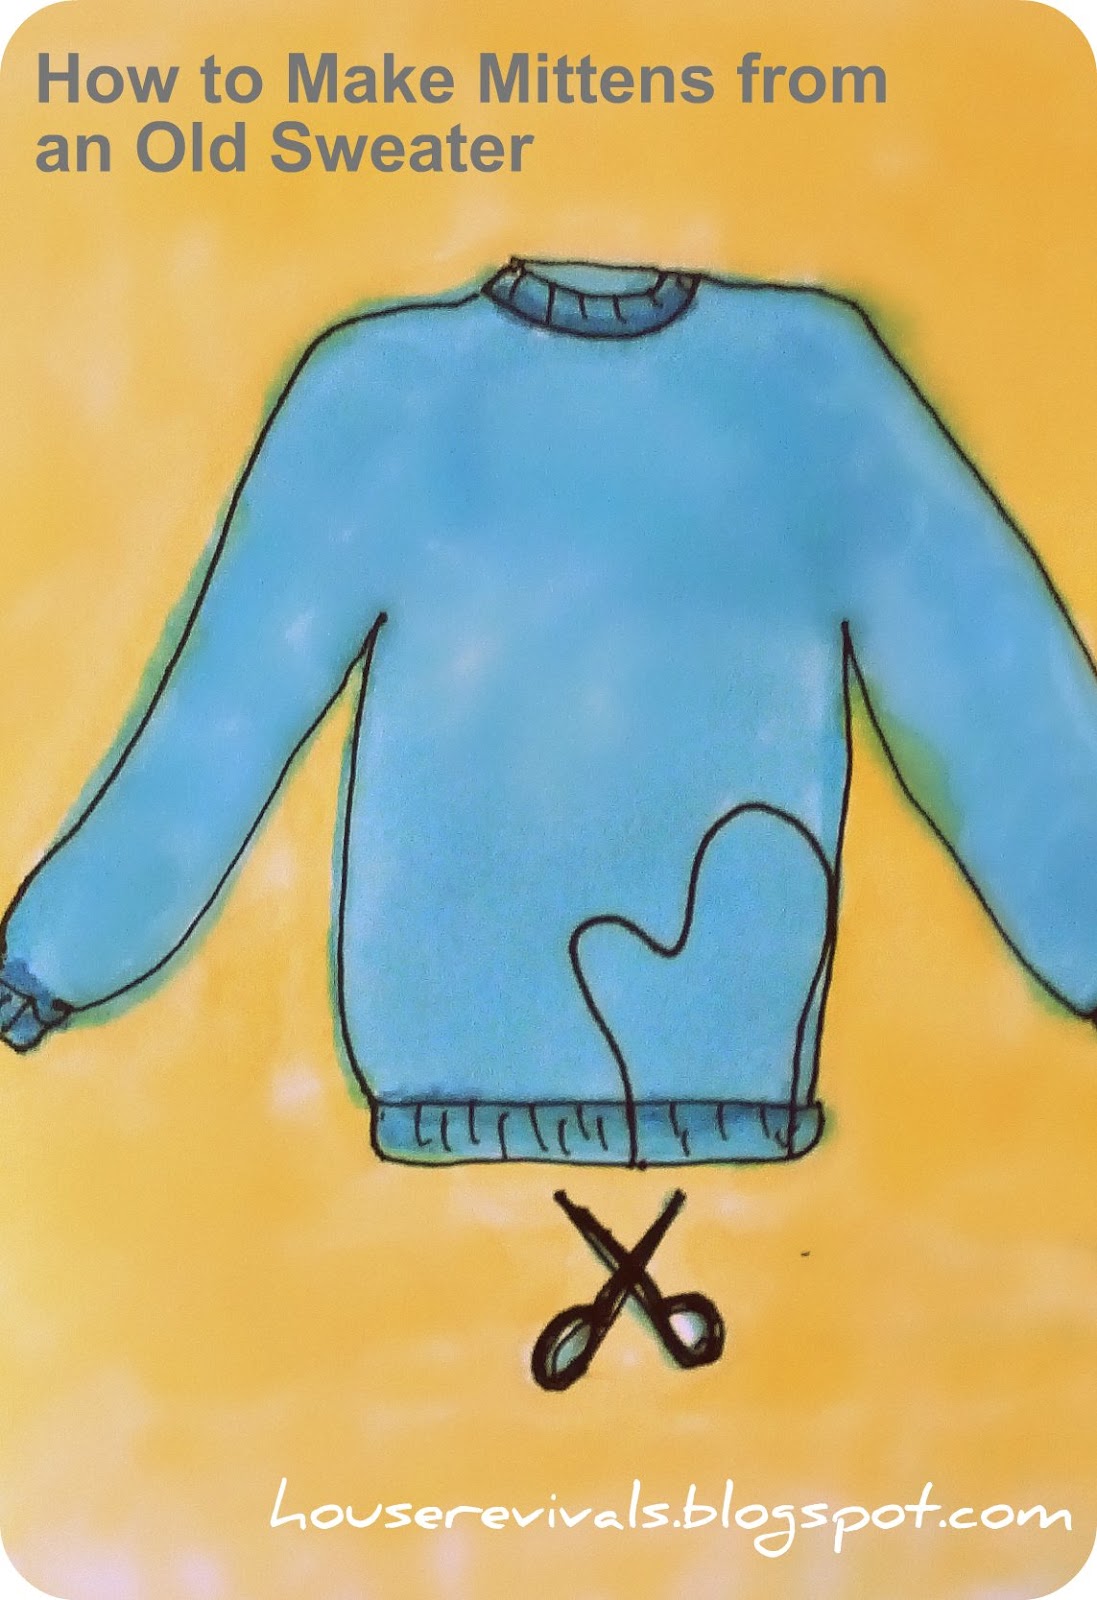
To make your own recycled mittens, first gather and felt an assortment of 100% wool sweaters.  Trace around your hand to create a template -- add a little extra "wiggle room" and add a seam allowance. Next, lay your template on a sweater, using the waistband as a cuff.  You should be able to get two adult mittens from one adult sweater. Cut out and stitch together, using your longest stitch length.  Embellish, as desired.  I am still trying to decide if I want to add a blanket stitch to mine, similar to these mitten ornaments I made last year.  


What do you think?  Blanket stitch, or no blanket stitch?


Saturday, November 3, 2012

Beach House Before and After Concepts

We had guests visiting our beach house last weekend, and we were showing them pictures of the renovation, and how the beach house looked when we first found it.


Needless to say, our guest were shocked at how bad it looked when we originally fell in love with it!  I realized, as we were skimming back through old blog posts, that our concept pictures were scattered all over the place.  Although I'm pretty positive my guests all want to watch me search through millions of posts to find what I'm looking for, I'm pulling several of the beach house concept before and after pictures together into one post -- just in case they actually don't want to sit and watch me search through millions of posts.

 Loft level window seat.
The loft level window seat came about when we discovered one of our decks was leaking into an interior wall, causing lots of damage.  We realized that, due to our very rainy winters, even if we fixed everything, we would have to do it all again in a few years.  The wind was forcing the water into the wall before it had a chance to drain.  So, we enclosed the deck, and were left with this funny little space. What to do with it?  The seat is still unbuilt, and we decided to carpet the loft level for warmth, comfort, and noise reduction, instead of hardwood floors. Now, we're looking for a new carpenter....

Guest Bedroom (formerly a badly converted garage)

Sleeping Loft Bedroom (formerly part of the badly converted garage)


Beach House Kitchen. 
This layout actually changed when a neighbor added another floor to their house -- we lost part of our view to the south, so we removed one window and switched the sink and stove around.


View of the House from the Beach.
This is the last major part of the renovation still to be completed -- although the house has been raised, the beach facing deck has not been rebuilt yet.

The Street View.
The street view concept has gone through many changes.  Between our structural engineer's earthquake and wind requirements, our city codes, our budget, and the fact that our neighbor painted their house almost exactly the colors we had planned to use, our street view plans have been pretty open.

Courtyard Concept.
Okay, our courtyard only looks slightly better than that first picture right now!  This concept is still changing.  My husband was leaning toward a fire pit in the center, and I was leaning toward a fireplace.  He wanted concrete flooring; I wanted pavers....  We're working on it :)

It's good to see these before pics -- it reminds me how far we've come... and it's good to see the concept drawings, as well -- it reminds us where we're going!