This tutorial originally appeared in House Revivals in the summer of 2012, and continues to be one of our most popular posts. Enjoy!

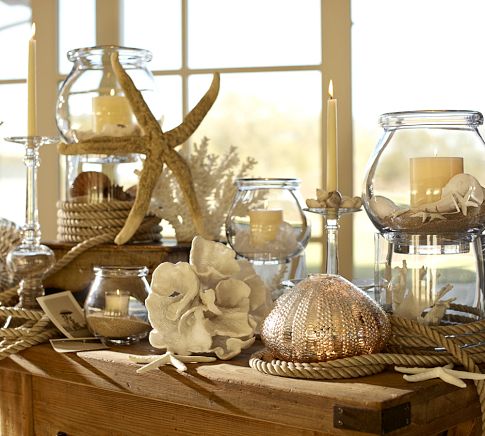
Are you still loving all the faux coral decor we've been seeing at places like Pottery Barn and Horchow? I know I love it!

By using faux coral, you can enjoy the casual beachy feeling of decorating with coral, without worrying about how the coral was harvested. Sometimes that faux coral comes with a pretty steep price tag, so I've come up with a way to create beautiful faux coral using very inexpensive materials.

My faux coral was created using paper mache pulp. Although you can purchase paper mache pulp in craft supply stores, I make my own pulp using toilet paper!

Start by unwinding about a half a roll of toilet paper into a bowl and soaking it in hot water from the tap.

After a few minutes, it should look really disgusting. Next, drain off your excess water if it's really soupy, and agitate the toilet paper with your fingers -- toilet paper is made from really short fibers so that it will break down easily, which is why it works great for paper mache pulp.

Now, add a giant handful of joint compound and about three-quarters of a cup of flour to the bowl. Mix it all up together with your hands (or use an electric beater). Some people like to add a giant dollop of glue to the mix at this point. I add it if I have it, as it really does strengthen the final product, but you don't need to use it, as the flour is your "glue". I also sometimes add talc to my mix (the kind we used to put on babies' bottoms) if I think the mixture needs more "body".
(The talc and the joint compound act as "filler", while the paper fiber adds strength. The flour and glue cement it all together.)

Now you need to create an armature to apply your paper mache pulp to. Here, I created an armature from florist wire I had on hand. Baling wire would probably have been a better choice, but I didn't have any when the "inspiration to create" struck. For smaller projects the florist wire is fine, but for heavier projects, you will want to use a heavier gauge wire.

Because the paper mache is wet, it can cause the wire to rust and stain your pulp, so I wrapped it all in masking tape. This also gives the armature some "tooth" for the pulp to hang on to as you apply it.

You may need to do two or three coats, depending on your project. Allow your project to dry completely before adding another layer of pulp, or you might end up with a wet moldy mess. In Arizona, a layer might dry completely in a couple of hours, while here in the Pacific Northwest, I wait at least a day for a layer to dry. Sometimes I can hurry it along by placing a project on a rack over a heating vent. After your final coat is partly dry, you may want to experiment with adding texture to the surface of your project. I poked at mine with a wooden skewer to make it look craggy.
If you would prefer a smoother surface, be sure to smooth the wet pulp as you apply it (you can use a little spatula for this). You can also sand your project when it is completely dry.

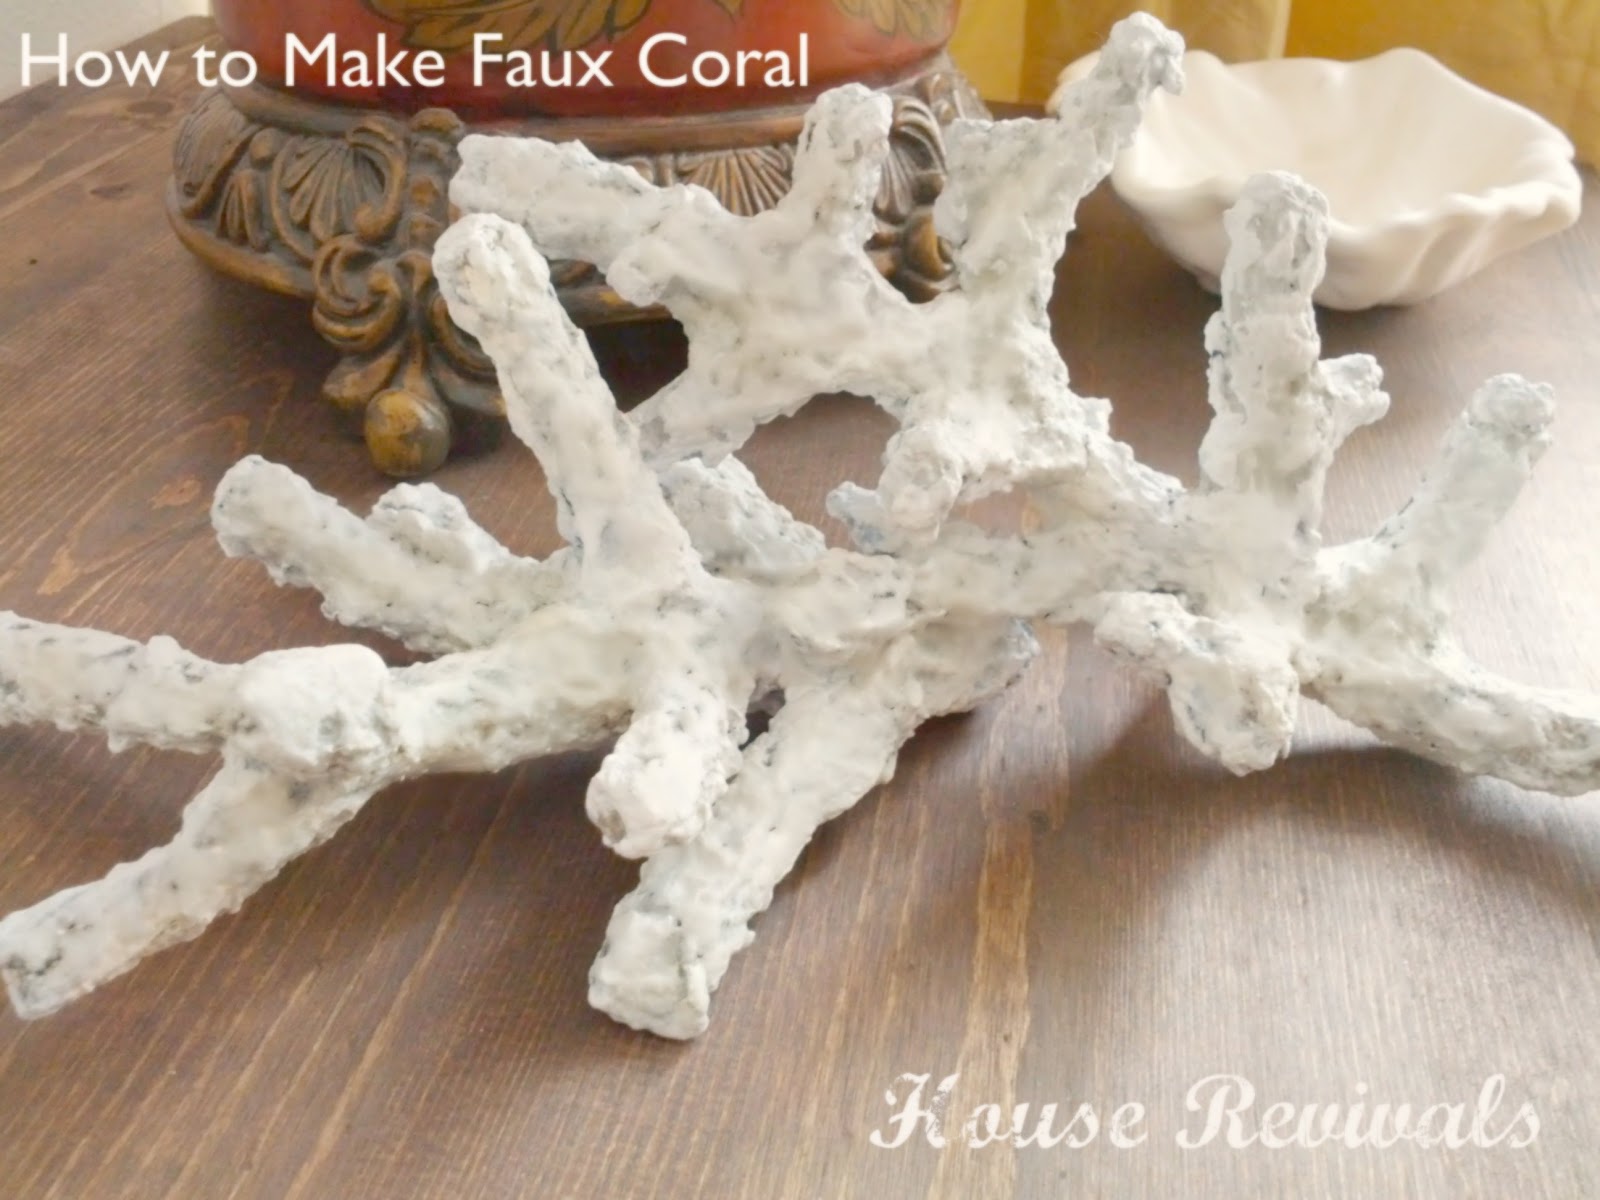
When your sculpture is completed, add a coat or two of gesso and any sealer you like. I actually used an antiquing glaze on my faux coral. I wanted it to feel like an antique specimen you might find in a dusty old library. If you like the sun-bleached look, you might want to skip the antiquing step.
My faux coral was created using paper mache pulp. Although you can purchase paper mache pulp in craft supply stores, I make my own pulp using toilet paper!

Start by unwinding about a half a roll of toilet paper into a bowl and soaking it in hot water from the tap.

After a few minutes, it should look really disgusting. Next, drain off your excess water if it's really soupy, and agitate the toilet paper with your fingers -- toilet paper is made from really short fibers so that it will break down easily, which is why it works great for paper mache pulp.

Now, add a giant handful of joint compound and about three-quarters of a cup of flour to the bowl. Mix it all up together with your hands (or use an electric beater). Some people like to add a giant dollop of glue to the mix at this point. I add it if I have it, as it really does strengthen the final product, but you don't need to use it, as the flour is your "glue". I also sometimes add talc to my mix (the kind we used to put on babies' bottoms) if I think the mixture needs more "body".
(The talc and the joint compound act as "filler", while the paper fiber adds strength. The flour and glue cement it all together.)
Congratulations, you have just made paper mache pulp!

Now you need to create an armature to apply your paper mache pulp to. Here, I created an armature from florist wire I had on hand. Baling wire would probably have been a better choice, but I didn't have any when the "inspiration to create" struck. For smaller projects the florist wire is fine, but for heavier projects, you will want to use a heavier gauge wire.

Because the paper mache is wet, it can cause the wire to rust and stain your pulp, so I wrapped it all in masking tape. This also gives the armature some "tooth" for the pulp to hang on to as you apply it.

You may need to do two or three coats, depending on your project. Allow your project to dry completely before adding another layer of pulp, or you might end up with a wet moldy mess. In Arizona, a layer might dry completely in a couple of hours, while here in the Pacific Northwest, I wait at least a day for a layer to dry. Sometimes I can hurry it along by placing a project on a rack over a heating vent. After your final coat is partly dry, you may want to experiment with adding texture to the surface of your project. I poked at mine with a wooden skewer to make it look craggy.
If you would prefer a smoother surface, be sure to smooth the wet pulp as you apply it (you can use a little spatula for this). You can also sand your project when it is completely dry.

When your sculpture is completed, add a coat or two of gesso and any sealer you like. I actually used an antiquing glaze on my faux coral. I wanted it to feel like an antique specimen you might find in a dusty old library. If you like the sun-bleached look, you might want to skip the antiquing step.
If you enjoyed this post, please subscribe to House Revivals in the sidebar, so you won't miss the fun projects we have planned. Find us on Facebook, too, so you can catch all the "in between" stuff, and see what I'm working on throughout week on Instagram. Feel free to link today's project to your favorite social media sites.