
Google+ House Revivals

Friday, September 28, 2012

Make Ordinary Flooring Look Like Reclaimed Lumber

Are you IN LOVE with the reclaimed wood projects we are seeing everywhere?  I posted about using reclaimed wood for paneling a few weeks ago, and shared that I want to do a similar finish in my tiny "pied-a-terre".
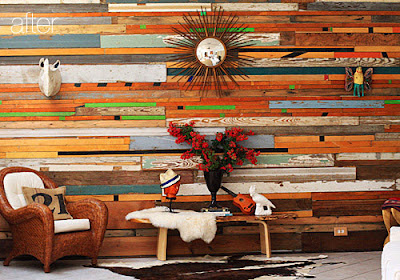
 via Design Sponge
The person who had our little condo before us tried to remodel and flip it, but failed.  He did every. single. thing. wrong. And never finished. And the condo went into foreclosure. And then sat on the market. Forever. Because it didn't have any bathroom fixtures. And it was a mess.  So, of course, we bought it.


Who wouldn't want all this loveliness?
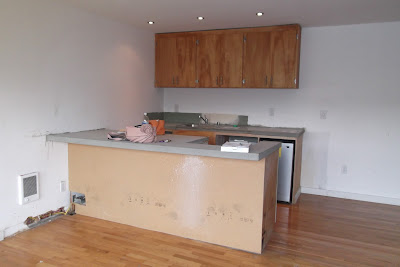

Well, the condo came with a giant box full of old boards and old wood flooring.  The old wood flooring was nothing special -- just bits and pieces of oak that the flipper had been using to patch the existing floors.
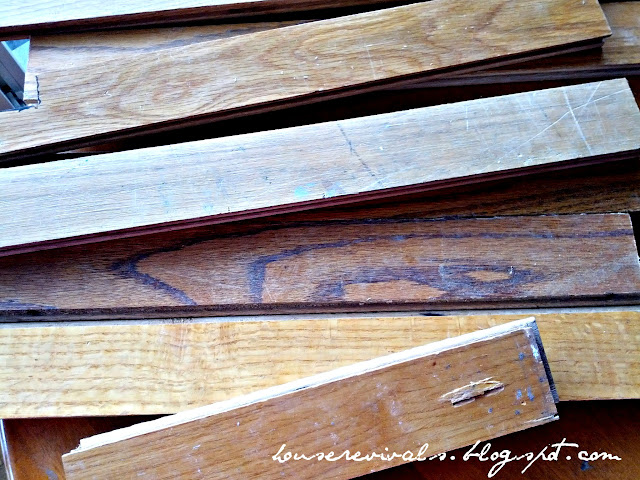

I guess, technically, the wood in the box was reclaimed, but it didn't look like "hip and stylish" reclaimed wood, and it didn't look like "charming" reclaimed wood.  It was just "blah" reclaimed wood.  I want to use old flooring on the back of our kitchen peninsula, but I don't want it to look like someone "just kept going" when they were installing the floor.  Our local building salvage yard has some really cool reclaimed wood.  Beautiful, chippy old stuff, with lovely scuffs and dings and loads of character -- and they want loads of money for it.
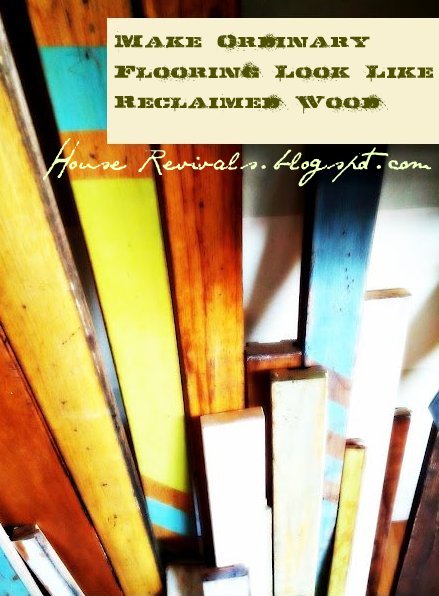

A light bulb went on... what if I sand and paint and stain and hammer and glaze and gouge and scratch and scrape my ordinary boards to make them look like the lovely (and expensive) old boards at the architectural salvage yard?  And so it began.
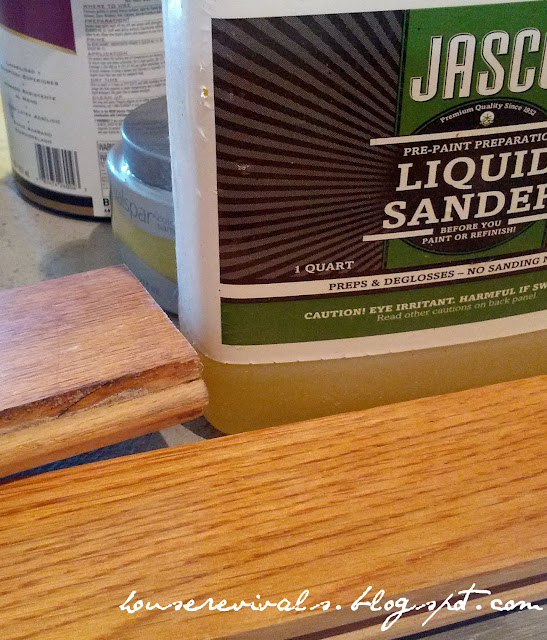

Here is how to take ordinary wood flooring and make it look like it has a charming history.  Start by sanding and prepping the boards. I used liquid sander on boards I was planning to paint, but I used a good old sanding block on boards I was only planning on staining.  No need to use smelly strippers -- you're not "refinishing" the boards, you're just "adding character".  Just sand them enough for the new stain to have something to "grab onto", focusing on the edges and ends.
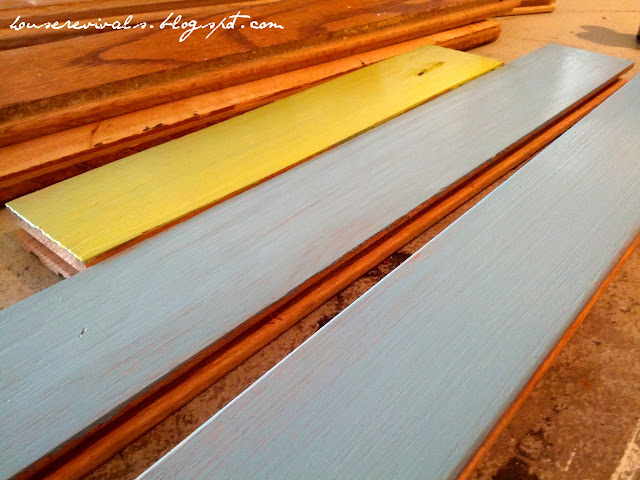

Next, paint the boards you will be painting, and set aside the boards you plan to only stain.
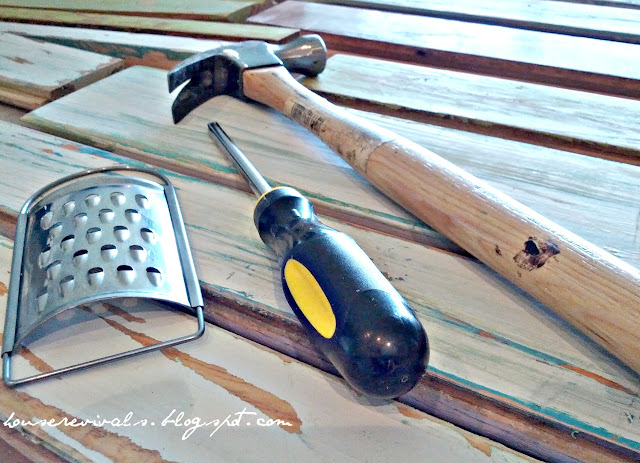

Now, for the fun part:  gather up some "implements of destruction".  I like to use a hammer and a screwdriver, and a little grater.  Another favorite tool is an old metal meat mallet (not pictured).  Next, gouge and scrape and grate and pound.  And then sand it all.  Distress all your boards, painted and unpainted.
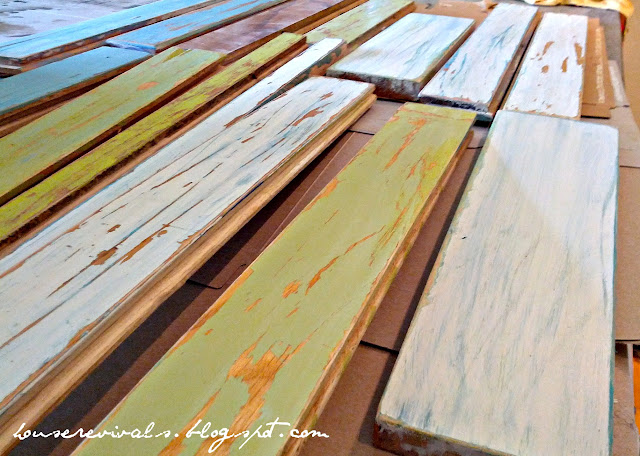

The next step is to add "patina".  Use any stain or antiquing medium you have on hand.  Wipe the stain on, getting it into all those gouges and scrapes and scratches, then wipe it right back off.
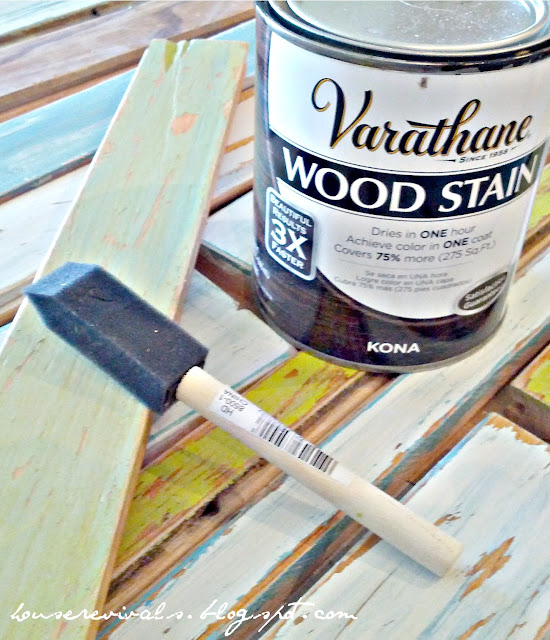

Do this on both the painted and unpainted boards.
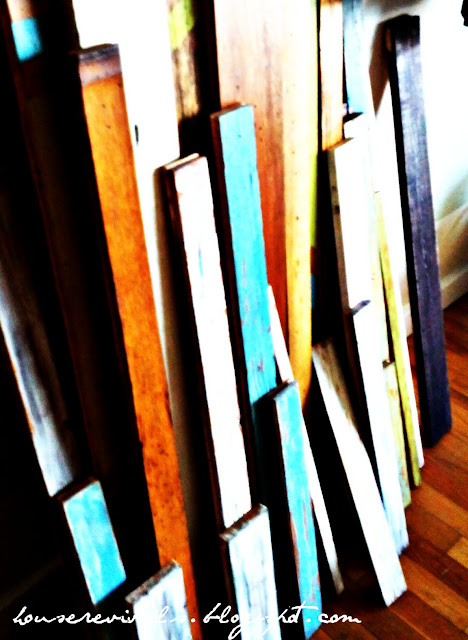

Before you know it, you will have a giant collection of charming, chippy, vintage reclaimed flooring!  By staining some and painting some in different colors, the boards look like they were salvaged from a variety of buildings.  I am doing my boards a little at a time -- as my schedule allows, and I already have about about two-thirds of what we need for my project.  I can't wait to share more as the project progresses!


This post is being linked to the following lovely places:

Saturday, September 22, 2012

How to Layer Rugs

Maybe it's the cooler temperatures, but I have been thinking a lot about rugs lately.  Rugs are a great way to add warmth, texture and acoustic comfort to a room. 


From a space planner's perspective, we use rugs to anchor, "pull together", and define a space, as well. Rugs are definitely workhorses!  Lately, I've been thinking quite a bit about layering rugs --  *LOVE* the look!

Wednesday, September 19, 2012

Fireplace Hearth Ideas

We've been playing with fireplace ideas at our little pied-a-terre, the marina condo in the city.  The "failed flipper" who had this place before us, and before the bank foreclosed, ripped out the hearth and removed the fireplace surround.  For safety reasons, we need to replace the hearth tile as soon as possible.


We brought some travertine tile scraps from our beach house, to see if they will work for a new hearth.


Maybe?  Of course, it wouldn't need to extend quite this far -- our building codes will allow for a sixteen inch hearth, since the fireplace opening is less than six square feet.

We used huge rectangular pieces of travertine in our bathroom renovation, so using travertine for the hearth will help create unity in the overall design. Plus, I think we may have just enough tile.  :)

It's always nice when you can do a project using leftover supplies.  Now, if we can only remember who we loaned our tile saw to....

Have you done any fireplace make-overs?  I would love to see your projects!  Please feel free to link your own fireplace in the comments section :)

Wednesday, September 5, 2012

How to Paint Perfect Stripes

Renovations at our little pied-a-terre in the city are moving along -- albeit, at a snail's pace.  That's the problem with living in a space while you renovate.  We still don't have one. completely. finished. space. Sigh....

Well, I decided to do what any sane person would do when they are surrounded by renovation projects.  I painted stripes on my wall.  Because stripes are important.

We have this wall in our living room that was just screaming for "something".  There is a fireplace in the corner of the room, and the wall next to the fireplace just felt "blah".  I LOVE how our stripes turned out.  Here is how you can paint perfect stripes, without any paint bleeding underneath your painter's tape.

Start by marking where you want your stripes to go.  In my case, I wanted wide horizontal stripes -- each stripe is about 12 inches wide.

Next, using a long level, lightly mark the edge of each stripe.

Apply painter's tape, masking off the edge where you *don't* want paint.  As a reminder,  tape several "X"es on the stripes you will not be painting.

Now, using the background color (the color that the wall is already painted), paint over the edges of the paint to "seal" the edges.  Any paint that may bleed under the tape will match the existing paint.


Paint your stripes, using a couple of light coats of paint.

Before your paint completely dries, gently remove the painter's tape. Pull the tape down at right angles from the newly painted area.


We still have a long way to go in this space -- honestly, I've forgotten what it's like *not* to have hammers and tile samples and buckets of paint everywhere, but for now my new stripes make me happy.

Do you ever stop right in the middle of a big project, just to do a smaller project?  Sometimes, when we're doing larger renovations, it's these happy little projects that keep me sane!

Saturday, September 1, 2012

Beach House Living


We've been spending more time at the beach house lately.   It's where you go....

to see.....

and be seen....


Did you know pelicans flew in vee formation?   And how is it possible that each new sunset seems more glorious than the one before it? 

The beach is new each day, with new treasures to be discovered.....


Sometimes you just need to take a few moments and savor the last days of summer.

Have a lovely labor day weekend!


Tuesday, August 28, 2012

Faux Starfish Featured on Copycat Crafts!

Come see our faux starfish feature over at Copycat Crafts!


And while you're there, be sure to check out the other projects on this great site!

Thanks for the feature, Amanda!


Friday, August 17, 2012

Lace Filigree Cabinet Knobs {Anthropologie Inspired}

I have a crush on Anthropologie's Lace-Strewn knobs. They are the prettiest robin's egg blue ceramic knobs, with a delicate metal filigree. So sweet:


I like them so much, I was inspired to create my own Anthro inspired knobs.


To make your own Anthropologie inspired cabinet knobs, you will need any set of plain knobs. (mine were wooden)


Clean, lightly sand, prime and paint your knobs.


Find some pretty lace paper doilies and cut out the parts that you want to use.  I actually used a double thickness of doily for greater depth.  I also layered elements for additional dimension.  Lightly glue your layers together in a couple of spots so they will be easier to work with. (hint: use tweezers when working with paper filigree)


Now, you can paint your paper filigree pieces. (you may be able to skip this part if you use metallic doilies)


To give patina to your filigree, apply an antiquing medium and wipe off, leaving the desired amount of patina in all the little nooks and crannies.


Next, decoupage your pieces to your painted cabinet knob -- Mod Podge works great for this.  (I added a clear glossy topcoat to my knobs before this step, but you may not need to if you use a glossy paint)


Now I have two crushes:


The lovely Lace-Strewn knobs from Anthropologie, and these easy to make paper lace knobs.


Thanks for stopping by!  If you've enjoyed this tutorial, and would like to receive more, there are lots of options for following or subscribing in my sidebar.  Also, I love getting your comments, and I REALLY love it when you share projects that were inspired by something you saw here :)

Have a lovely weekend!


This post is being shared at the following lovely places:
Funky Junk Interiors
Tatertots and Jello
Between Naps on the Porch
I Heart Naptime

Thursday, August 16, 2012

Cabinet Handles Featured at Knock Off Decor!

Hey folks, if you missed my Anthropologie inspired cabinet pulls, Beckie is featuring them over at Knock Off Decor!


Thanks for the feature, Beckie!


Wednesday, August 15, 2012

Make a Simple Raised Dog Food Station

Recently, our sixteen year old pup had a big fall. Our sweet puppy fell two stories while being pet sat. We were on vacation at the time, and cut our trip short, catching the first flight home. During his recovery, he was so stiff and sore that he needed his food and water bowls slightly elevated, so we created this for him:

Yes, I know it's a bit "girlie", but our pup doesn't care about stuff like that :)
I wanted to create something simple, that was easy to make, and didn't require tools.  He needed his elevating feeding station right away, so we didn't want to worry about waiting for paint to dry.  This thrifted vintage tray was the perfect size to hold his bowls, and the raised sides would keep dog food and spills contained.


We poked around, looking for something to elevate the tray with, and ran across this cake pan.  It was the perfect size and height. Lot's of things might have worked -- even another tray, but pans are something most of us already have in our cupboards, and we didn't have time to scour the stores.

My pan was already black, but if your pan doesn't match your serving tray, you can hit it with a little spray paint.


To hold the pan and the tray together, I used self-adhesive hook and loop tape.


1. Turn the cake pan upside down and apply two strips of hook tape lengthways. Press it down well.
2. Attach the loop side of the tape to the hook side and peel back the paper, exposing the adhesive.
3. Set your tray onto the upside down cake pan, so that it sticks to the tape.  You will need to carefully lift the tray off the pan, separating the hook and loop tape.  Now, run your fingers along the loop tape, making sure it is well adhered.


Pop the tray back onto the upside down pan, and you're done!  The great thing about building the dog food station with hook and loop tape, is that I can always "undo" it.  Who knows?  Maybe someday I will want to bake a cake?  The adhesive residue will come right off with a little adhesive release, and nothing has been drilled or permanently altered.

 
Here is our incredible flying superdog.  Isn't he beautiful?  I loved the way he looked at me when I showed him his new tray.


Please don't feel angry with our pet sitters about the accident -- it was not their fault. Our vet says the combination of decreased depth perception and a bit of dementia probably caused him to think he could climb over our balcony rails to get "outside" (in his younger days, he was a bit of a Houdini).  Since he didn't really understand what was happening when he fell, he was super relaxed, and didn't receive any serious injuries!  Crazy, huh?  We are just so grateful to have our sweet old guy with us for a bit longer.  On his follow up vet visit, our vet told us he is one of the healthiest old dogs he has ever seen, and that he is an "uncommon dog".

This post is being linked to the following lovely places:
Tatertots and Jello
Funky Junk Interiors