Google+ House Revivals

Tuesday, September 9, 2014

Make a Pretty Art Journal Guest Book

We've been saying we need guest book for the beach house. So many wonderful people have visited and it would be nice to have a record of their visits. Another reason we decided we needed a guest book is kind of embarrassing -- it's hard to remember everyone's name sometimes!


Often our guests are friends of family or friends of friends, or spouses and children of co-workers, so we are meeting them for the first time during a house party weekend. Try as I might, sometimes a name slips my mind. It's embarrassing. All our guests are important to us, and we would never want someone to think we didn't care enough to remember their name, so hopefully having a guestbook will act as a memory aid!

Thursday, September 4, 2014

An Antique Bed Makeover

Months ago I shared that I was preparing to paint our old antique bed..... and then never shared another thing about it!


We had this lovely old waterfall style bed that we loved, but it was looking kind of tired, and had some veneer damage.  In the condition it was in, it's value was largely sentimental, so refinishing didn't make sense. Besides, the bed lives in our beach cottage, and we were ready to lighten things up a bit with pretty paint!

Tuesday, September 2, 2014

Make Pretty Tube Beads With Vintage Paper!

Paper bead making is addictive! It's also an easy, inexpensive, and portable craft. It's a great way to use up scraps of pretty paper, and to divert magazines and books from the landfill, too!  Paper beads don't all have to look like the ones we made in Girls Scouts -- although I think those are pretty cool.


You can make pretty tube beads, too!  Here is how I make perfect tube beads using vintage book pages and re-purposed receipt tape.

Friday, August 29, 2014

The Saddest Post I've Ever Written

We were having a wonderful weekend. Friends were visiting from Colorado, we had hosted an informal house concert for friends and neighbors, there was food and wine and good company -- and Life was Good!


On Sunday morning I was not prepared for the news that a dear friend, sister, and fellow blogger had gone to Jesus. Saturday evening, Tina Downey, who blogged over at Life is Good and co-hosted the popular April Blogging A to Z Challenge succumbed to complications from pulmonary hypertension. She was only forty-nine years old.

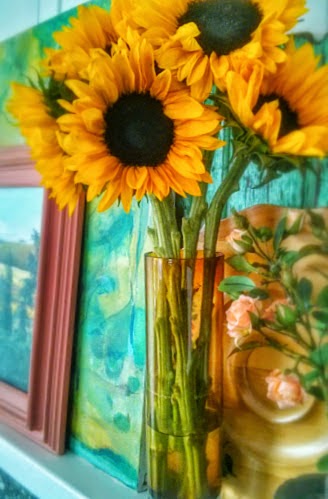
Tina adored sunflowers -- she even had a sunflower tattoo!  I bought some sunflowers in her honor this week and keep them on my mantel in remembrance of her sweet friendship and her optimistic outlook on life. Some days, the loss feels so great that to breathe is to weep. Seeing the sunflowers reminds me of Tina's smile and her delight in the beauty around her.

Tina leaves behind a husband and two teen boys, as well as extended family, and many many friends -- both from "real life" and from the blogging community.

I first met Tina in a Bible study when her oldest boy was just a toddler. We hit it off, and soon were planning women's events together, and serving on our church's Women's Ministries Team together. She was truly lovely. She always had something positive to say about everyone. She was kind, she was thoughtful, she was beautiful.

Those of us she left behind are devastated by her loss, but Heaven is richer for her presence.

May we all take a page from Tina's book and never forget:

Life is Good

Thursday, August 28, 2014

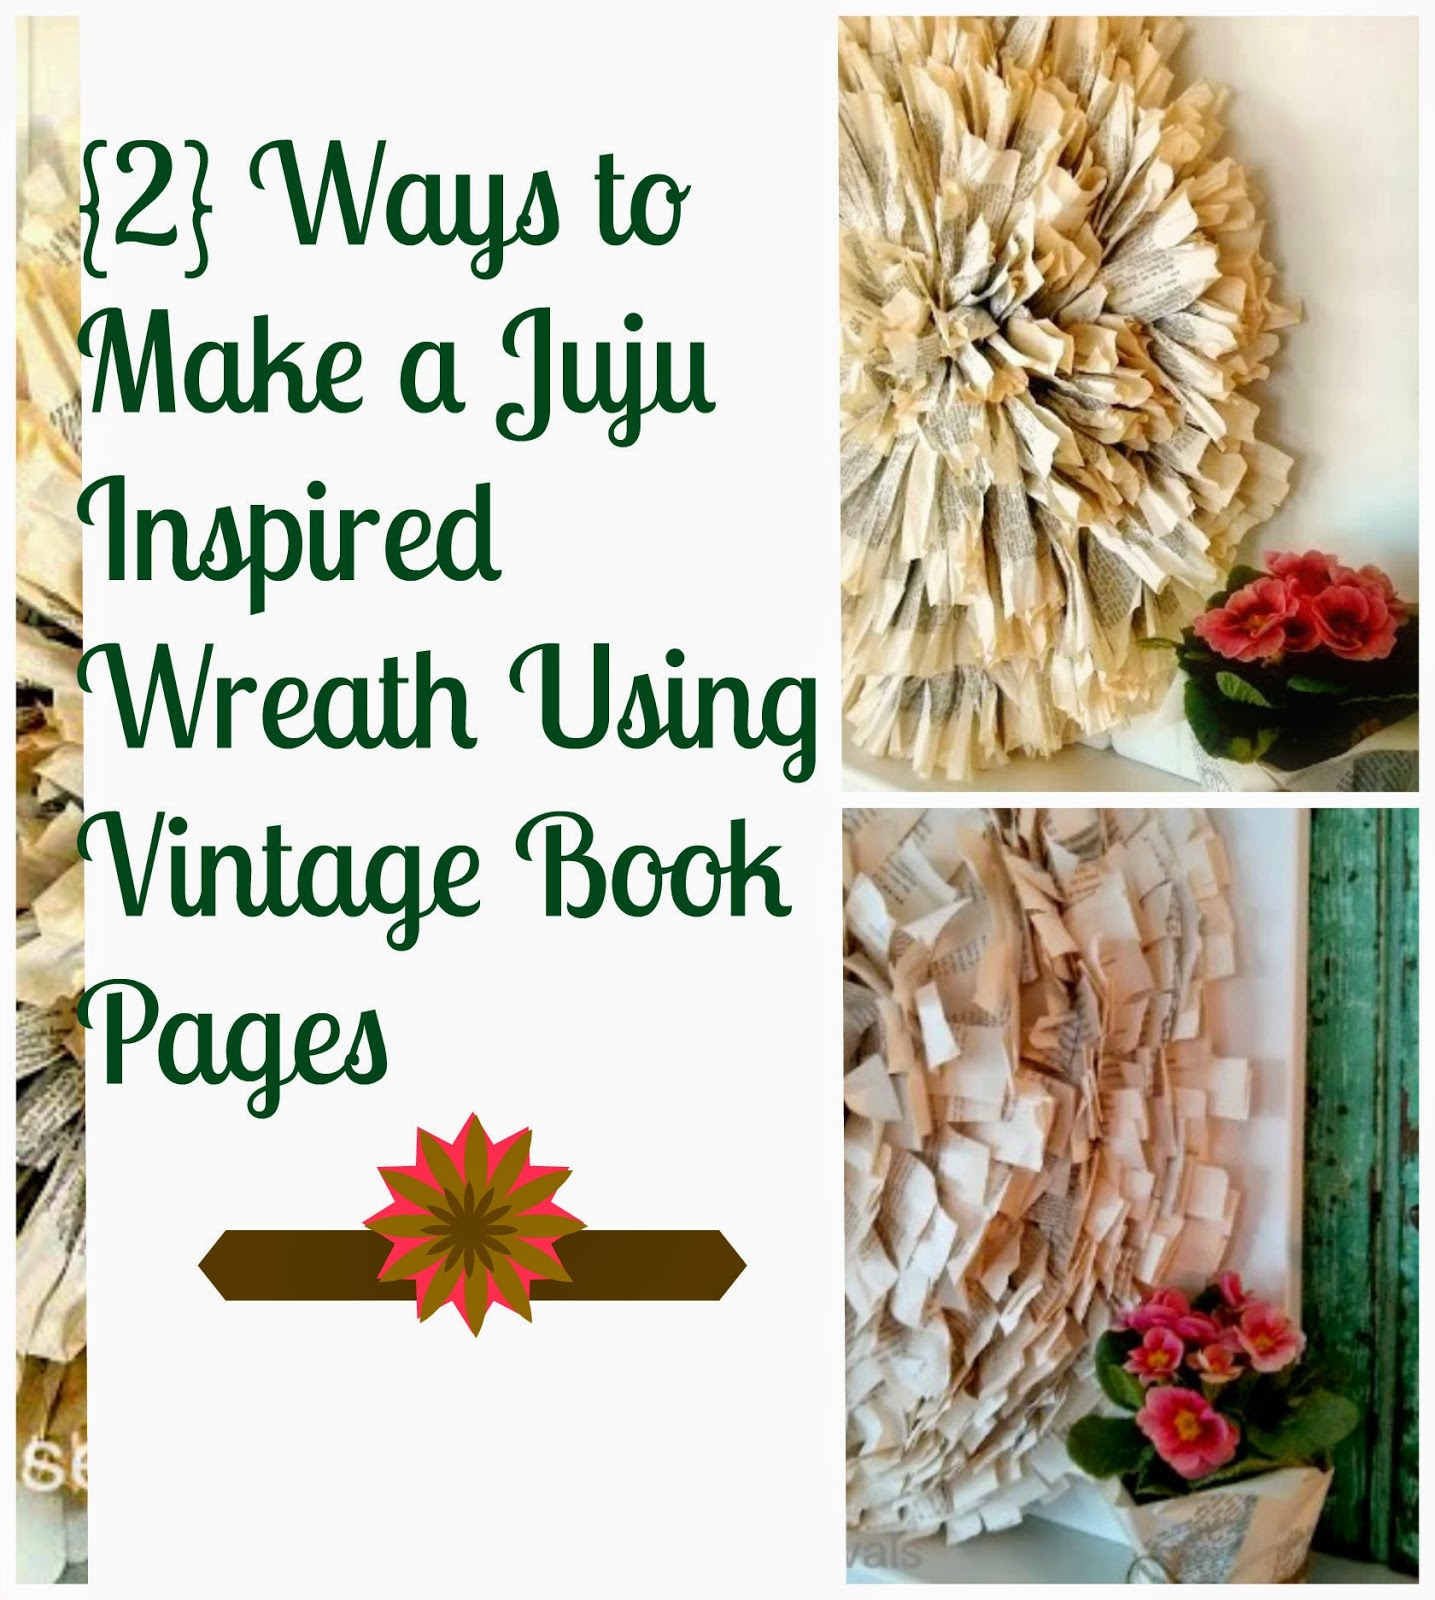
Juju Hat Wall Decor Tutorial

Earlier this year I shared a Juju hat inspired wall decor project made from vintage book pages. That project turned out pretty cute, but I wanted to try it again, using a technique that involved lots of scrunching of paper to give the project more texture and dimension.


Tuesday, August 26, 2014

How to Weave a Pottery Barn Inspired Bottle

These found vintage bottles from Pottery Barn, are lovely! The woven texture and the natural material lend such a warm feeling.


You can create a similar look with jute twine and some recycled bottles!

Thursday, August 21, 2014

How to Make Vintage Bottle Brush Trees

It's never too soon to start thinking about Christmas, right? I have some projects I'm working on that require vintage looking bottle brush trees. Do you love the love the look of faded a old bottle brush tree? Years ago I needed lots of faded little trees for some putz houses I was displaying, and stumbled upon this easy technique for making new bottle brush trees look vintage.


You can buy new bottle brush trees at craft stores like Hobby Lobby or Michael's. If you can find them on sale for 50% off, you might want to stock up!

Wednesday, August 13, 2014

Craft Ideas For Upcycled Light Bulbs

Here at House Revivals, we love a good upcycling project!  These craft projects from burned out light bulbs are no exception.


Here are some  favorite recycled light bulb crafts!


At Art Drops, they made these pretty painted Hot Air Balloons.


Rook No. 17 is one of my favorite blogs -- you will lots of creative projects there, including these adorable decoupaged light bulbs!


Christy Tomlinson is an amazing artist, as you can see from these gorgeous matryoshka doll inspired ornaments!


I love this beautifully painted St. Nick!


Debra Maerz painted this sweet matryoshka.


Here is a super easy tutorial for a light bulb ornament using a burned out bulb and an orphan sock!


These chicks from Ellen's Album made me giggle -- so cute!


These ladies were crafted by Etsy's primchick -- they crack me up!

Do you love a good recycled craft, too?


Friday, August 8, 2014

Recycled Bottle Bracelets!

Here is a great recycled bracelet project to do with your kids!  These bracelets are so fun and easy to do, your kiddos can have bracelets to go with all their new back to school outfits.  All you need are some plastic bottles from the recycling bin and some decorative tape or fabric strips.


After a round of summer entertaining, we had several plastic soda bottles.  I like that this kind of bottle has a thicker plastic than a water bottle. You can use water bottles, but you may need to glue two layers together with double stick tape to have a nice strong bracelet.


I carefully cut out the flat center part of each bottle -- first using an old serrated knife to start the cut, then using a strong pair of (NOT SEWING) scissors. If you are doing this project with kiddos, you may want to help them with this part. After cutting out the strips, you may need to neaten up the edges a bit, so they are nice and straight.  I made mine into cuffs, but you can leave your plastic rounds whole and make bangles.


 Grab your favorite decorative tapes (or use fabric strips and adhesive), and simply wrap the plastic! That's it -- it doesn't get much easier than that!


I used "girly" products, but if that doesn't work for your bunch of kiddos, try camo or super hero inspired or leather-look cuffs.


You can use more than one pattern on a single bracelet to mix things up!


Have fun, and let me know what you think!


Wednesday, August 6, 2014

How to Make Pretty Clay Birds

Are you looking for a quick easy clay project? These pretty clay birds might be just the thing! They are simple enough to do with the kids, but fun for any age.


Recently, when a friend was visiting from Colorado, we visited our local Chinatown/ International District. One of the stores we hit was Daiso Japan, which I LOVE, LOVE, LOVE!  Almost everything in the store is $1.50.  They sell everything from make-up to kitchen utensils to craft supplies.


We found some interesting packages of wood pulp clay. Wood pulp clay is an air dry clay that is similar to paper clay, but a bit more light weight. It is essentially an unbleached type of paper clay. For really nice projects, or projects you want to carve, true paper clay is still your best option, but for simple hand sculpting projects, wood pulp clay is a bargain at $1.50 a package!

We experimented with rolling out the clay, pressing it into molds, and hand sculpting. We were inspired to create little birds with encouraging messages after reading this post by Christy Tomlinson. Here is how we hand sculpted our little birds:


Start by rolling a ball just a little smaller than a walnut. You can dampen your fingers to smooth and seal any cracks or seams. (Just like a pie crust)


Using your thumb and first two fingers, gently begin pulling a small section of clay to form the head.


Next, gently begin pulling and flattening to form the tail. Try to give your bird a nice round breast.


Now, you can carefully form the beak and refine the overall shape.  I intentionally left my birds looking "handmade" -- I think it adds to the charm. We were not going for perfection.


You can add a little tail feather detail with a fork, or you can just skip that step -- it's entirely up to you!


Allow your creations to air dry for a few days before painting. If you live in a dry climate, they may be totally dry the next day. If you live in the Pacific Northwest, like I do, allow several days.


You can leave your painted birds plain, or you might want to add thoughts or sentiments to them.


Christy used stamps, but I couldn't find mine, so I just cut our letters from a magazine "ransom note style", and Mod Podged the letters to the birds. I also used Mod Podge to seal the paint.


That took FOREVER, so I eventually started cutting out whole words, which was super quick!


If you decide to try this cute project and you can't find wood pulp clay, any air dry clay will work.  I've made them with paper clay, and soft clay, as well.  Have fun!