Google+ House Revivals

Friday, May 4, 2012

How We Met our Beach House: A Plan is Formed...

I hope you are all enjoying the story of how we met our beach house.  If you missed Part One, you can find it here, and you can find Part Two here.

After thoroughly exploring the neglected old beach house, we were thrilled to find that it did have an ocean view.  The only problem was that the "million dollar view" was only visible from an upstairs deck.
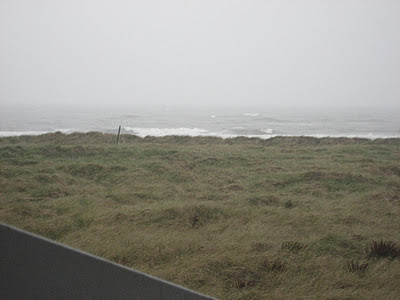

There was only a tiny bit of ocean view from the main living areas of the home.  Apparently, the house originally had a spectacular view, but the sand dunes had grown to the point that only a little slice of sea was visible beyond the dune grass.


So, there we stood.  My husband, our realtor, and myself.  Our realtor wanted to show us another house.  My husband wanted to find ANY other house.  And I found something tugging at my heart in THIS house.  To be fair, we did look at many more houses, but we kept coming back to this one.   I proposed an idea.

Suppose we brought in a house moving company 
and lifted the whole house up one level?


I drew up some conceptual models...


.... and a floor plan....


... and tinkered with some 
quick kitchen concepts....


.... and played with ideas for remodeling 
the bedrooms and bathrooms working 
with existing walls, wiring, and 
plumbing as much as possible....


.... and then we met with our 
local codes official, and hired 
a structural engineer....


... and interviewed contractors 
and got some bids -- also 
known as "kissing frogs"....

Some days, okay, most days, we asked ourselves if we were out of our minds to consider buying this house and taking on this project.  Then we would look out at the incredible view of sea and sky, and decide the project was worth it.


And so, armed with bids and conceptual drawings and codes and engineering research, we made an offer on the beach house we already loved...


.... and the seller turned us down.


Tuesday, May 1, 2012

Jimmy Choo Knock Off Upcycled Handbag: Another Oldie, but Goodie


In honor of spring, I thought it would be fun to revisit the Jimmy Choo knock off handbag.  Well, it's not a complete knock off, but it's definitely inspired by a gorgeous leather Jimmy Choo bag!

It was time for a new "city purse".  I've tried lots of different bags, and have found the handbags that worked in my old suburban life, don't always work well in the city.  For instance, I need a bag with a long strap, that can be worn across my shoulder (and on the rare occasions that I drive somewhere, it's nice to be able to use the long strap to swing the purse out the window to swipe the card reader when leaving the parking garage -- so the people in the cars behind me don't get angry and start honking their horns while I'm frantically digging through my bag, removing the contents, in search of the little magnetic card.  Not that that has ever happened to me...).


The "city purse"  needs to hug close to my body when I'm digging through bins at my favorite GW Outlet, or trying on shoes at the Nordstrom Rack; and it needed to distribute weight evenly when I'm walking downtown.


So, when I found this bag at the local GW, I thought it might work.  It has tons of function, is light weight, and is comfortable to wear.  And navy handbags are definitely making a comeback in the higher end stores.

  • The Problem?  The bag is dated and not very attractive.
  • The Solution?  Draw some inspiration from favorite designers; in this case, Jimmy Choo.


  • The Resources?  These two thrifted leather purses, with broken straps --  99 cents each!

  • The Method?  Cut the extra purses apart using strong scissors (but not your fabric scissors).  Cut away all the piping, zippers, lining, etc., so that you are left with only flat pieces of leather. 
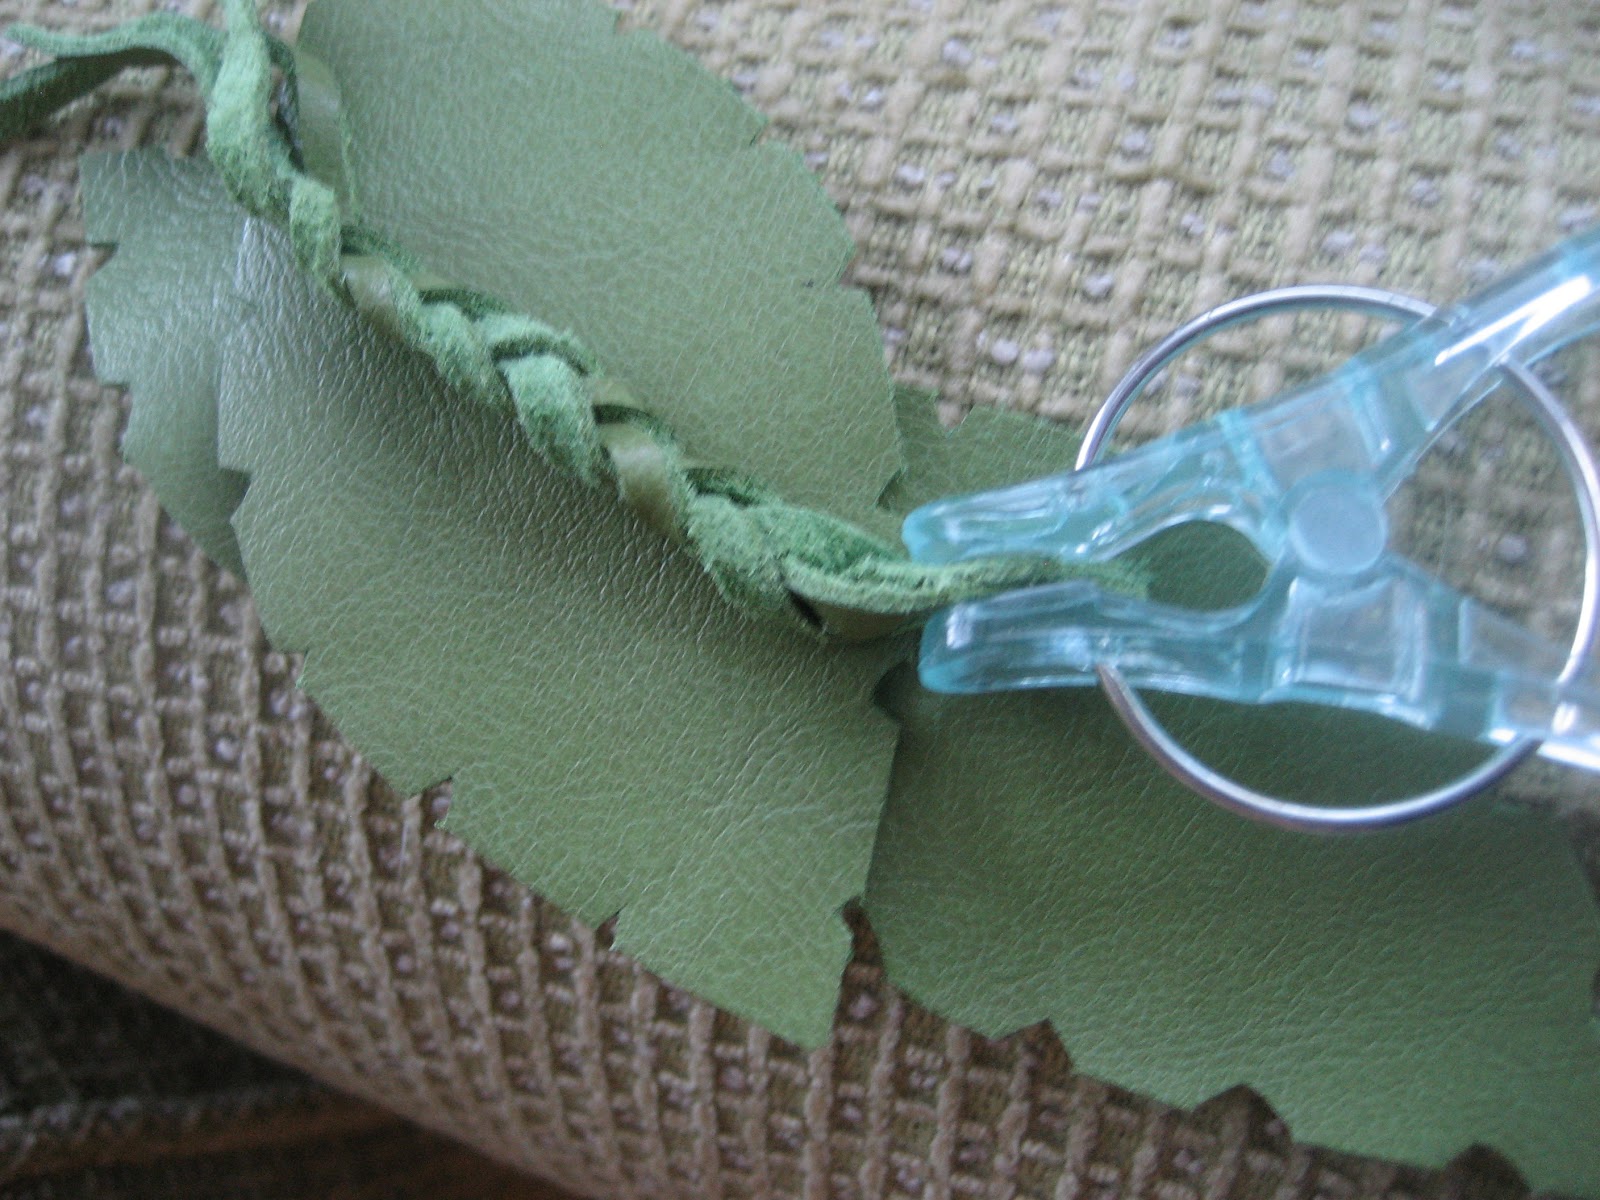
  •  The Flowers?  Cut flower petals from the leather.  I free-handed mine, but you could easily draw up a pattern.  You will want two sizes,  the larger petals will form the larger flower, and the smaller petals will form a smaller flower.  Cut two circular "bases" about two or three inches in diameter, on which to build your flowers. Use Gorilla glue to gather the base of the petals into a shape you like.  Secure with clips until the glue cures.  When all your petals are ready, they can be glued to the round bases you cut earlier, to form a nice flower shape.  You will make two flowers, and glue the smaller one right on top of the larger one.


  • The Leaves?  I cut mine free hand, but you could use a template, if you wanted.

  • The Flower Centers?  Just cut some long narrow strips and braid them, then coil them around and around until you have the desired size.  I secured this with a small amount of Gorilla Glue.
  • How about a tassel?  If you want a tassel, cut a neat rectangle from your flat leather pieces, then cut a fringe into it.  Cut one narrow strip of leather for a loop.  Begin tightly rolling the fringed rectangle, securing the loop in the center of the roll with a small amount of Gorilla Glue.  Secure the end of the roll with glue, and clip until cured.  Work carefully, as the glue dries white, so you don't want any of the glue to be visible.  The tassel can be secured to one of the zippers with a jump ring.

  • Putting it all together.  Decide how you want to arrange your elements.  When you find an arrangement you like, you can secure the whole thing to the purse with Gorilla Glue, or for more flexibility, secure the flower and leaves together onto another scrap of leather and add one or two large pin backs.  Use the pin backs to secure the flower to the bag.

And there you have it!  Three dated leather handbags, up-cycled into a new Jimmy Choo inspired bag.  Total cost for this project was around $5.00!


Thanks for stopping by House Revivals.  I hope you are all enjoying the "oldies, but goodies" series!


Friday, April 27, 2012

How We Met Our Beach House: A Peek Inside!

A couple of weeks ago I shared the first installment of "how we met our beach house".  We peeked inside the windows of the neglected and abandoned old house, and found ourselves intrigued by the possibilities.


Today, I will share a little about our first glimpse inside the house with our realtor....


At first glance, the interior didn't seem completely horrible.


The kitchen cabinets needed to be replaced, and the grasscloth wallpaper that covered every surface was in poor condition.  Light fixtures and trim work looked pretty dated.


On closer inspection, we found evidence of mold ...


... and rot and rats....


... and we discovered that most of the bedrooms and bathrooms had been gutted -- with a sledge hammer, apparently.


Although there was duct work for the HVAC system, the actual heat pump had been ripped out.


The master bath sported a dangerous "step-up" tub -- against code in most areas, and to add insult to injury, the tub and tile were pink.  Not a pretty pink, mind  you, but a kind of putrid pink.... and it was filthy.


The laundry room had been gutted.


Years earlier, the garage had been converted (badly) to bedrooms, but they were in rough shape.


The second story bathroom was covered in red floral wallpaper, had a broken light fixture, and a two foot tall vanity.


The loft was actually in good condition, compared to the rest of the house, only needing a few cosmetic changes.... or so we thought.


We loved the space, but weren't in love with the finishes.


We kept thinking that it was such a shame that this was a beach front property, but the house had very little view of the ocean. Then we stepped onto the second story deck.


It was foggy that day, but we still got a pretty good idea of the potential for a spectacular view.... and a plan began to form....

Tuesday, April 24, 2012

How to Make Cheery Paper Garlands


Here is another "oldie", perfect for spring and Mayday celebrations.  This project was created late last winter, while staying up late with a sick pooch.

Do the last few weeks of wintry weather always have you yearning for cheery color?  Last night I was keeping vigil by a sick pet, and needed something to occupy my hands in the wee hours, so I decided to create a bright colorful garland to bring some of that cheery color into our home.
I pulled out my stash of vintage crepe paper and a needle and thread and some glue and started to play.

Before I knew it, it was dawn, the pup was feeling a bit better, and I had a little stack of vintage paper florets!

They were strung together with cord created by finger crocheting a length of turquoise crochet thread.

And then the pup and I napped! Finally.

I don't have pictures of the process for these, but they were fairly easy.  Simply take strips of crepe paper (vintage or good quality new paper gives the best results) and gather one long edge using your needle and thread.  Form into circles and glue to secure.  Next, stretch the outside of each circle to ruffle it a bit.  Create several layers, as desired, add a layer or two of book paper for interest, glue it together, and you're done!  No rules, no measurements, just play around till you find a combination you like.

Drape it across your mantle, over a mirror, or across a bit of weathered old fencing.

Layer textures, like an Anthropologie necklace, if you like.  Or keep the styling simple and clean.


Enjoy your bit of cheery color and dreams of springtime and Maypoles!