Google+ House Revivals

Friday, December 10, 2010

Five Tips for Updating Your Kitchen on a Budget

What do you do if a major remodel is not in the cards, but your kitchen is in desperate need of an update?  If you are willing to roll up your sleeves and aren't afraid to wield a paintbrush and swing a hammer, there is probably a lot more potential in your kitchen than you realize!

photo Jonny Valiant
Read about this budget kitchen renovation at Country Living

1.  Start by assessing your basic space plan.
  • Is there enough storage?
  • Do you have adequate landing areas?
  • Are you happy with the location of your sink, fridge, and cook top?
  • Every family's needs are different, so ask yourself what you are satisfied with and what you are not satisfied with.  It could be that the basic layout is functional and just needs some tweaking!

2.  Address storage concerns. 
  • Is there a closet in an adjacent hallway or room that can be commandeered for seldom used kitchen items -- the turkey roaster, the giant platters, stuff you need occasionally, but not every day?  It's terrible to have to go out to the garage or down to the basement (or worse yet, the crawl space) for this stuff.  If there is a closet behind a kitchen wall, you might even be able to turn it into a walk-in pantry!  In my last house, we turned some wasted space under a stairwell into a pantry.  It made a huge difference in how the kitchen functioned.
  • Do you have "dead space" in the corners of your lower cabinets?  Lots of older and builder grade kitchens have this dead space.  Some have blind corners.  If you have a corner lazy Susan, count yourself lucky!  If you have a blind corner, your local home improvement outlet has hardware you can retrofit your cabinet with to make it extremely functional.  If you are among the unlucky many who have a big empty dead space, there is some hope.  If you are handy, you may be able retrofit a blind cupboard into the space  (and it's a lot of space -- about ten cubic feet of storage space).  This will be easier if you are planning to replace your counter tops.  If not, a good handyman with a "can do" attitude can help you out.
  • Is there unused space above your existing wall cabinets?  You may be able to build simple shelves above them for additional storage.  Most builder grade cabinets are 30 inches high, but the trend today is to use 42 inch high cabinets.  You may find that you have enough space above your uppers to run a row of 12 inch high upper cabinets.  Another option is to rehang your existing cabinets so they are about twelve inches higher, then add a shelf underneath to store items that are used daily.  Adding "sides" to the shelves and/or corbels underneath them can really give them a custom look!

3. Address landing and work areas.
  • Do you have an adequate area next to your fridge to place your gallon of milk, or your leftover casserole?  If not what can you do to get that landing area?  The answer may be as simple as switching a tall pantry cabinet and the fridge around!  You don't know how many times we see those two items placed incorrectly.  I think it's because it's easier for a builder to place a run of cabinets without breaking for a fridge -- then the fridge gets stuck at the end of the kitchen.  Really, the pantry cabinet should go at the end (in this scenario), so the fridge has a landing area next to it.  
  • Another way to find a landing area for your fridge is to add a small island.  Not everyone has space for an island, but if you do, they can add tremendous function to your kitchen.  Just make sure to leave plenty of clearance for appliance doors to swing fully open, and for people to pass.
  • Don't forget to address landing areas next to the sink, cook top and ovens.  Maybe a pull-out landing surface (similar to a pull-out cutting board) can be built near a set of wall ovens.   A rolling trolley that can move where needed can often address landing area shortages in a small kitchen.  Another solution for people with good carpentry skills is to build a telescoping peninsula.
  • Occasionally, a counter top can be enlarged.  Every kitchen is different, but examine yours to see if a counter can be lengthened or widened somewhere.   Maybe you have a split level bar peninsula?  If you are a messy cook, you may want to keep that bar height counter, but if things are usually pretty tidy, you might consider having the bar lowered, creating a much deeper working surface.  These deep work surfaces are great for rolling out pastries or for doing kid's science projects!

4.  The work triangle.
  • I know there are a lot of magazine writers out there saying the work triangle is passe, but as a professional interior designer, I can tell you it is alive and well.   It's just not the only thing we look at.  We also look at work zones, multiple work triangles, secondary work areas, and so on.  
  • Every kitchen is different, and every family's needs are unique.   If you are having to walk way across the kitchen every time you need an egg, you may want to think about tweaking the placement of your fridge, sink and cook top.  Your solution may be as simple as swapping something around.  
  • If you feel really overwhelmed assessing your space, consider hiring an interior designer experienced in kitchen planning, or an qualified kitchen planner to consult with you for an hour or two.  
  • Be up front about your renovation budget, so your designer can take it into consideration when coming up with some solutions.  For instance, if your budget is super tight, you will most likely not be moving your sink.  At all.  Not even a little bit. 

5. Finishes.
  • Maybe all you need is a paint job.  There are some really good products available today for cleaning, prepping, and painting cabinets.  
  • If you decide you want to paint your cabinets, don't skimp on time or products.  Buy the best products, from a good paint store.  Ask for product recommendations.  
  • Prep, prep, prep, and prep.  A poorly prepped paint job will start chipping in a matter of months.  Clean, sand, wipe, prime,  paint. You know the drill.  No shortcuts here.  And it might seem like a pain in the neck to remove all your cabinet doors before painting, but your finished product will be so much better if you do.  
  • Use a good sprayer, or a good paint brush to paint your cabinets.  Skip the roller!  Very high end cabinets are still hand painted with a best quality brush.  How you choose to apply your paint can mean the difference between having a kitchen that looks like a weekend DIY job, or a high end custom built project.
  • Think about adding trim to plain cabinet doors, especially if you plan to use glazing.  And here is something to think about -- very high end cabinet shops use a six to eight step process of sanding, priming, sanding, painting, sanding, painting some more, and glazing.

Finally, I know everybody says this in every kitchen article, but it bears saying again:  consider changing out your knobs and pulls.  Such a simple change, but it packs a big punch!


Love your renovation, love your home.


This post is being linked to:

Tuesday, December 7, 2010

Make a Woven Star from Vintage Book Pages, Tutorial Part Three

Woo hoo!  The third tutorial for these woven stars is here!  In this tutorial, we will learn to make this star.

We've already learned to make the first and second stars. 


To make the third star, you must first follow the tutorial to make the first star, here.


Get the first star assembled and glued, as shown in that first tutorial.


Trim the points to tidy them up and give them a nice "finished" look.  At this point, you won't add little "dots" at the points, as suggested in the first tutorial, though you may decide to come back and add them later.  Also, don't add a hanger or any embellishments yet.

See the little "dots" (these could be cute little punches, medallions, buttons, etc.)?  Don't add them yet, if you are planning to use them.

For the next step, you will need to gather up a few of the strips you used to create your other stars...


... and cut them in half. 

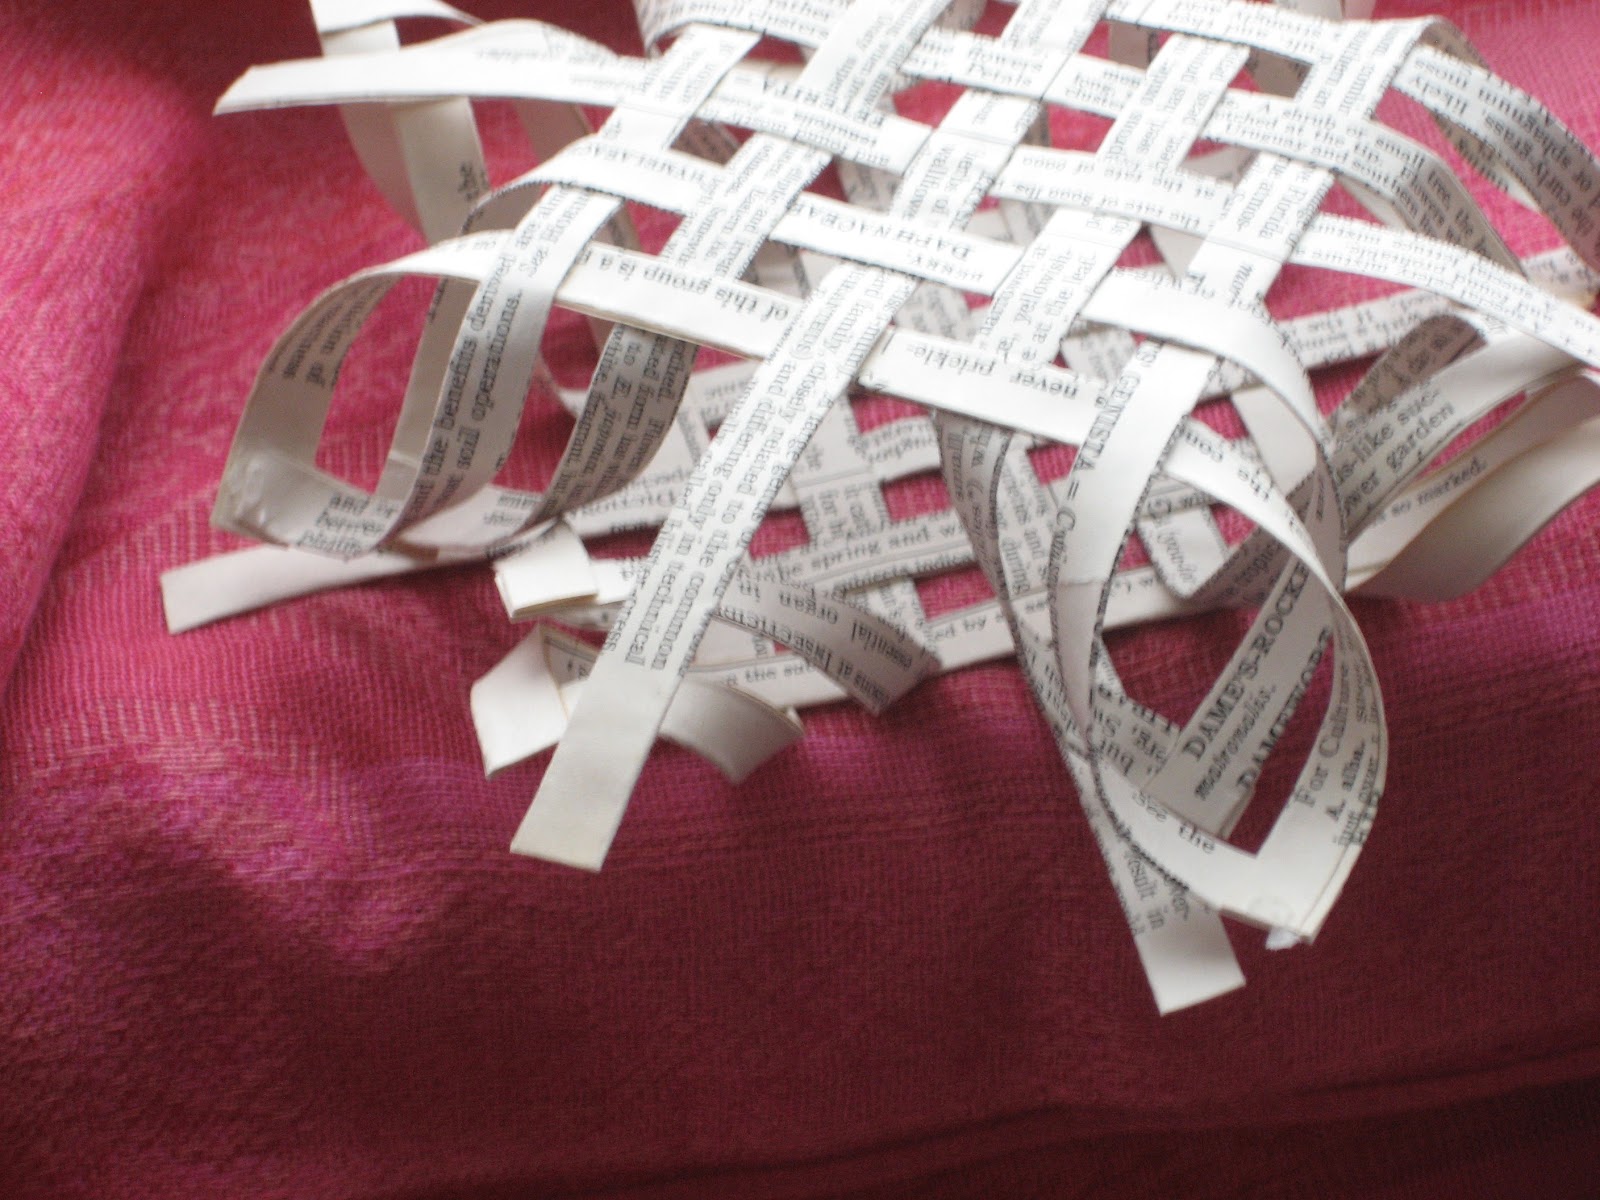
Glue the ends together to form little loops, as shown.  You will need eight of these for each star.


Now, glue the little loops to the points of your star, alternating the direction they face, as pictured here.


Continue, until all eight points are finished.  Remove clips when your glue is set.


Now, you can glue the middle of the star "sides" together, as shown, so your star won't be so fat.  You don't have to, but I think this particular star looks better this way.


Add some embellishment to the center for a finished look.  Continue embellishing using glitter, tinsel, paint, dots, or anything else you desire.  Here, I added a little fan rosette to the center, as well as glitter and tinsel.

You will make your hanger just as you did for the first star, but when you adhere it to the piece, you will glue it at the intersection of the original point, and the added loop.  You may wish to cover the intersections with some sort of "dot" or embellishment.


I left most of the point intersections plain (okay, I used a little glitter...), only adding a fringed rosette to the base of the hanger. 

And there you have it.  Three stars, three tutorials.  See the first tutorial here.


You can find the second tutorial here.


Here is a sneak preview of some other tutorials I have in the works, including making sweet little ornaments and garlands from a recycled sweater....


Adding Jimmy Choo inspired leather embellishments to a plain Jane handbag....


Making miniature crown ornaments fit for a king....


... and of course, I haven't forgotten about the little car and airplane ornaments.  These are just a few of the projects that are in the works at House Revivals!

Be sure to click "follow", in my sidebar, so you're sure not to miss any fun projects and tutorials!

Happy Crafting!    


This post is being linked to:
Tickled Pink at 504 Main
Saturday Nite Special at Funky Junk Interiors
Saturday Mornings
Remodelaholics Anonymous
Tatertots and Jello Weekend Wrap Up
White Wednesday at Faded Charm
Blue Cricket Design
Crazy Cute at Between You and Me
Strut Your Stuff at Somewhat Simple
Time Travel Thursday at Brambleberry Cottage
DIY Holiday Highlights Project Party
Crafty Soiree at Yesterday on Tuesday
Transformation Thursday at Shabby Chic Cottage
Hooking Up with HoH at House of Hepworths
Paisley Passions Thrilling Thursday
Handmade Tuesdays at Ladybug Blessings
All Things Merry and Bright at All Things Heart and Home
Whatever Goes Wednesday at Someday Crafts
The Thrifty Home Penny Pinching Party
I Made It Without My Hubby at Shanty 2 Chic
Talent Tuesday at Vintage Wanna Bee
Nifty Thrifty Tuesday at Coastal Charm
Just Something I Whipped Up at The Girl Creative 
Met Monday at Between Naps on the Porch 
Market Yourself Monday at Sumo's Sweet Stuff

Friday, December 3, 2010

This Lamp Needs a Do Over

So, I've had a little junk in my trunk lately.   Finally had a chance to sneak it inside and into a closet when my engineer went to bed early the other night!   Today, I brought it into the light to admire it in all it's glory.


Isn't it wonderful?  And it works, too!  Not bad for a buck and a half at the GW Outlet, right?  (OK, I know you're thinking I overpaid)

But seriously, check out this detail!


What's not to love? (Yes, I know the engineer would have a long list of things not to love  -- not the least of which that it's in his home)


The engineer won't appreciate the potential of the piece.  So, it goes back in the closet for a while.  Maybe until the engineer's next business trip....


I have big plans for this piece, including a new paint job, a new shade, and a few repairs....
Who doesn't love an amazing lamp with a glossy black finish?


Or a cool drum shade?  Or turquoise?

lampsplus via ThisNext

Check out these "never worn, still have the tag, retro linen pants"!  (from the same GW Outlet trip)


Are you thinking what I'm thinking?  (at this point, the engineer would answer  "... that you're a crazy person?"  But, actually, I'm thinking "cool glossy black lamp with retro turquoise fabric lampshade")  I think I'll call it the "too much junk in my trunk pants lamp"!


Have wonderful weekend!

This post is being linked to:


Wednesday, December 1, 2010

Vintage Jingle Bells

I scored these darling over-sized Christmas bells at the local Goodwill the other day!   They are each about nine inches long, and about five inches wide at the bottom.


They are plastic and covered in shimmery glitter, with fancy scroll work, and a pretty gold trim.


The scroll work has old-fashioned gem accents.


Each bell has a glittery Styrofoam ball for a clapper.


Do you ever feel just a bit nostalgic when you see things that remind you of younger days?


A couple of the bells still had original packaging.  The package here says Made in British Hong Kong.  Remember (not sooooo long ago) when people were rushing to visit Hong Kong one more time before the change-over?   Funny, how we can find bits of history in something so humble as packaging for a plastic bell!

Enjoy the rest of your week!
Amanda

This post is being linked to:

Monday, November 29, 2010

Make a Woven Star from Vintage Book Pages, Part Two

Finally!  The second Scandinavian Star tutorial is here!


**Important Note:  The woven star is a very old traditional pattern that goes by many names.  Here is a picture of a Swedish Window Star that has been in my friend's family for nearly one hundred years!  Isn't it stunning?


People have been weaving similar versions of the woven star for a long time.  Most commonly, I see it called a Finnish Star. You may also see them called Advent Stars or Window Stars or Poinsettias.  The woven star concept is an idea and ideas cannot be copyrighted in the US.  A person can only copyright their own expression of an idea.  For more information, see this important post about copyrights and why I refuse to be bullied and intimidated into removing my own expression of the process for creating this star.  If you have created your own tutorial of a traditional craft, and are receiving threatening, bullying, or intimidating emails to remove your tutorial, I would urge you to know your rights and to seek the advice of an attorney.   Let's not allow the bullies to win. I am not an attorney, and nothing I have said should be construed as legal advice.


Do you all remember the first woven star tutorial found here?  I love these traditional stars!


Here is the star we will make today:


This star has more strips woven together than the previous star, creating a fuller looking ornament.


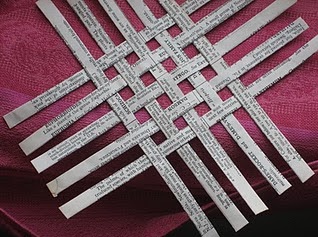
Basically, you need to follow the instructions for the original star, but instead of using six strips per ornament side (for a total of twelve strips per ornament), you will use ten strips per side, for a total of twenty strips per ornament. When you weave your sides together, they should look like this.  You will needs two "sides" like this to make one star.

Secure each intersection with a tiny drop of clear drying glue just like you did for the original star.  Next, you will create the star's "points".

Do this by gluing together the ends of adjacent corner strips.  Remember to put a twist in each strip before gluing, just like I showed you in the first tutorial.  In the original star, you just glued one set of strips per corner, but for this star you will glue two sets per corner, as shown.  Use clips to secure the points until the adhesive cures.

Do all four corners, or "points" the same way. *note:  I have seen some people doing their corners a bit differently, gluing all four strips of each corner together.  It really turns out pretty!  Get creative and have fun with it.

Once the glue has cured, and you remove the clips, you should have two "sides" that look like this.

Now, you will put the two sides together just as you did for the original star, rotating the top side 45 degrees, so that the "points" from the two sides are offset, to form what will be an eight-pointed star.

Weave the remaining strip on each side through the points on the other side, as shown.  Glue and clip.

Continue until all the points have been secured.  When the glue has dried, remove the clips.  Create a hanger, as shown in the original tutorial.  Embellish as desired, or leave your star plain.


I chose to add a bit of glitter and tinsel to mine, as well as a fringed rosette for the top of the star -- this helps camouflage where the hanger was secured.


Watch for the third star!  If you are not already a follower, you may want to to click on follow in my side bar, so you're sure not to miss the third installment.


In the third installment, we will be making this delicate looking star.


You might also like this post about making book page ornaments with dollar store supplies.


If you enjoyed this post, please subscribe to House Revivals in the sidebar, so you won't miss the fun projects we have planned. Find us on Facebook, too, so you can catch all the "in between" stuff, and see what I'm working on throughout week on Instagram. Feel free to link today's project to your favorite social media sites.

Thanks so much for stopping by!
~Amanda