Do you wish you knew how to create pretty doodles for you card making, Bible journaling, or art journaling projects? I promise, it's easier than you think!

You don't need to be a trained artist, or have lots of fancy art supplies to create pretty stuff. I keep a basket of kid's art supplies at our weekend beach house. On rainy winter mornings, I'm likely to be sketching and doodling, using Crayola markers and pencils.
For paper, I rarely grab my nice materials -- I just pull some pages out of an old Reader's Digest Condensed Book.

To create this doodle you will need:
Crayola Markers (go ahead and splurge on Crayola brand -- you and the kids are worth it!)
Crayola Pencils
Regular pencil and white eraser
Black permanent pen
White gel pen, or White-Out, or white chalk marker or white china marker (optional)
Paper (I prefer a paper with some tooth. If the paper is too smooth, it won't grab the colored pencil)
Begin by lightly sketching in your trellis branches. I used a simple line to indicate where I wanted each branch to be. Sketch lightly, as you will be erasing these guidelines later.

Next, sketch your branches using a squiggly line.

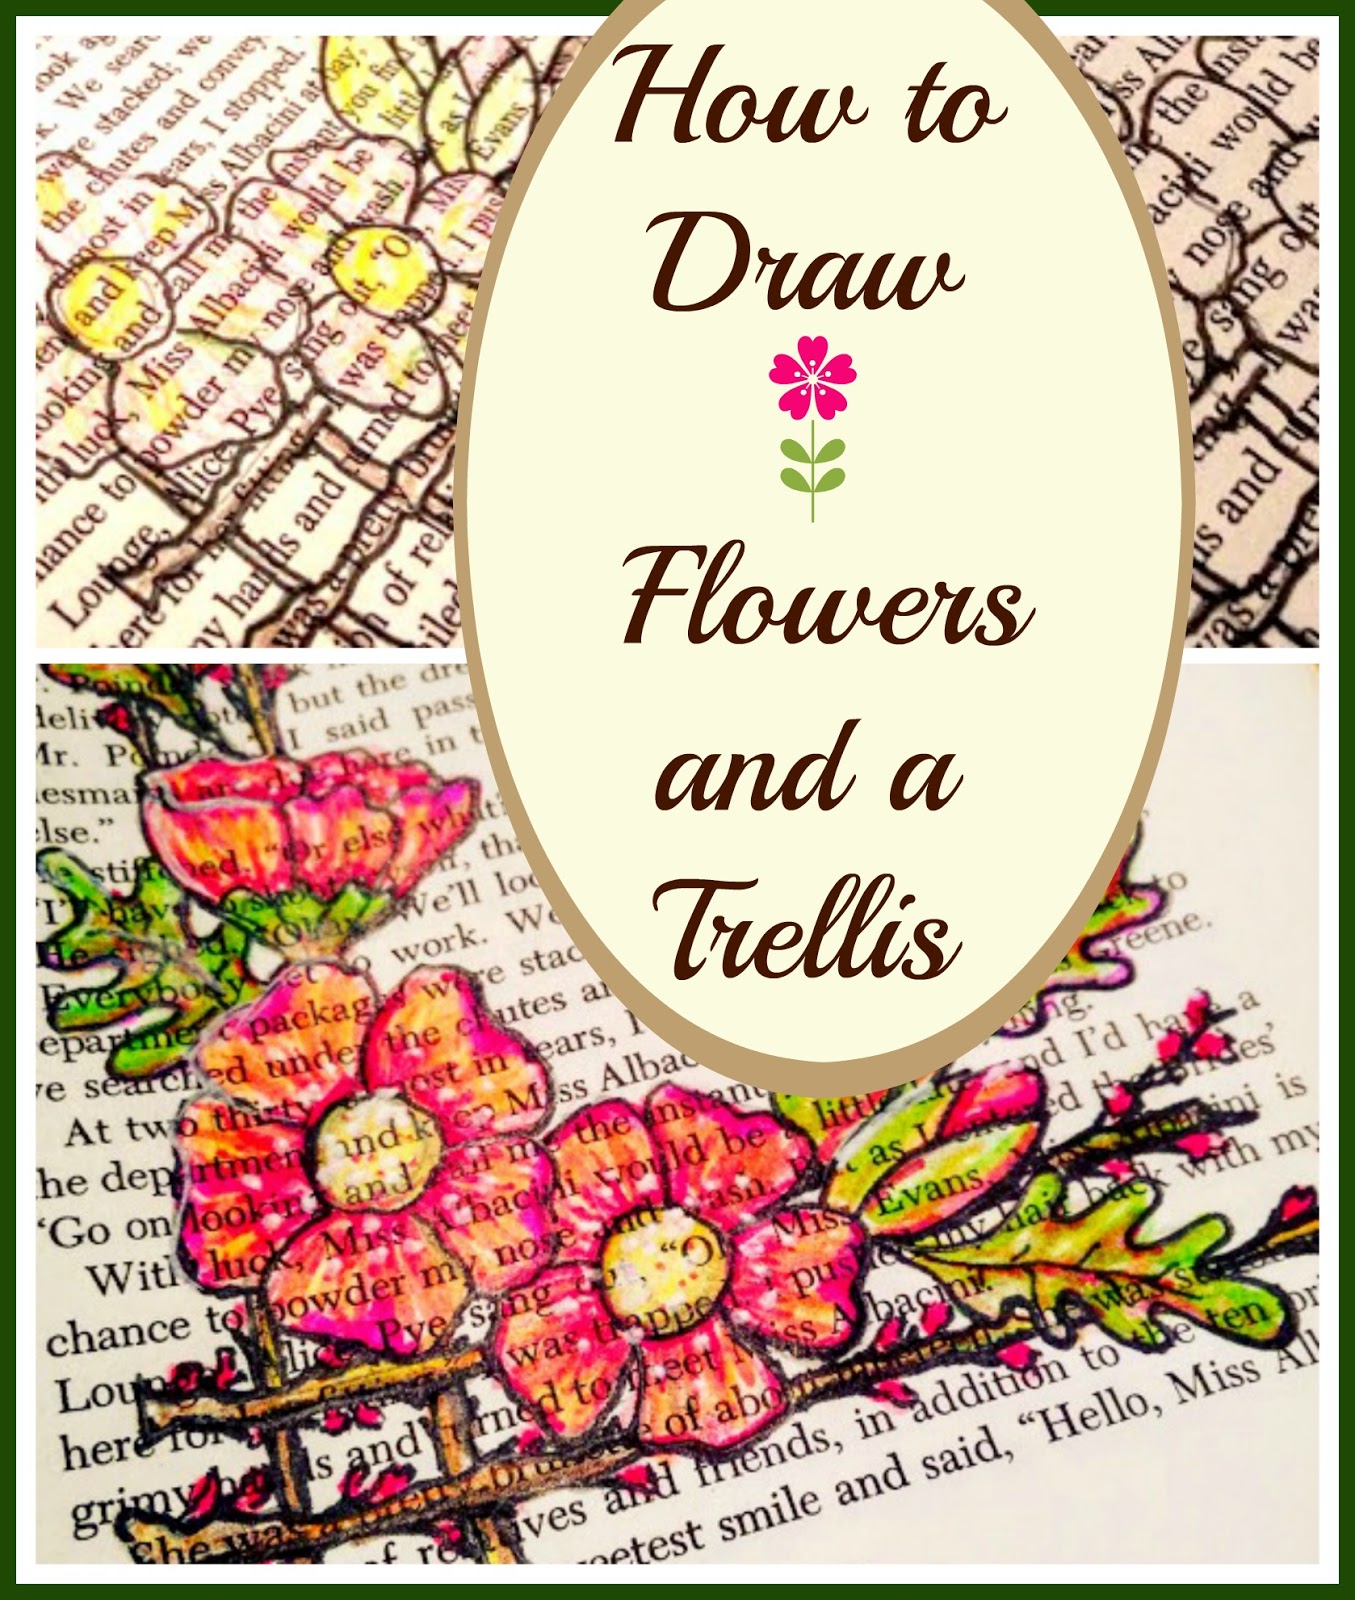
Lightly indicate the placement of three large flowers, two or three buds, and three or four leaves. Don't fret over how to draw a simple flower. Just remember how you drew simple flowers when you were a child. For the five-petal flowers shown here, I drew a small circle, and drew five imperfect petals around the circle. The upward facing flower started out as a bowl shape, and details were added (lightly, in pencil). The flower buds were created by first drawing an elongated oval. The leaves started out as a slightly curved center line, as a guide, then the squiggly sides were sketched in.

When you are satisfied with your composition, trace over your sketch with a permanent black (or brown) pen. Use your white eraser to remove the pencil lines.

Now, very lightly, scribble some base color onto your drawing, using colored pencil. I like to put down colored pencil first, because this "seals" the paper and allows me to move the ink around when I get to the marker step. Don't fuss too much, don't press too hard, and don't fill in every bit of white space. These papers have a limited amount of tooth, to receive colored pencil medium, and we want to be able to add more layers.

Keep adding light layers of color. Add depth and interest by using more than one color for each element of your drawing. For instance, I first added scribbles of yellow to my petals, then added a little pink, then a little red. Leaves have layers of yellow, green, orange, and even some pink.

Next, you can add marker. Add your marker layers the same way you added your colored pencil. You will notice that the marker behaves differently over the colored pencil areas than over the bare paper. Use these characteristics to float your ink around and blend, or to create darker unblended marks.

If you have a white pen, you can add highlights to whatever side you want your imaginary light source to originate from. Use a darker colored pencil to add shadowing on the other sides.

You can use these techniques in your Bible art journaling, altered art projects, scrapbooking, or card making projects. This sketch will likely be cut out and attached to a card base, with a stamped sentiment.
What would you do with your sketches?
If you enjoyed this post, please subscribe to House Revivals in the sidebar, so you won't miss the fun projects we have planned. Find us on Facebook, too, so you can catch all the "in between" stuff, and see what I'm working on throughout week on Instagram. Feel free to link today's project to your favorite social media sites.
Thanks so much for stopping by!
Amanda

You don't need to be a trained artist, or have lots of fancy art supplies to create pretty stuff. I keep a basket of kid's art supplies at our weekend beach house. On rainy winter mornings, I'm likely to be sketching and doodling, using Crayola markers and pencils.
For paper, I rarely grab my nice materials -- I just pull some pages out of an old Reader's Digest Condensed Book.

To create this doodle you will need:
Crayola Markers (go ahead and splurge on Crayola brand -- you and the kids are worth it!)
Crayola Pencils
Regular pencil and white eraser
Black permanent pen
White gel pen, or White-Out, or white chalk marker or white china marker (optional)
Paper (I prefer a paper with some tooth. If the paper is too smooth, it won't grab the colored pencil)
Begin by lightly sketching in your trellis branches. I used a simple line to indicate where I wanted each branch to be. Sketch lightly, as you will be erasing these guidelines later.

Next, sketch your branches using a squiggly line.

Lightly indicate the placement of three large flowers, two or three buds, and three or four leaves. Don't fret over how to draw a simple flower. Just remember how you drew simple flowers when you were a child. For the five-petal flowers shown here, I drew a small circle, and drew five imperfect petals around the circle. The upward facing flower started out as a bowl shape, and details were added (lightly, in pencil). The flower buds were created by first drawing an elongated oval. The leaves started out as a slightly curved center line, as a guide, then the squiggly sides were sketched in.

When you are satisfied with your composition, trace over your sketch with a permanent black (or brown) pen. Use your white eraser to remove the pencil lines.

Now, very lightly, scribble some base color onto your drawing, using colored pencil. I like to put down colored pencil first, because this "seals" the paper and allows me to move the ink around when I get to the marker step. Don't fuss too much, don't press too hard, and don't fill in every bit of white space. These papers have a limited amount of tooth, to receive colored pencil medium, and we want to be able to add more layers.

Keep adding light layers of color. Add depth and interest by using more than one color for each element of your drawing. For instance, I first added scribbles of yellow to my petals, then added a little pink, then a little red. Leaves have layers of yellow, green, orange, and even some pink.

Next, you can add marker. Add your marker layers the same way you added your colored pencil. You will notice that the marker behaves differently over the colored pencil areas than over the bare paper. Use these characteristics to float your ink around and blend, or to create darker unblended marks.

If you have a white pen, you can add highlights to whatever side you want your imaginary light source to originate from. Use a darker colored pencil to add shadowing on the other sides.
What would you do with your sketches?
If you enjoyed this post, please subscribe to House Revivals in the sidebar, so you won't miss the fun projects we have planned. Find us on Facebook, too, so you can catch all the "in between" stuff, and see what I'm working on throughout week on Instagram. Feel free to link today's project to your favorite social media sites.
Thanks so much for stopping by!
Amanda