Google+ House Revivals

Thursday, November 25, 2010

Just a Quick Note

Just a quick note to wish you all a bountiful and blessed Thanksgiving!


Guess who's coming to dinner?!!!
Happy thanksgiving!


This post is linked to Jenny Matlock's Alphabe-Thursday

Sunday, November 21, 2010

A Simple Vintage Wreath

Remember the magnolia wreath made from vintage book pages?  I loved the simple shape and the decoupaged back of the wreath so much that I made another!


Only this time, simplicity of form is the star.


Here is the wreath back that inspired the new wreath.


The steps are simple.  Simply wrap a wreath base in the paper of your choice.  Here, I used vintage book pages, but you could use anything you liked.


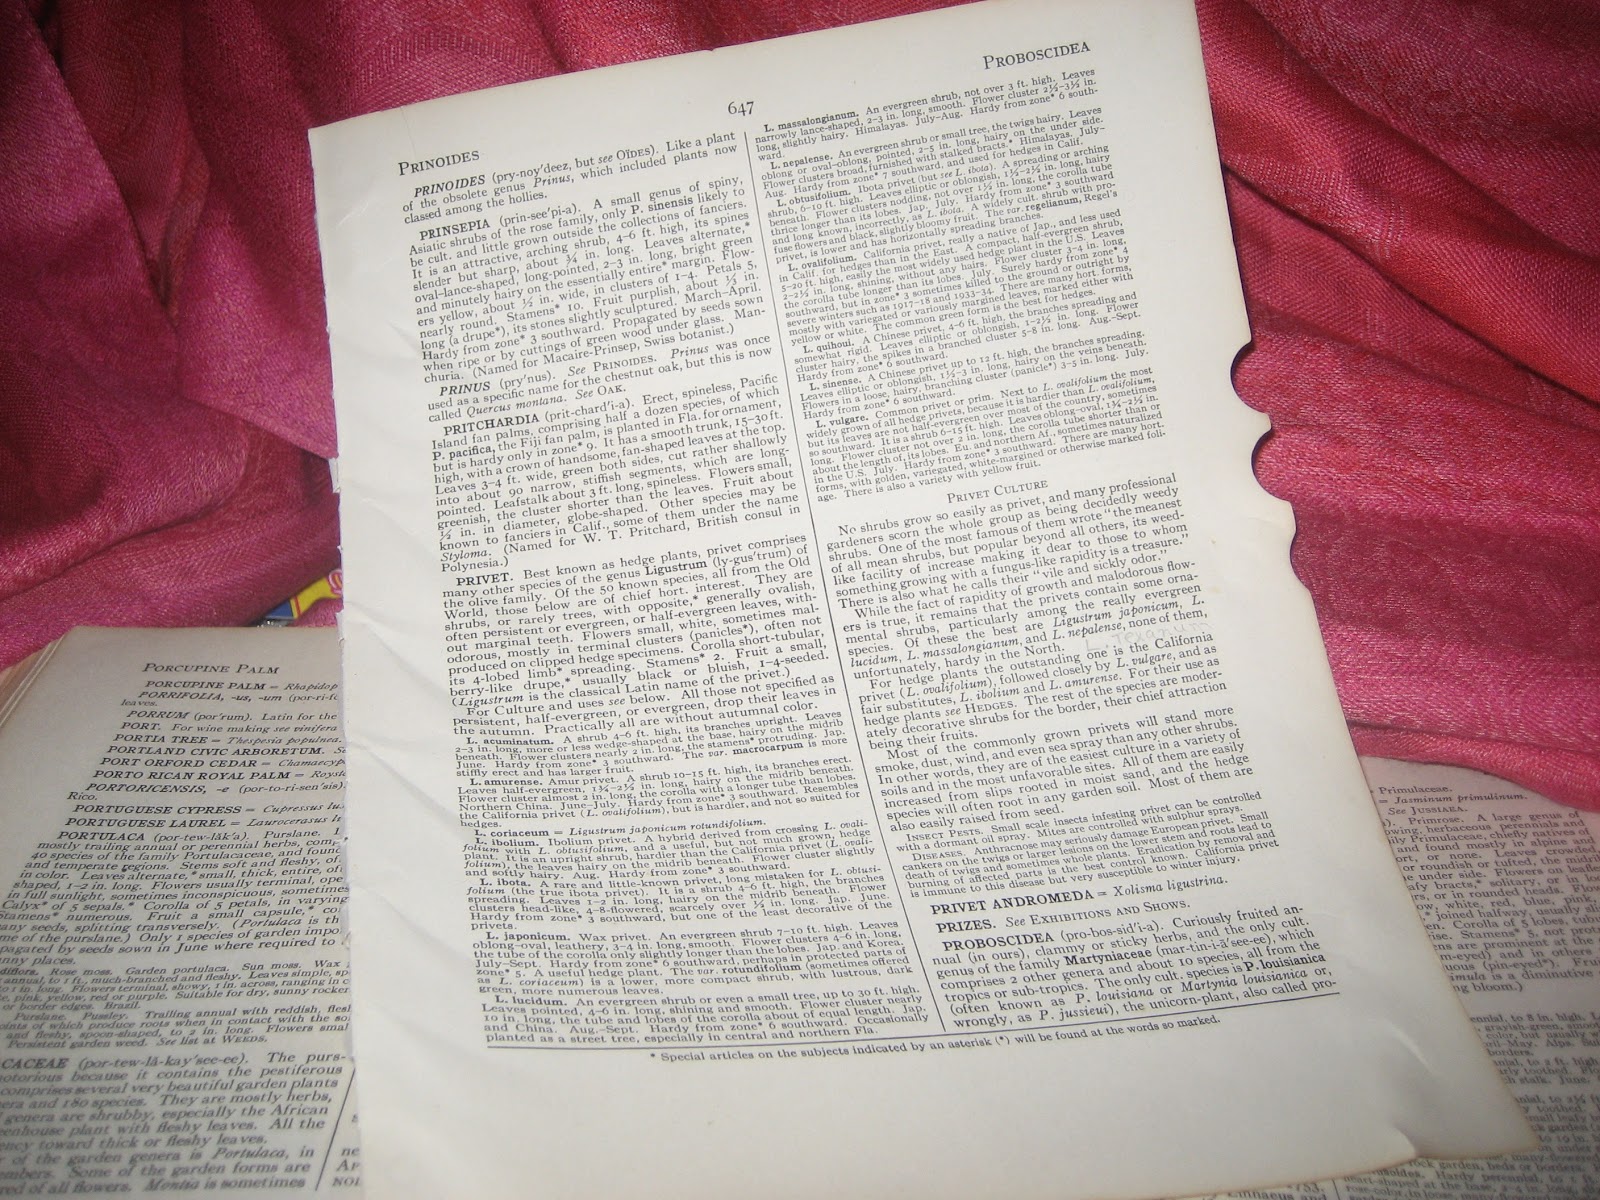
The book used was about 49 cents at a local Goodwill Outlet!  The same book provided the paper for my woven stars and dimensional stars.


Next, gather an assortment of materials that you may want to use to create your floral feature.  Here, I gathered some vintage crepe paper, a linen-like fabric, and some left-over leaves from the magnolia leaf project.  The vintage crepe paper was an Ebay score.  The linen-like fabric was found at a local thrift store, and left over from another project.


I decided to create a shaggy mum for the main flower.  It was simply put together from strips of fringed fabric and strips of fringed crepe paper.  Roll and gather the fringed strips to form the flower, and wrap the bottom with wire to secure.  The very center of the mum has threads pulled from the apple green burlap.


Smaller rosettes were created from the vintage crepe paper and added to the arrangement.  To reference the inspiration wreath, some apple green leaves cut from jute were also added.  All the elements were secured with a thick, high tack glue, but hot glue would have worked just as well.


This wreath base was created from two layers of cardboard that was destined for the recycling dumpster.  The layers were glued together, then wrapped in the vintage paper.


For the hanger, I tore a wide strip of the fabric used to create the mum.  Then the raw edges were folded to the inside, and the fabric was simply wrapped and loosely tied at the top of the wreath.  Very simple and sweet.

This project was completely created from scraps left over from other projects.  The only new product used to create the wreath was the adhesive.


What do you think? Which is your favorite?  The new wreath?

Or the original inspiration wreath?

Let me know in a comment!  I'd love to hear your thoughts.


Have a wonderful Thanksgiving week!


This post is being linked to:

Saturday, November 20, 2010

Little Boat Ornaments Tutorial

I've been working on the rest of the tutorials for the little sailboats and canoes and cars and planes!


If you're new to House Revivals, these are sweet little ornaments made from egg cartons!

Thursday, November 18, 2010

Book Wreath Tutorial

The vintage book wreath was inspired by the clean, understated aesthetic of our local Japan Town.


I wanted something on a square base, with a vintage feel, that had a subtle mix of texture and color.


Start by tearing sheets out of a vintage book.


Cut out your leaves.  These can be free handed.


I wanted to reference the classic magnolia leaf wreath that is so popular around the holidays, but you could use any leaf shape you liked.


To be honest, I only cut out the first sheet like this -- after experimenting with leaf sizes, I stacked several sheets together and cut multiples.


To add rhythm to the piece and to reference the local aesthetic, I used this Japanese wrapping paper for some of the leaves.  Just stack up several sheets together, and cut them out in multiples, just like with the book pages.


Next, fold your leaves in half lengthwise, and crease with a bone folder...

... (actually, my bone folders are in storage along with the rest of the contents of my studio, but I found this pattern transfer marker in a local Japanese store that substitutes nicely).


Again, I actually only folded a couple of leaves individually.  After the first ones, I got real and stacked and folded and creased and curled!  I think you might go crazy doing them all individually.


I used a chopstick and curled the edges a bit.  Really, you could use anything -- a dowel, a pencil, a skewer -- whatever is handy.  The Japanese paper was already a bit curled from being on a roll, so it didn't need much manipulating.


Make a big pile of these leaves.


Next, for a pop of apple green and a little added texture, I cut out some leaves from this beautiful flax burlap.


To add body to the burlap leaves, and to prevent fraying, I intended to run a bead of clear drying glue to the underside edges of the leaves. But that seemed like a waste of opportunity to use glitter....

The base was simply cut from two thicknesses of cardboard that was headed for the recycling.  I cut mine into a square, with rounded corners, but a circle, or oval, or rectangle, would work just as nicely. 


The cardboard base pieces were then glued together and decoupaged with additional book pages. Here is a picture of the back of the wreath, so you can see how the cardboard was covered. Cover both the front and the back for a nice finish.

I had a pretty tight time window to do this wreath from start to finish -- less than two hours!  So, I just used white school glue to decoupage -- it's cheap, dries clear, and dries fast.

To create your wreath, just begin layering the leaves, randomly mixing the textures, and working your way around the base.

The secret to adding fullness to a paper wreath is to periodically pinch the end of the leaves before gluing them down. This prevents them from flattening out.


And that is pretty much all she wrote.  Add a hanger, and you're done!  (and does anyone else like the back of the wreath almost as much as the front?  Hmmmm, maybe the next project....)


This post is being linked to:
The DIY Show Off

I is for Interior Design -- Again

Recently, I was visiting the blog of a talented young decorator.  She was taking some interior design classes, and, in one of her posts, posed the question, "Do you believe a designer must be formally trained?  Or do you subscribe to the thought that all you need is a good eye and some serious creativity?"

The young woman who posed the question is already working in the industry as an independent home stylist (and she is very gifted), and I was so impressed that she was choosing to take classes to learn more about the interior design profession.  As a busy mom with two tiny children at home, taking classes will be no small feat for her. In my response to her question, I tried to weigh the fact that she was young and had a little family, and seemed to be most passionate about the decorating and styling side of residential design work.

As there are so many misconceptions about the interior design profession, I thought I would reprint my response here:


I think you will never regret taking the opportunity to learn more about the field. If you plan on only doing styling and decorating, then a degree is probably not a must. At my old firm, we had stylists on staff with backgrounds in things like art and fashion, and they were absolutely amazingly incredibly wonderful. A lot of big name firm owners are actually decorators with interior designers on their staff! (Maybe a business degree would serve you better, in that case!)
I can't imagine taking on some of the more complex projects, however, without a degree and/or an incredible mentor. From the outside looking in, it may seem that designers don't do anything "hard". I guess I can only say, people don't know what they don't know.

Also, it is only going to become harder and harder to practice (interior design) without a degree, as legislation continues to tighten up. Most larger firms will not consider hiring you without at least a four year degree in interior design, but the better interior design schools are highly competitive. You have to submit portfolios, take prerequisite classes, and maintain a minimum GPA, etc., just to have the opportunity to compete for a seat in a program. And the programs are really intense.

Do you want to be an interior designer or a stylist/decorator? As a decorator, you will focus on art, textiles, furnishings, finishes, and limited space planning. As an interior designer, you will do all those things, plus you will design mechanical and electrical plans, and floor plans (including structural walls in some states), you will show a strong knowledge of building and fire codes, human anthropometrics, and environmental psychology. You will know how to design for aging in place, and special needs. You will also be qualified to work in the commercial sector.

It sounds like what you love is residential work, focusing on the decorating aspect of design? In that case, have you considered taking some kitchen and bath planning courses from the NKBA? That might provide enough codes and mechanical/electrical background to give you a really strong start. Also, clients spend a lot of money on kitchen remodels, usually taking out second mortgages (not to mention the disruption to their lives). They deserve a designer with some formal training in kitchen planning, so that they get great function and safety, as well as beauty in their new space.

All that said, watch out for things like chandeliers over the bathtub, or an operable window and/or curtains behind the stove, or a "step up" bathtub, or curtains made from highly combustible textiles --especially in a child's room!  (not all textiles are created equal) Those are some common dangerous mistakes stylists make. If someone gets hurt as a result of your design specification, you won't just have their injury on your conscience -- you may have a lawsuit on your hands.

It sounds like you are at an exciting place in your life. I hope my rather long-winded answer helped shed some light, and didn't just thoroughly confuse you. I think there is room for everyone in the industry, be you a kitchen and bath planner, interior decorator, stylist, or interior designer. You just have to choose which path is best for you and your family.

So, that was the long answer.  The short answer would be "Yes, to be an interior designer you need training. That training could take the form of a college or university program or possibly a very structured apprenticeship or strong, long-term relationship with great mentor.  The body of knowledge needed to design the safe, functional, and beautiful spaces that our clients deserve is huge.  Having a good eye and some "serious creativity" is only part of the whole equation.

You can read another post about the interior design profession here.
To read about kitchen design, click here.
To read about a dangerous lighting design mistake, click here.

This post is being linked to Jenny Matlock's Alphabe-Thursday.

Wednesday, November 17, 2010

Sweet Little Boat Ornaments (and airplanes and cars, too)!

Here is a quick update on some of the tutorials I have in the works.   These lowly bits of cardboard are destined to become sweet little canoes, kayaks, and sailboats!

Other bits of cardboard are being transformed into these little airplane ornaments....

...and automobile ornaments.


Japanese paper, vintage book paper, and burlap...

...is transformed into a wreath.

And two more woven star tutorials are almost ready to publish!


I wish I could just whip these tutorials out this afternoon, but alas, this little guy...


... is recovering from major surgery, so I've had to be pretty flexible.  Hope you all understand!

Tuesday, November 16, 2010

Retro Christmas Elves!

Who doesn't love these funny little retro elves?  I scored a bag full of these little guys at the Goodwill for $1.99!

I'm thinking cool retro wreath?


Probably won't happen this year.  As my "studio" consists of a cardboard box and the two square feet available when I shove my keyboard out of the way.  But next year, when the renovation on our beach house is finished, I'm definitely doing something with these little guys.


Look at these little faces!


And the sweet little Dresden paper accents.


I wonder how long these guys have been packed away in someone's attic?


They still have their little Made in Japan stickers.


For now, they will be packed away -- waiting for the new house and the new work space.


Happy Christmas crafting (and thrifting)!


This post is linked to:
Colorado Lady's Vintage Thingie Thursday