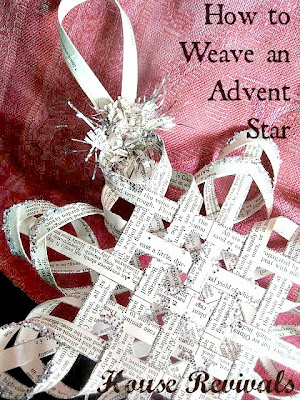
Here is a simple way to use old book pages and buttons from your stash to create pretty snowflake ornaments.
These ornaments are simple to make, using the humblest supplies. They would look pretty hanging on your Christmas tree, or they would make a special gift for an ornament exchange.
Because so many people are on a sugar overload at this time of year, or have health issues that don't allow for sweets, I often make a "batch" of ornaments for Christmas gifting. Who wouldn't want to receive one of these sweet little vintage book page snowflakes?
To make your own snowflake ornaments, you will need to rescue an old book. I used an old Reader's Digest diverted from the landfill. Since snowflakes have six sides, you will need to put together six sections. Each of my snowflake sections consisted of three loops of strips. The strips were the length of the book page and one-half inch wide. Each loop consisted of three strips of paper stacked together, for a total of 54 strips to make one snowflake.
Glue your stacks together to form loops, then bend two of the loops, as shown, and glue the three pieces together. Create six sections, then glue the sections together.
After all the sections are glued together, go back and secure any wobbly sections with more glue.
I glued a small piece of scrap paper to the center of my snowflake, to make it extra strong (a glob of hot glue would also work). I also added glitter glue to the edges of the strips.
To add a special touch, I went through my tin of vintage buttons, to decorate the center of the snowflake.
The buttons were secured with hot glue. I stacked two or three buttons together and glued them to both sides of the ornament.
The ornaments turned out really pretty!
To see another ornament idea using vintage book pages, click here.
If you enjoyed this tutorial, be sure to subscribe to House Revivals so you won't miss any of the projects we have planned! Also, feel free to use the social media buttons at the bottom of this post to share!


